• Skip to primary navigation
  • Skip to main content
  • Skip to primary sidebar
  • About
  • Contact
Check out my new cookbook

The Toasted Pine Nut

fun. flavorful. feel-good recipes.

  • Check out my cookbook!
  • Recipes
    • Dessert
      • Cookies
      • Bars & Brownies
      • Breads & Muffins
      • Cakes & Cupcakes
      • Pies & Crumbles
      • Candy
      • No Bake
    • Meal
      • Breakfast
      • Main Dishes
      • Appetizers
      • Sides
      • Snacks
      • Drinks
      • Salads
      • Sauces & Dips
      • Dessert
    • Diet
      • Gluten Free
      • Dairy Free
      • Vegan
      • Vegetarian
      • Egg Free
      • Kid Friendly
      • Low Carb
      • Nut Free
    • Meat
      • Fish & Seafood
      • Chicken & Poultry
      • Beef & Pork
      • Meatless
    • Method
      • Air Fryer
      • Slow Cooker
      • Instant Pot
      • Oven
      • Grill
      • Stovetop
    • Season
      • Spring
      • Summer
      • Fall
      • Winter
    • Recipe Filter
  • Shop
    • My Baking Mixes
    • Kitchen Essentials
    • Pantry Items
    • Kid Favorites
    • Photography
  • Cookbook
  • Videos
Home Recipes Desserts Cakes & Cupcakes
5 from 5 reviews

1-Min Quickie Microwave Funfetti Mug Cake

6 min
GF Gluten-Free
by: Lindsay Grimes
April 2, 2020 (Updated: September 30, 2024)
Jump to Recipe
Leave a Comment

This post may contain affiliate links. Please read our disclosure policy.

This is an overhead vertical image of two white mugs with funfetti sprinkle cake in them. The mug cake has rainbow sprinkles mixed throughout the cake, is topped with whipped cream with more rainbow sprinkles. The image focuses on one white mug in the center with the second mug cut off in the bottom left corner of the image. Silver spoons are digging into the cake and leaning against the side of the mug. The white mugs sit on a dark pink surface with rainbow sprinkles scattered around them.
This easy 1-min microwave funfetti mug cake has a moist and fluffy vanilla base with fun bursts of sprinkles! The perfect sweet treat anytime!

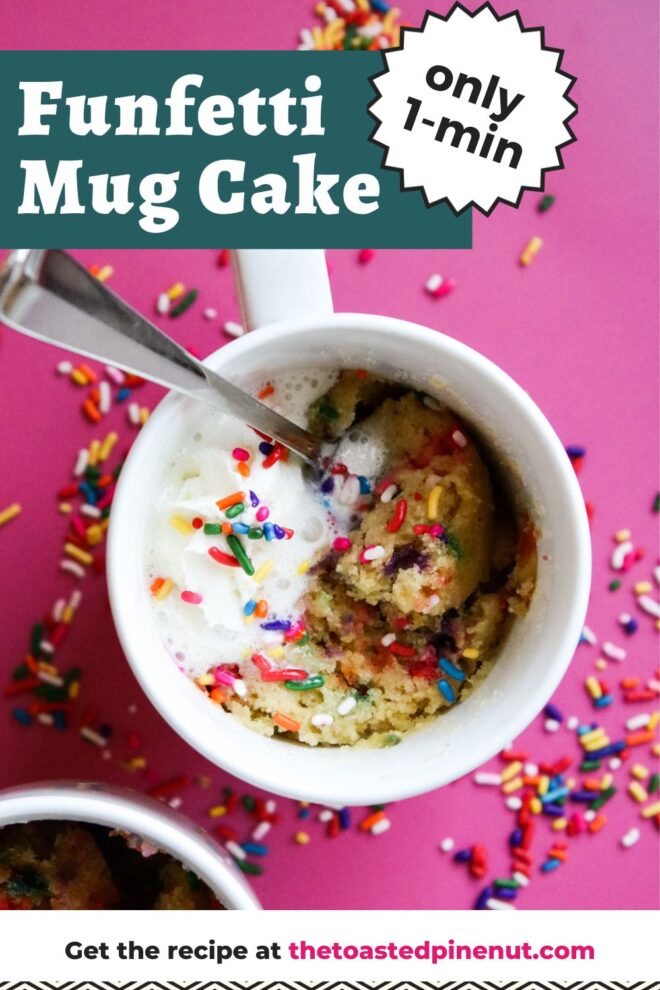
Funfetti mug cake gives you a fluffy, cakey dessert baked in 1 minute. I’m here for it.

Who says funfetti cake can only happen on birthdays? In my opinion, sprinkles just bring the smiles and lately, we could all use more smiles.

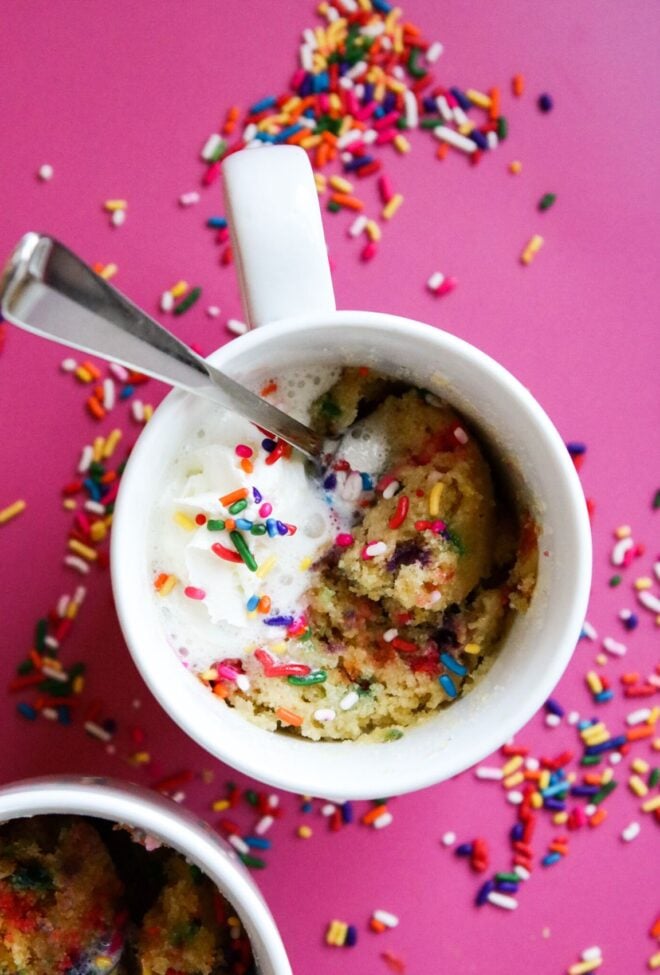
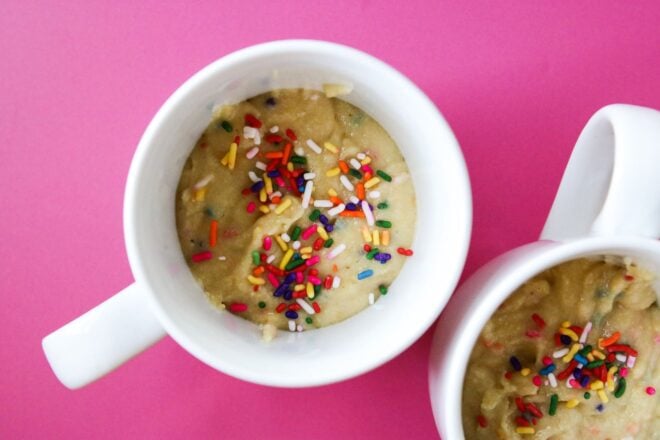
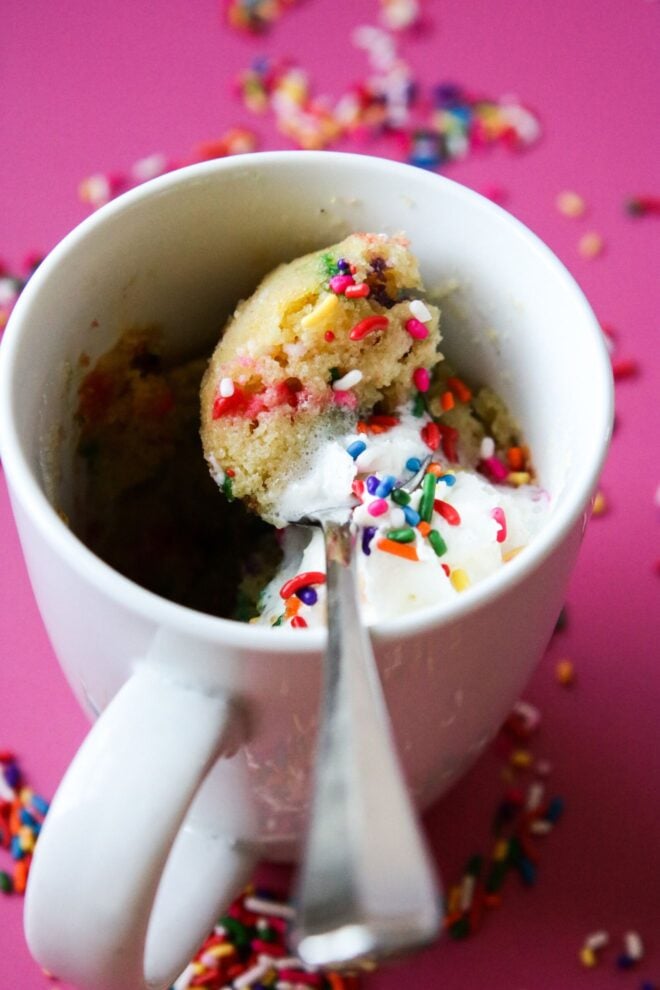
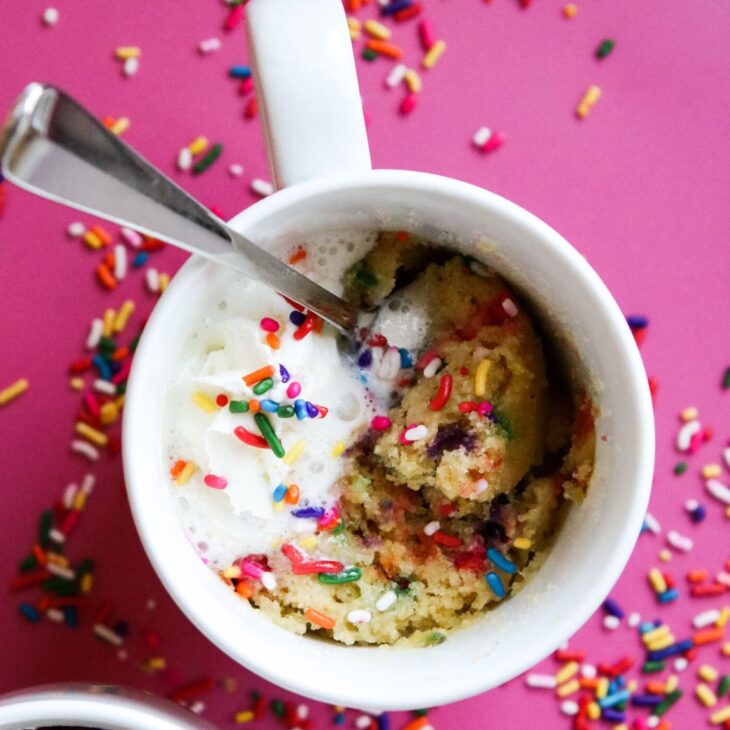
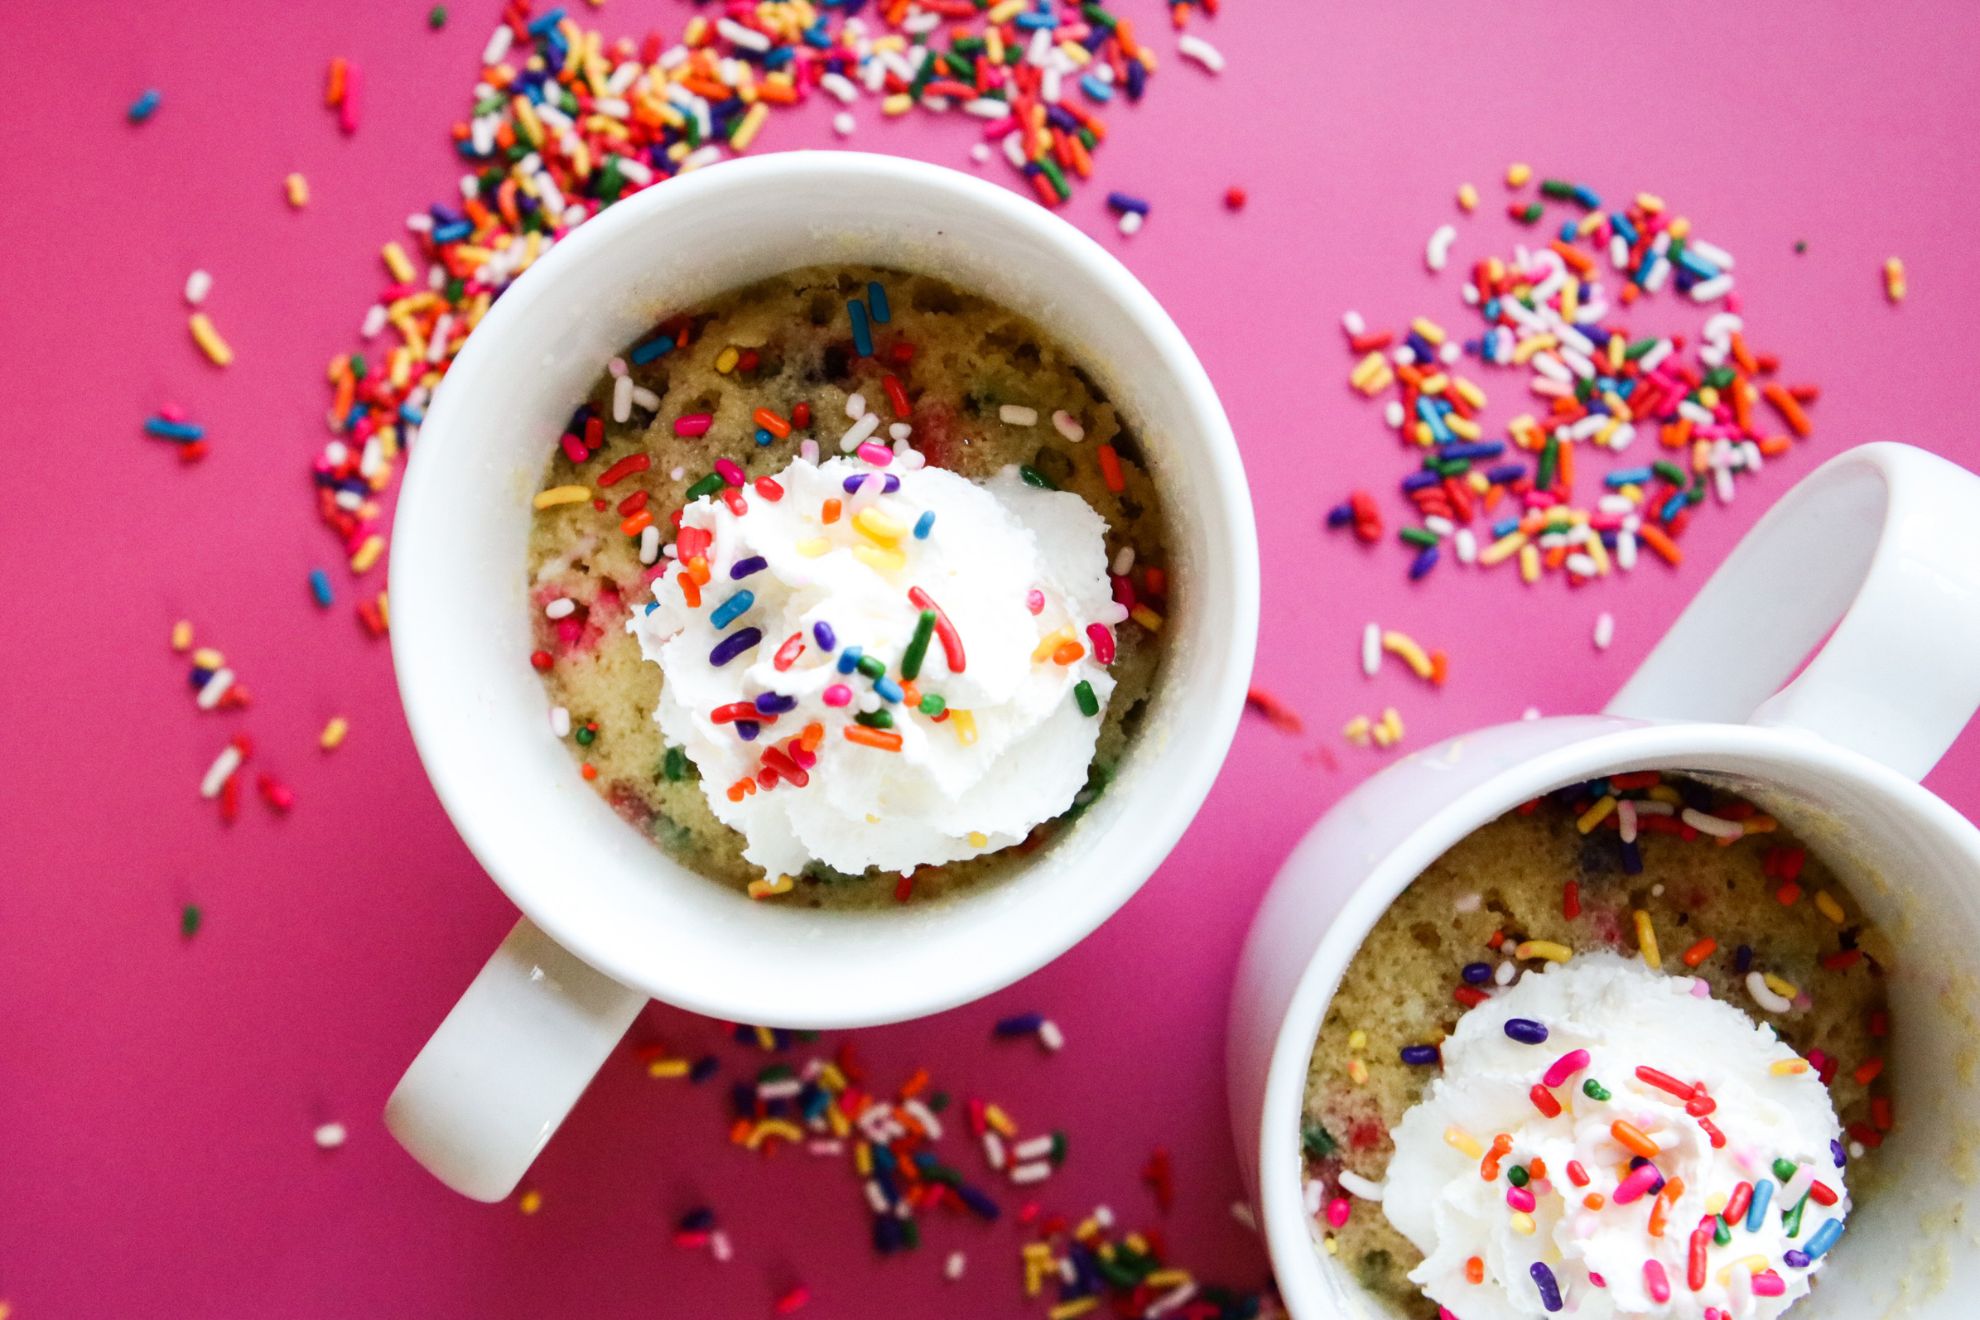
This microwave mug cake has a delicious vanilla base and fun colorful sprinkles mixed in.

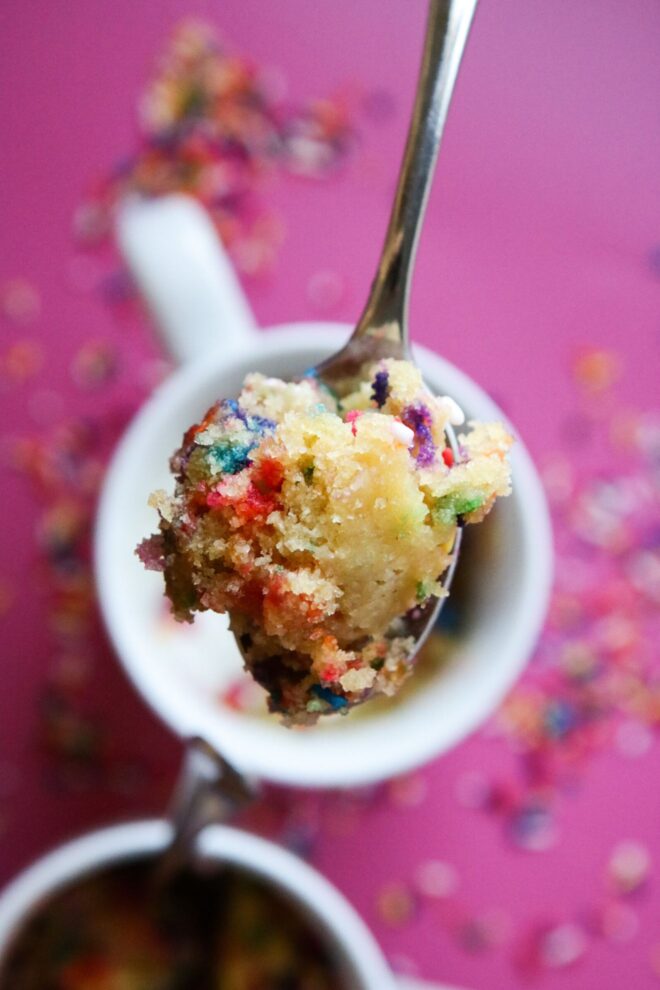
Aside from the happy bursts of color, it’s so fluffy and moist and has the best cakey texture I know you’re going to love.

I’m not one to brag but my son took one bite and enthusiastically told me, “Five stars… I give this five stars.” Oh, thanks kid, let me sear that compliment into my brain to fuel me through all those dinners you hate.

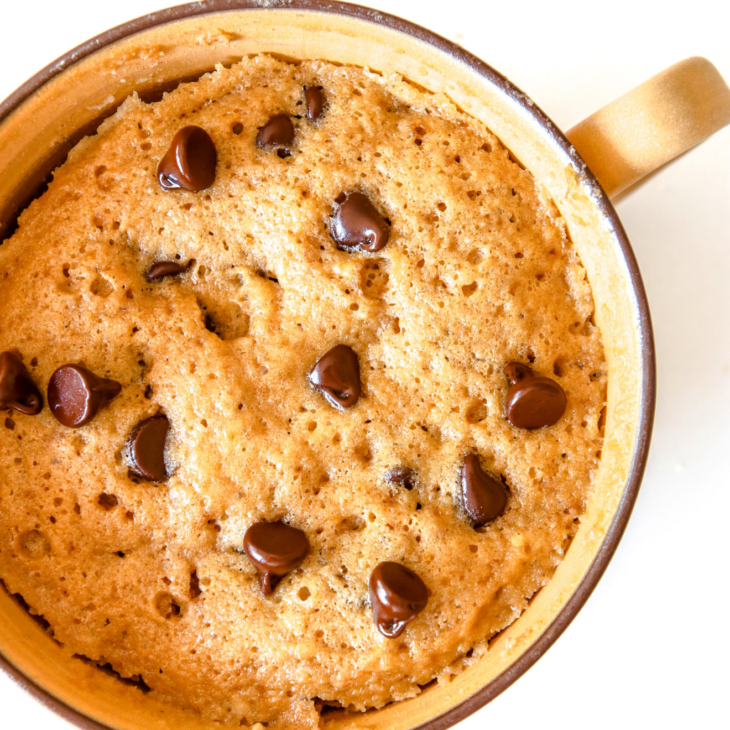
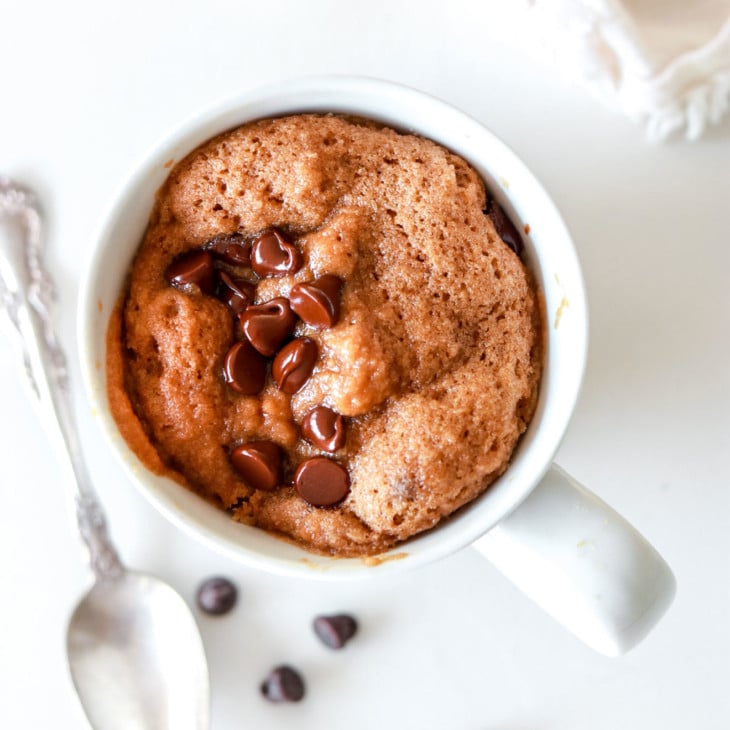
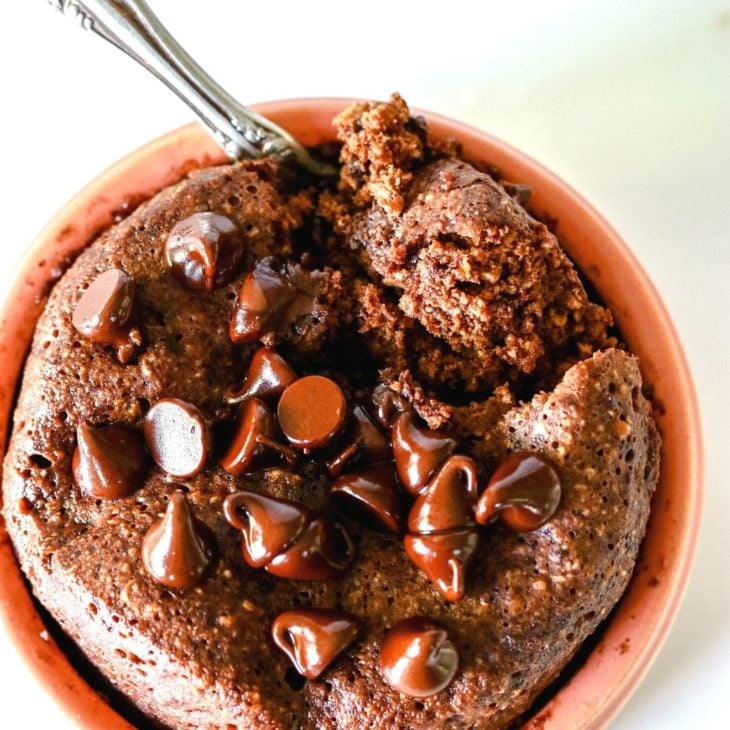
If you love mug cakes, I have tons! Try this 3-Min Moist & Fluffy Microwave Banana Mug Cake and this 1-Min Quickie Chocolate Chip Cookie in a Mug!

Why You’ll Love this Recipe

  1. Perfect to Celebrate! Funfetti mug cakes are perfect for celebratory occasions like birthdays, holidays, or just a special treat. The colorful sprinkles add a festive touch and bring a fun and cheerful atmosphere to any celebration.
  2. Convenience: Just like any other microwave mug cake, funfetti mug cakes are quick and easy to make, requiring just a few minutes and a microwave.
  3. Indulgence: Funfetti mug cakes are a sweet and indulgent treat that is perfect for satisfying your sweet tooth. The combination of cake and sprinkles creates a fun and playful dessert that is hard to resist.
This is an overhead vertical image of a silver spoon holding a bite of funfetti cake. Blurred behind the spoon is one white mug in the center of the image and another mug to the bottom left corner of the image. The mugs sit on a dark pink surface with rainbow sprinkles scattered around them.
This is an overhead vertical image of two white mugs with funfetti sprinkle cake in it. The mug cake has rainbow sprinkles mixed throughout the cake, is topped with whipped cream with more rainbow sprinkles sprinkled on top. The image focuses on one white mug in the center with the second mug cut off in the bottom right corner of the image. The white mugs sit on a dark pink surface with rainbow sprinkles scattered around them.

Ingredients for this Funfetti Mug Cake:

Butter: Butter adds richness and flavor to the mug cake, making it moist and tender. It also helps to create a tender crumb and contributes to the overall flavor. If you don’t have butter or want a dairy free alternative, go for refined coconut oil or vegan butter.

Agave Nectar: Feel free to sub in honey or maple syrup if you prefer!

Egg: The egg provides structure and stability to the mug cake, helping it to rise and hold its shape. It also contributes to the flavor and moisture content of the cake.

Vanilla Extract: Vanilla extract adds a warm, sweet, and subtle flavor to the mug cake, enhancing the overall taste and aroma.

Blanched Almond Flour: Blanched almond flour is a gluten-free flour that is made from ground almonds. It is a great alternative to wheat flour and adds a nutty flavor and moist texture to the mug cake.

Oat Flour: Oat flour is a gluten-free flour made from oats that have been ground. It helps to absorb moisture and provides structure to the mug cake, making it more stable.

Baking Powder: Baking powder is a leavening agent that helps the mug cake to rise and become fluffy. It also contributes to the overall texture of the cake.

Salt: Salt enhances the flavor of the mug cake and balances the sweetness. It also helps to bring out the flavors of the other ingredients.

Sprinkles: Sprinkles add a fun and festive touch to the mug cake, making it perfect for special occasions or just a sweet treat. They also contribute to the texture and add a pop of color to the cake.

What to Serve on Top:

Personally I ate my mug cake exactly as it is without any toppers, but here are some ideas if you want to add something on top:

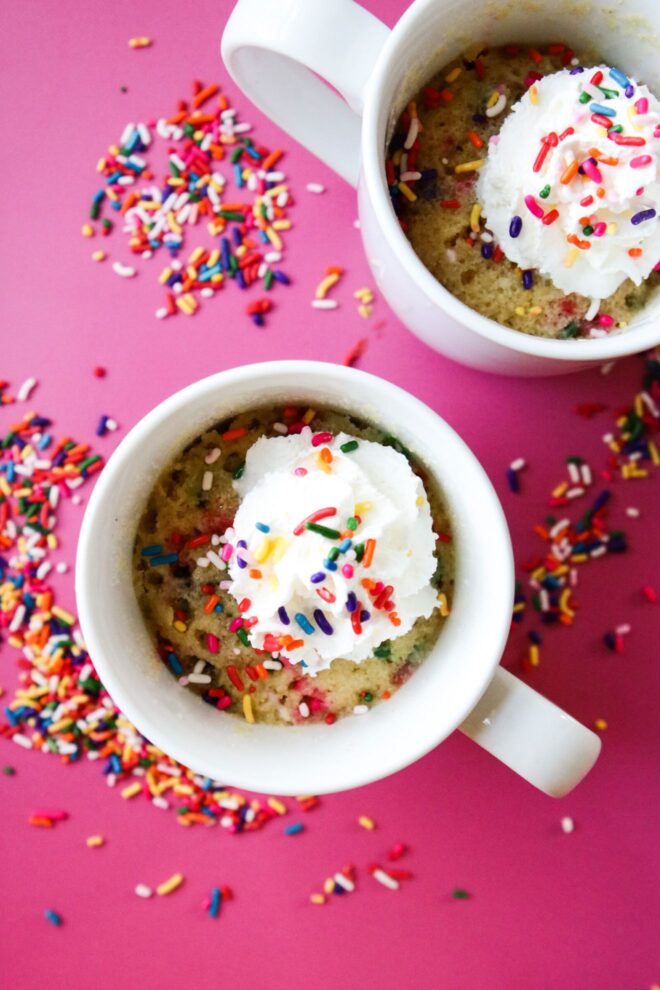
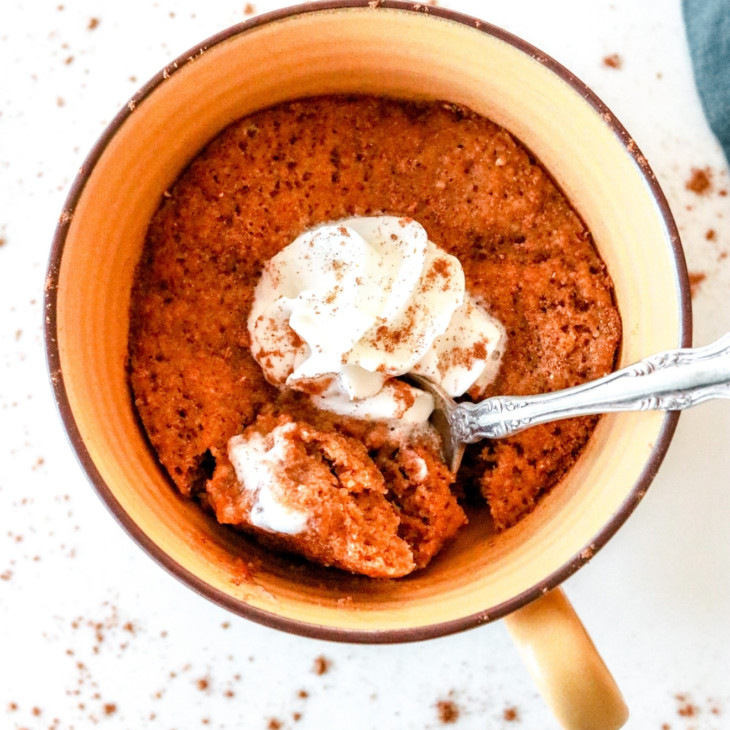
Whipped Cream: A dollop of whipped cream adds a light and creamy texture to the mug cake, and the sweetness pairs deliciously with the sprinkles.

Ice Cream: A scoop of vanilla takes the funfetti mug cake to the next level, creating a rich and creamy dessert.

Frosting: A swirl of frosting, either store-bought or homemade, adds a sweet and rich layer to the mug cake, and you can even get creative and use different flavors.

This is an overhead horizontal image of a stainless steel bowl with wet ingredients mixed together and dry ingredients on top, not yet mixed in. There appears to be two different kinds of dry ingredients and rainbow sprinkles. A whisk is in the bowl and leaning against the side with the handle to the bottom right corner of the image. The bowl sits on a dark pink surface.
Mix the dry ingredients into the wet ingredients.
This is an overhead horizontal image of two white mugs with raw vanilla cake batter in it. The batter has rainbow sprinkles mixed in and more sprinkled on top. The image focuses on one mug with a second mug cut off in the bottom right corner of the image. The white mugs sit on a dark pink surface.
Divide the batter into two mugs and top with some more sprinkles!
This is an overhead horizontal image of two white mugs with funfetti sprinkle cake in it. The mug cake has rainbow sprinkles mixed throughout the cake. The white mugs sit on a dark pink surface.
Microwave for 1 min – 1.5 minutes until fluffy and cooked through.
This is an overhead horizontal image of two white mugs with funfetti sprinkle cake in it. The mug cake has rainbow sprinkles mixed throughout the cake, is topped with whipped cream with more rainbow sprinkles sprinkled on top. The image focuses on one white mug in the center with the second mug cut off in the bottom right corner of the image. The white mugs sit on a dark pink surface with rainbow sprinkles scattered around them.
Topped with whipped cream and extra sprinkles!

How to Make this Funfetti Mug Cake

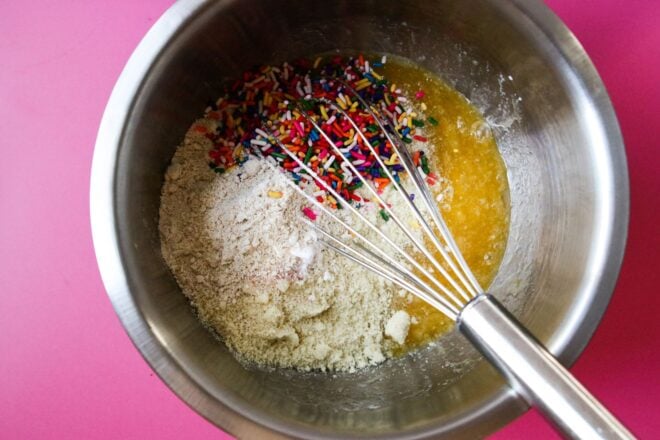
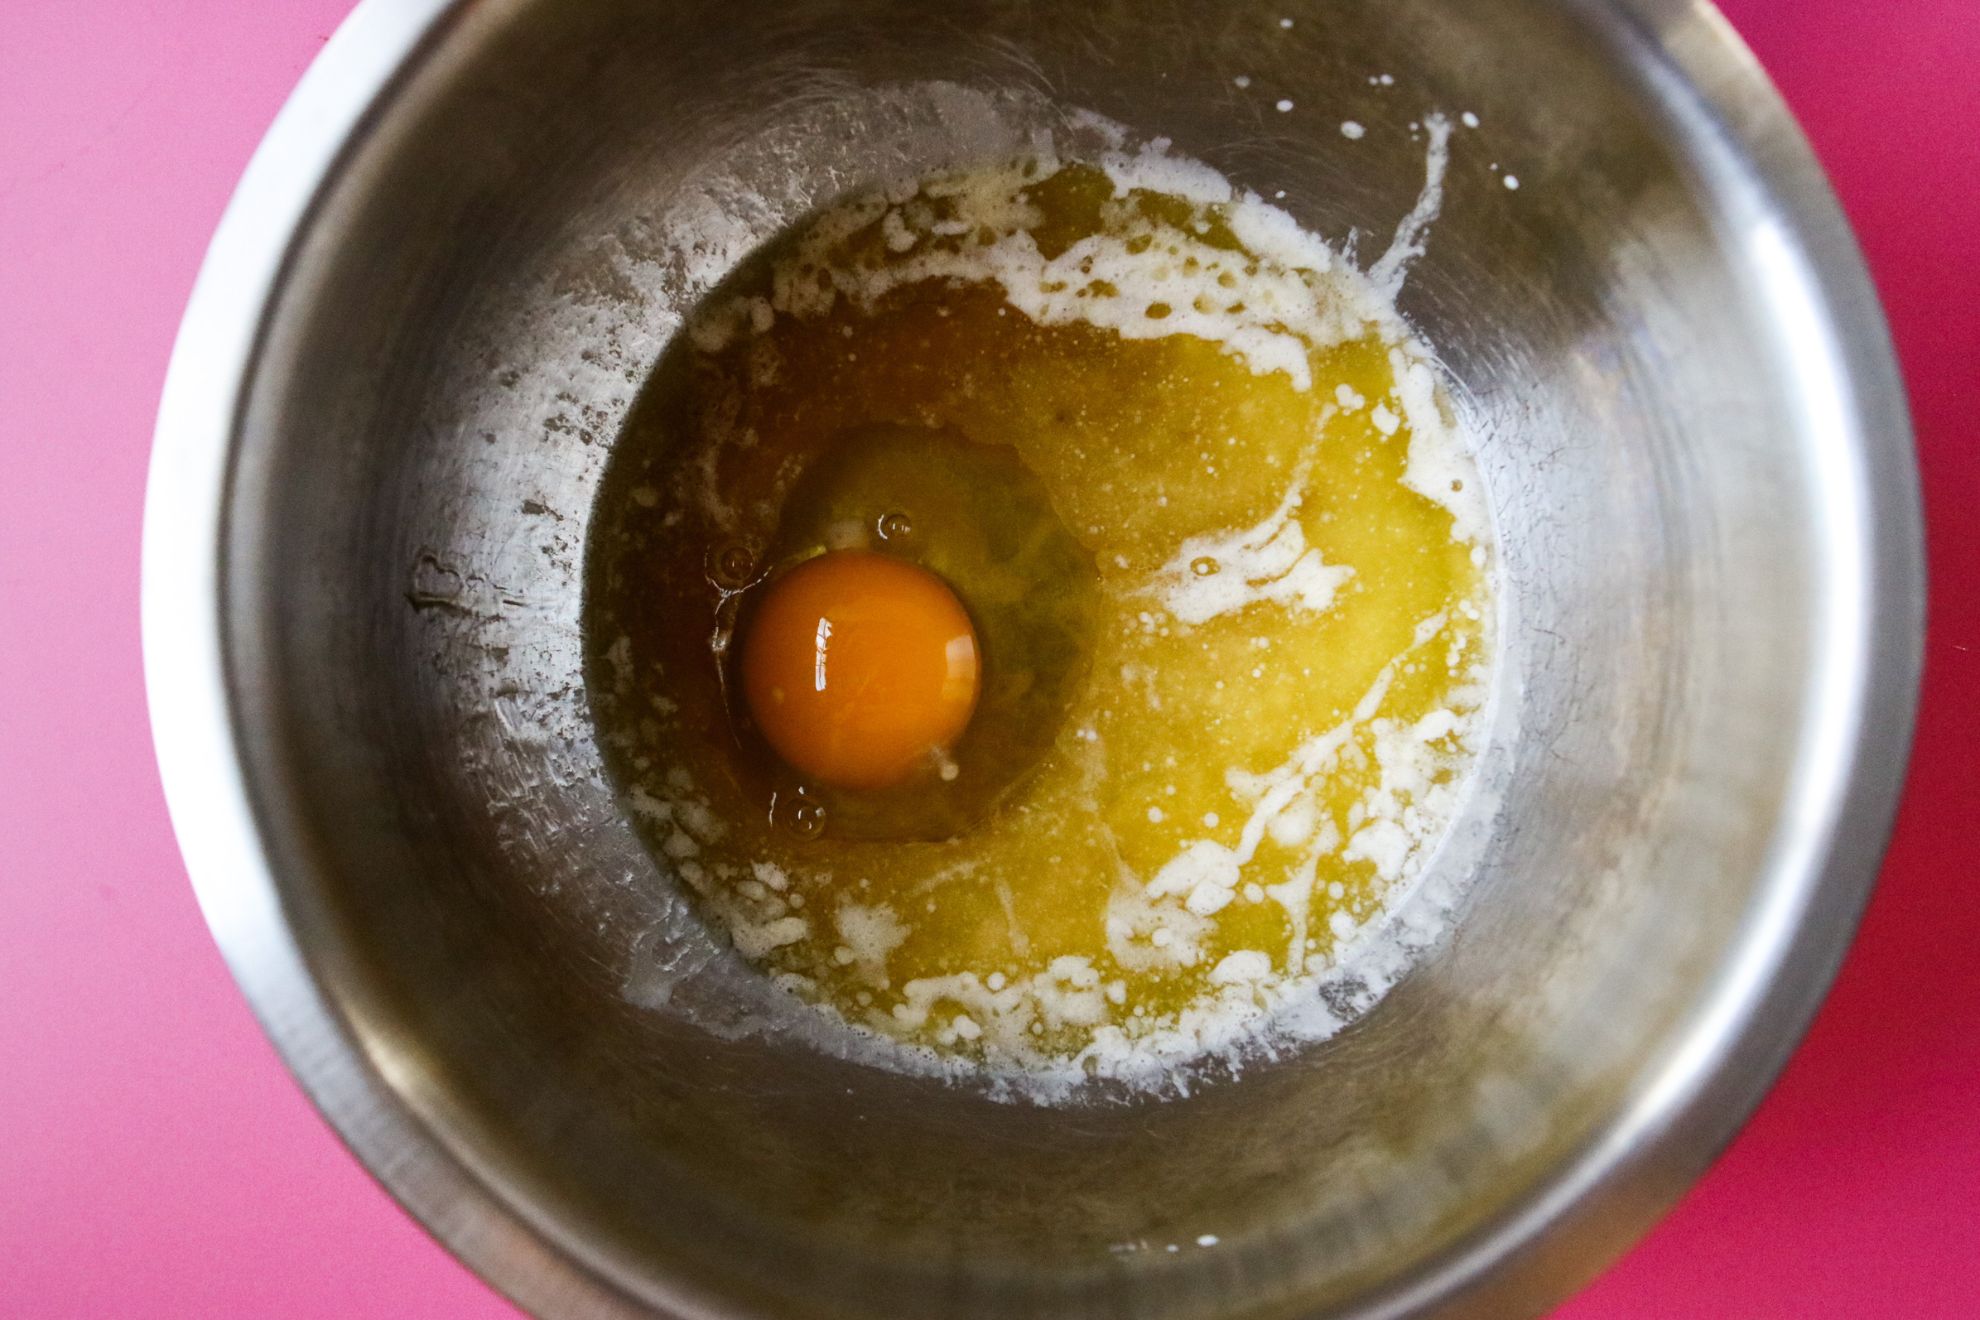
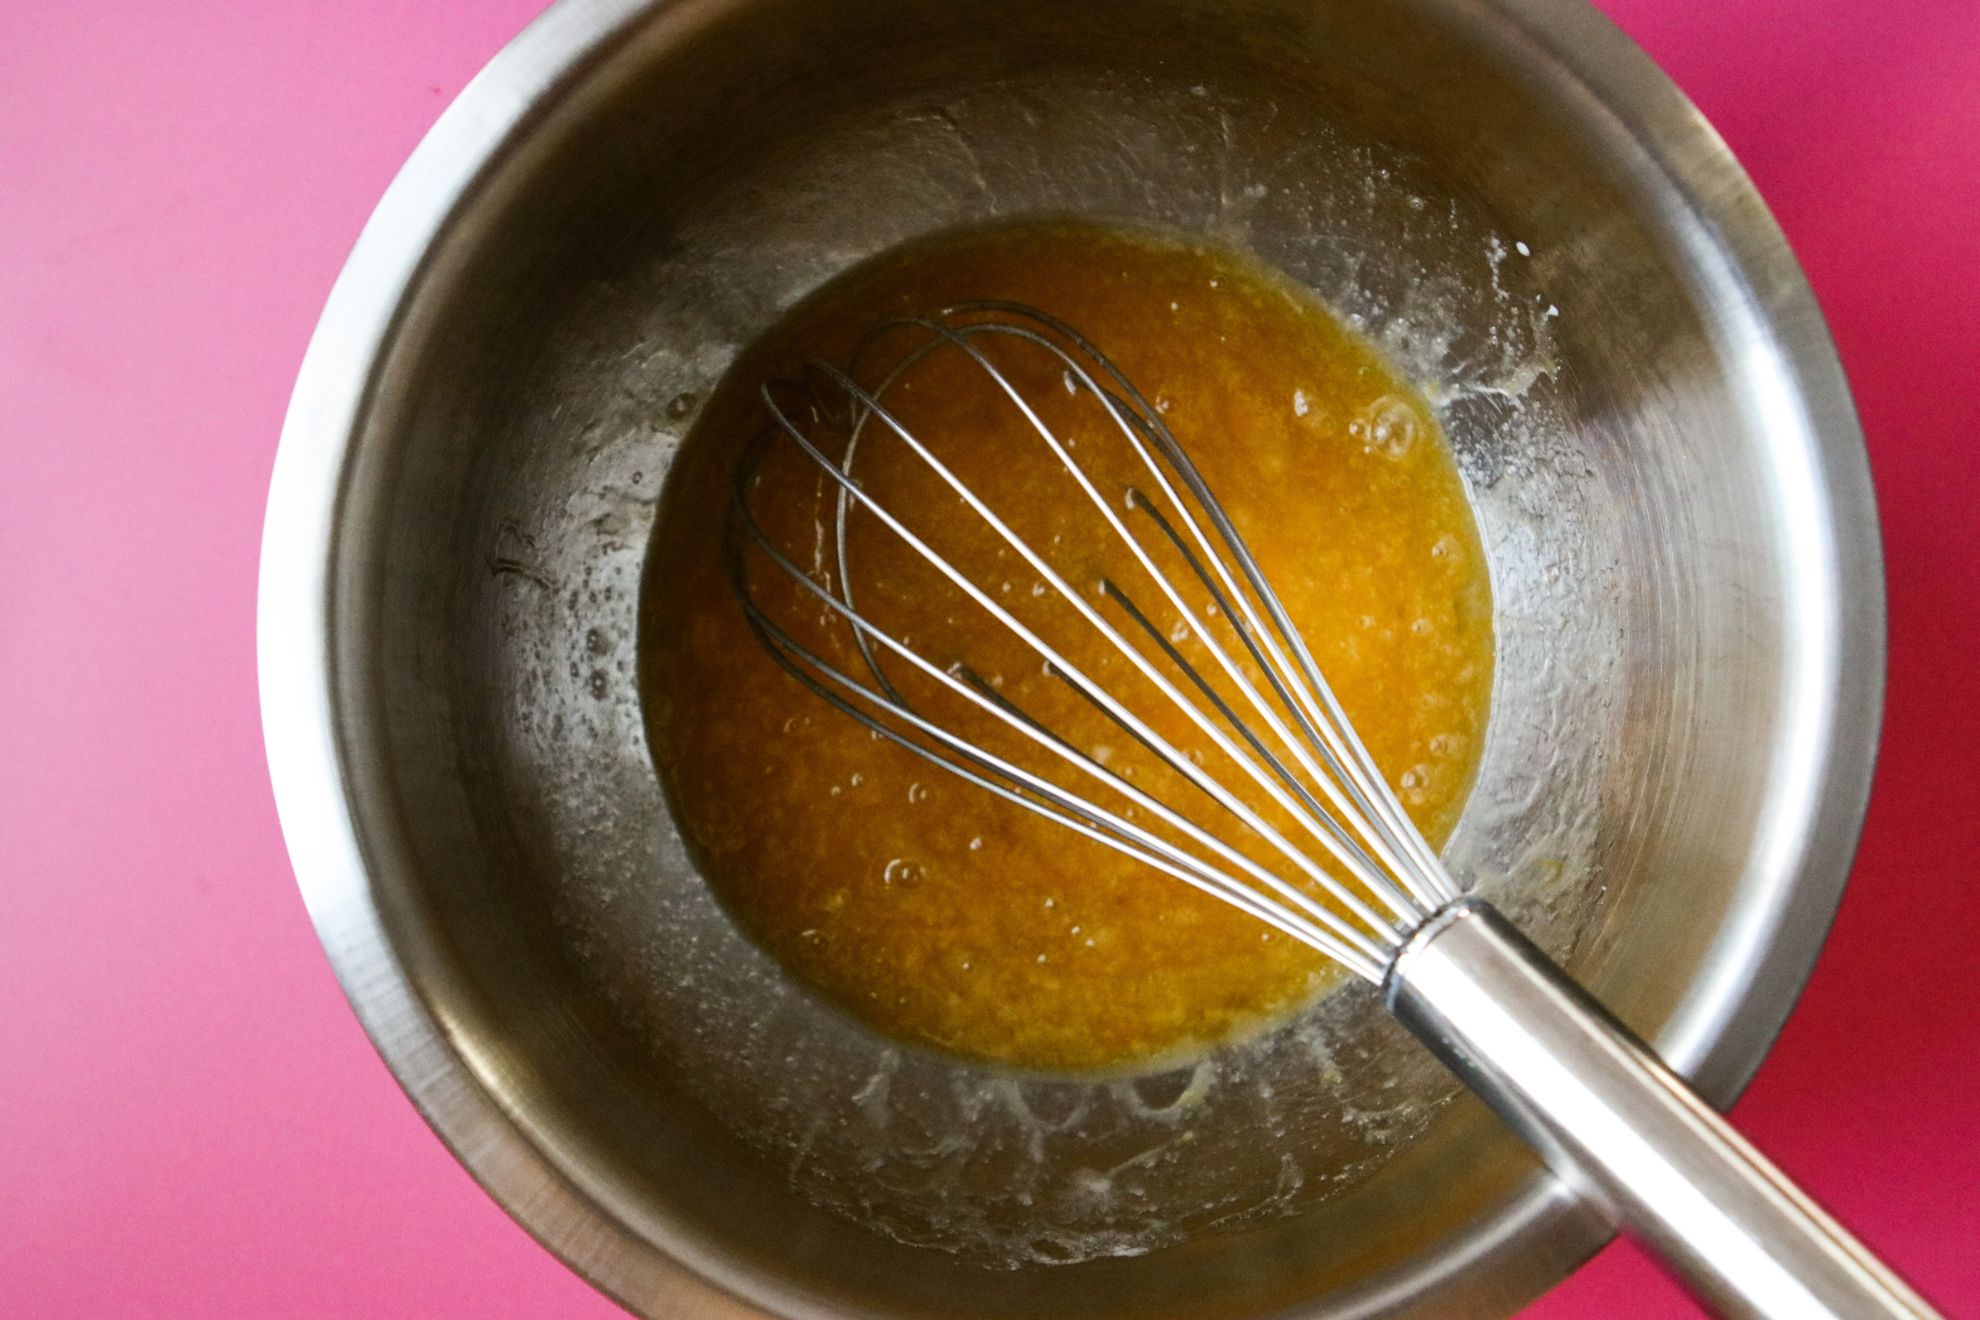
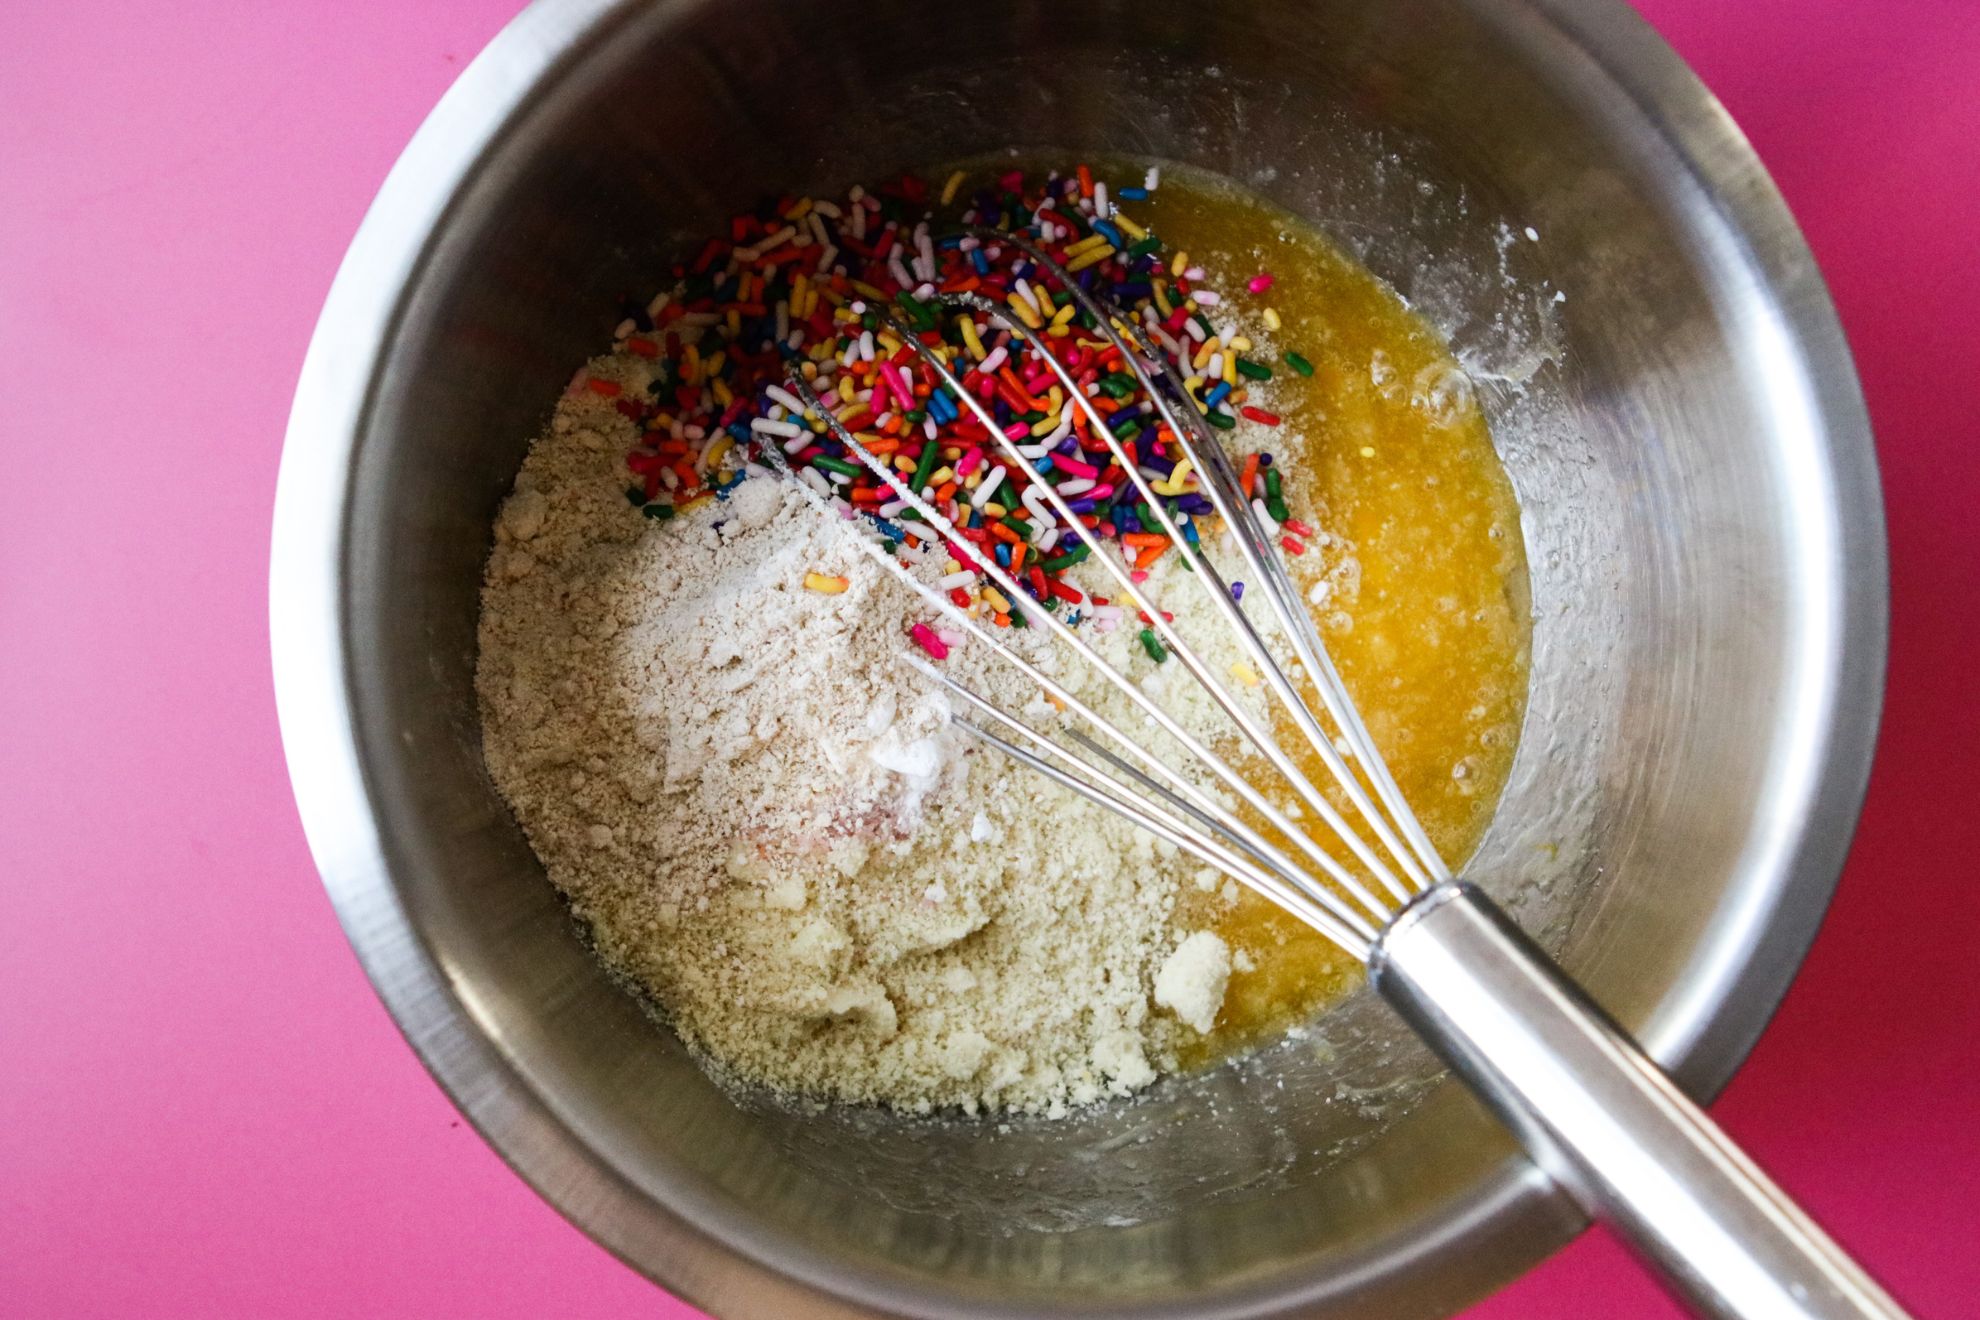
In a medium bowl, whisk together the butter, agave, egg, and vanilla until combined. Add the almond flour, coconut flour, baking powder, and salt to the bowl. Whisk until combined.

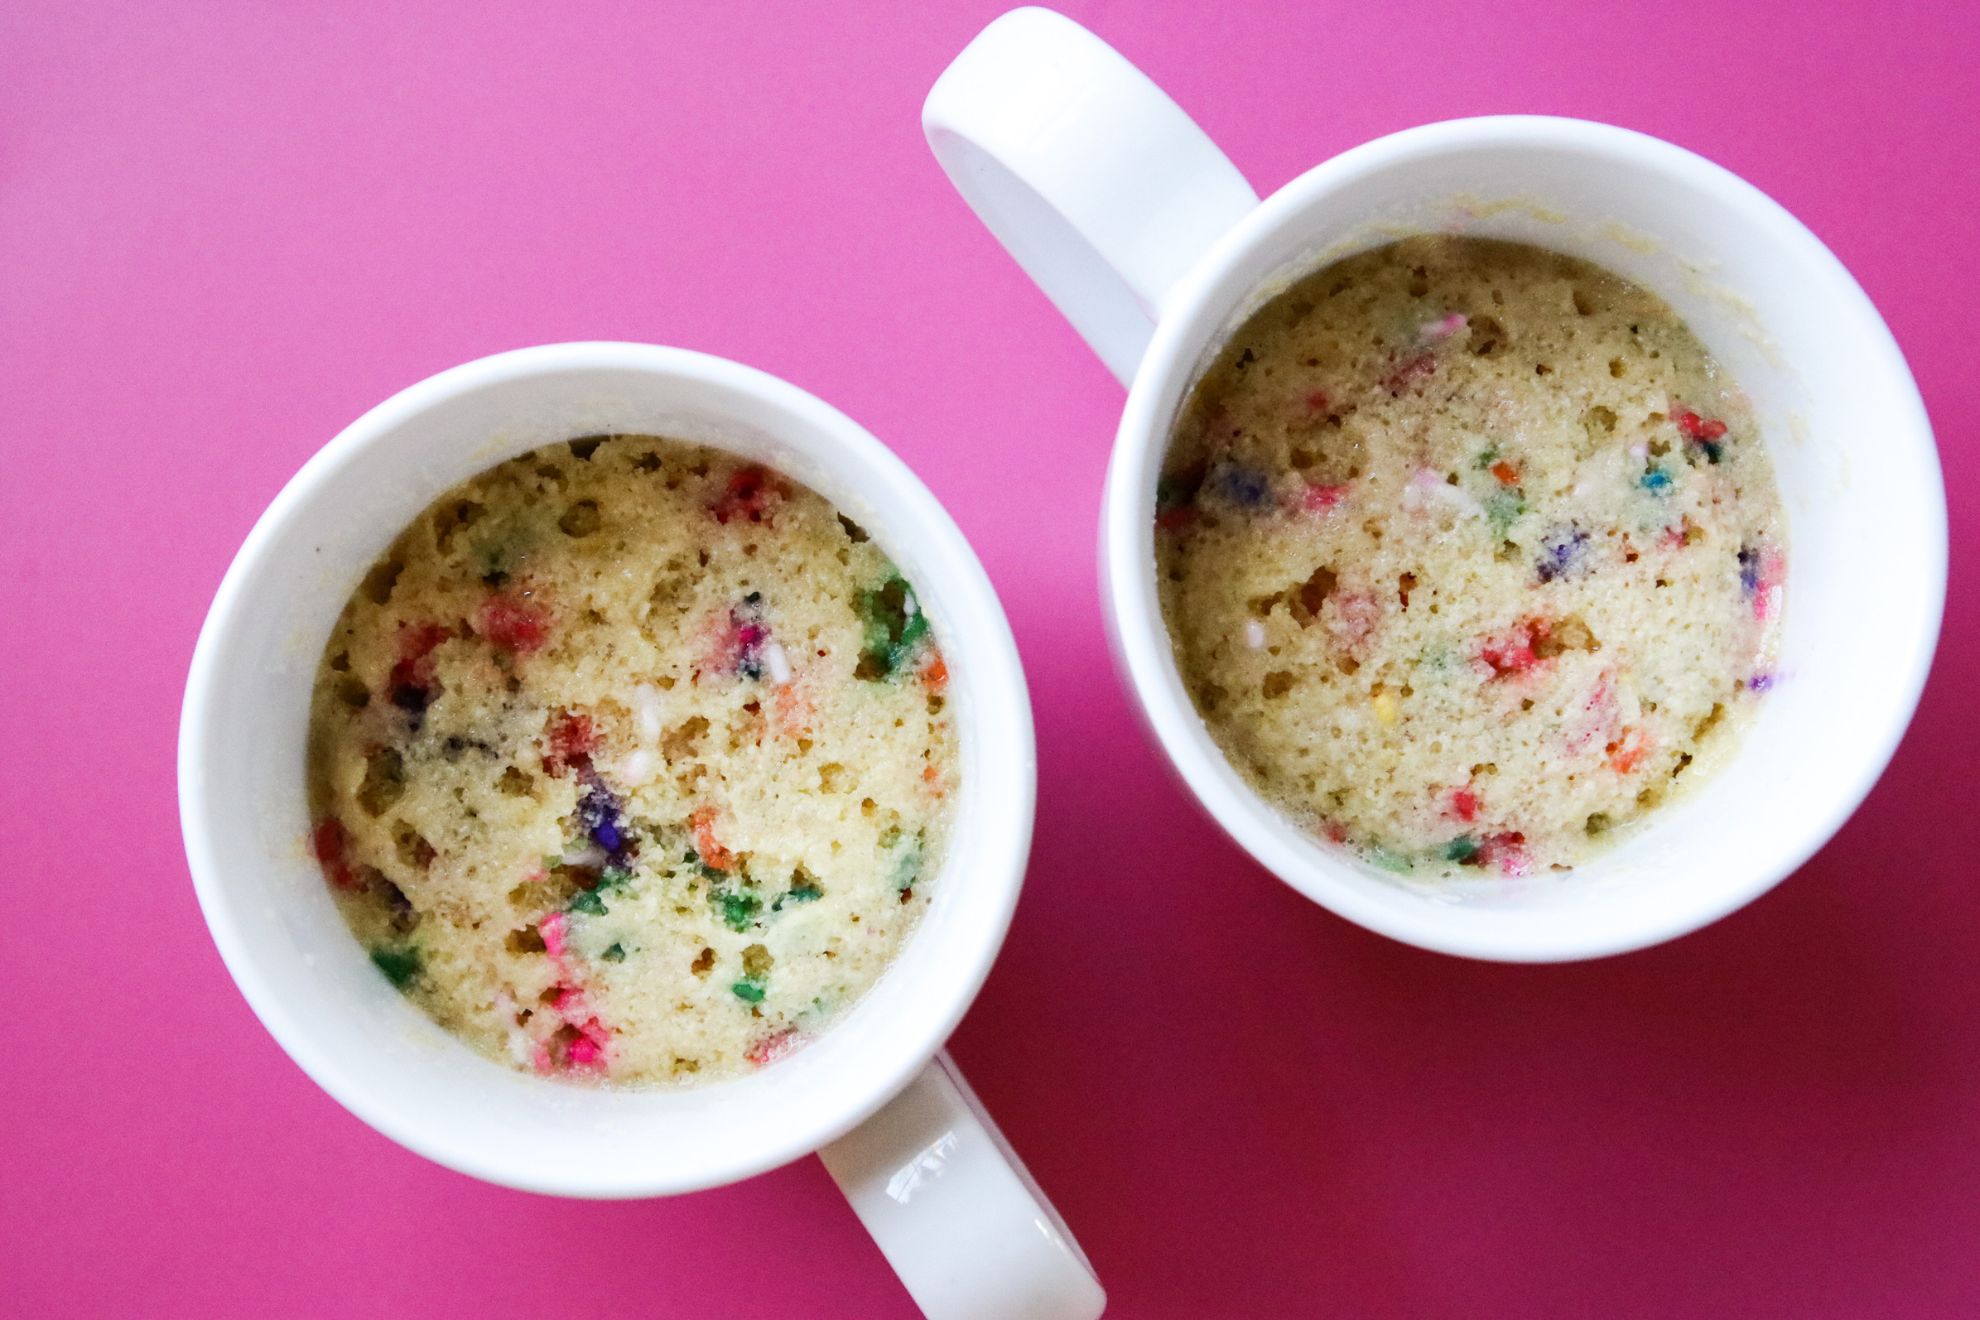
Fold the sprinkles to batter. Divide the batter between two mugs. Microwave each mug for 1 minute and enjoy!

How to Store Leftovers

I’m not going to lie, this is best eaten right away! But, if you have leftovers, here’s how I’d do it. Cover your mug with plastic wrap or transfer to an airtight container and store in the fridge. Reheat in the microwave for about 30 seconds until heated through.

Can I Make this in the oven?

Sure thing! Place the batter into ramekins or overproof dishes. Place them on a baking sheet to keep them even and bake at 350F for about 15+ minutes until the edges puff up and the centers are set!

How do I make this a vanilla mug cake?

Easy peasy! Just leave out the sprinkles and you’ll have a delicious vanilla microwave mug cake that cake be topped with and enjoyed however you want!

More microwave recipes to try!

3-Min Moist & Fluffy Microwave Banana Mug Cake

1-Min Moist & Fluffy Microwave Pumpkin Mug Cake

1-Min Quickie Chocolate Chip Cookie in a Mug

1-Min Microwave Chocolate Baked Oats (without banana)

This is a vertical image peering into a white mug with vanilla sprinkle cake in it. The sprinkle cake is topped with whipped cream and more rainbow sprinkles. A spoon is digging into the cake and leaning against the side of the mug. The scoop of the spoon sits on top of the cake and has a bite of fluffy vanilla sprinkle cake in it. The mug sits on a dark pink surface with rainbow sprinkles scattered around it.

Did you make this? Leave a review below and tag me on Instagram, Facebook, or Pinterest!

This is an overhead vertical image of two white mugs with funfetti sprinkle cake in them. The mug cake has rainbow sprinkles mixed throughout the cake, is topped with whipped cream with more rainbow sprinkles. The image focuses on one white mug in the center with the second mug cut off in the bottom left corner of the image. Silver spoons are digging into the cake and leaning against the side of the mug. The white mugs sit on a dark pink surface with rainbow sprinkles scattered around them. Recipe
GF Gluten-Free

1-Min Quickie Microwave Funfetti Mug Cake

This easy 1-min microwave funfetti mug cake has a moist and fluffy vanilla base with fun bursts of sprinkles! The perfect sweet treat anytime!

Recipe by:Lindsay Grimes
5 Stars 4 Stars 3 Stars 2 Stars 1 Star 5 from 5 reviews
Prep: 5 minCook: 1 minTotal: 6 min
Print recipe Rate recipe Pin Save recipe
Servings: serves 2

Ingredients

  • 1/4 cup unsalted butter, melted
  • 1/4 cup agave nectar (honey or maple syrup works)
  • 1 egg
  • 1 teaspoon vanilla extract
  • 1 cup blanched almond flour
  • 2 tablespoons oat flour
  • 1 teaspoon baking powder
  • 1/2 teaspoon salt
  • 2 tablespoon rainbow sprinkles

Instructions

  1. In a medium bowl, add the butter, agave, egg, and vanilla.
    This is an overhead horizontal image of a stainless steel mixing bowl with melted butter and an egg cracked into it. The bowl sits on a dark pink surface.
  2. Whisk the wet ingredients until combined.

    This is an overhead horizontal image of a stainless steel bowl with an egg mixture whisked together. A whisk is in the bowl, leaning against the side toward the bottom right corner of the image. The bowl sits on a dark pink surface.

  3. Add the almond flour, oat flour, baking powder, salt and sprinkles to the bowl.
    This is an overhead horizontal image of a stainless steel bowl with wet ingredients mixed together and dry ingredients on top, not yet mixed in. There appears to be two different kinds of dry ingredients and rainbow sprinkles. A whisk is in the bowl and leaning against the side with the handle to the bottom right corner of the image. The bowl sits on a dark pink surface.
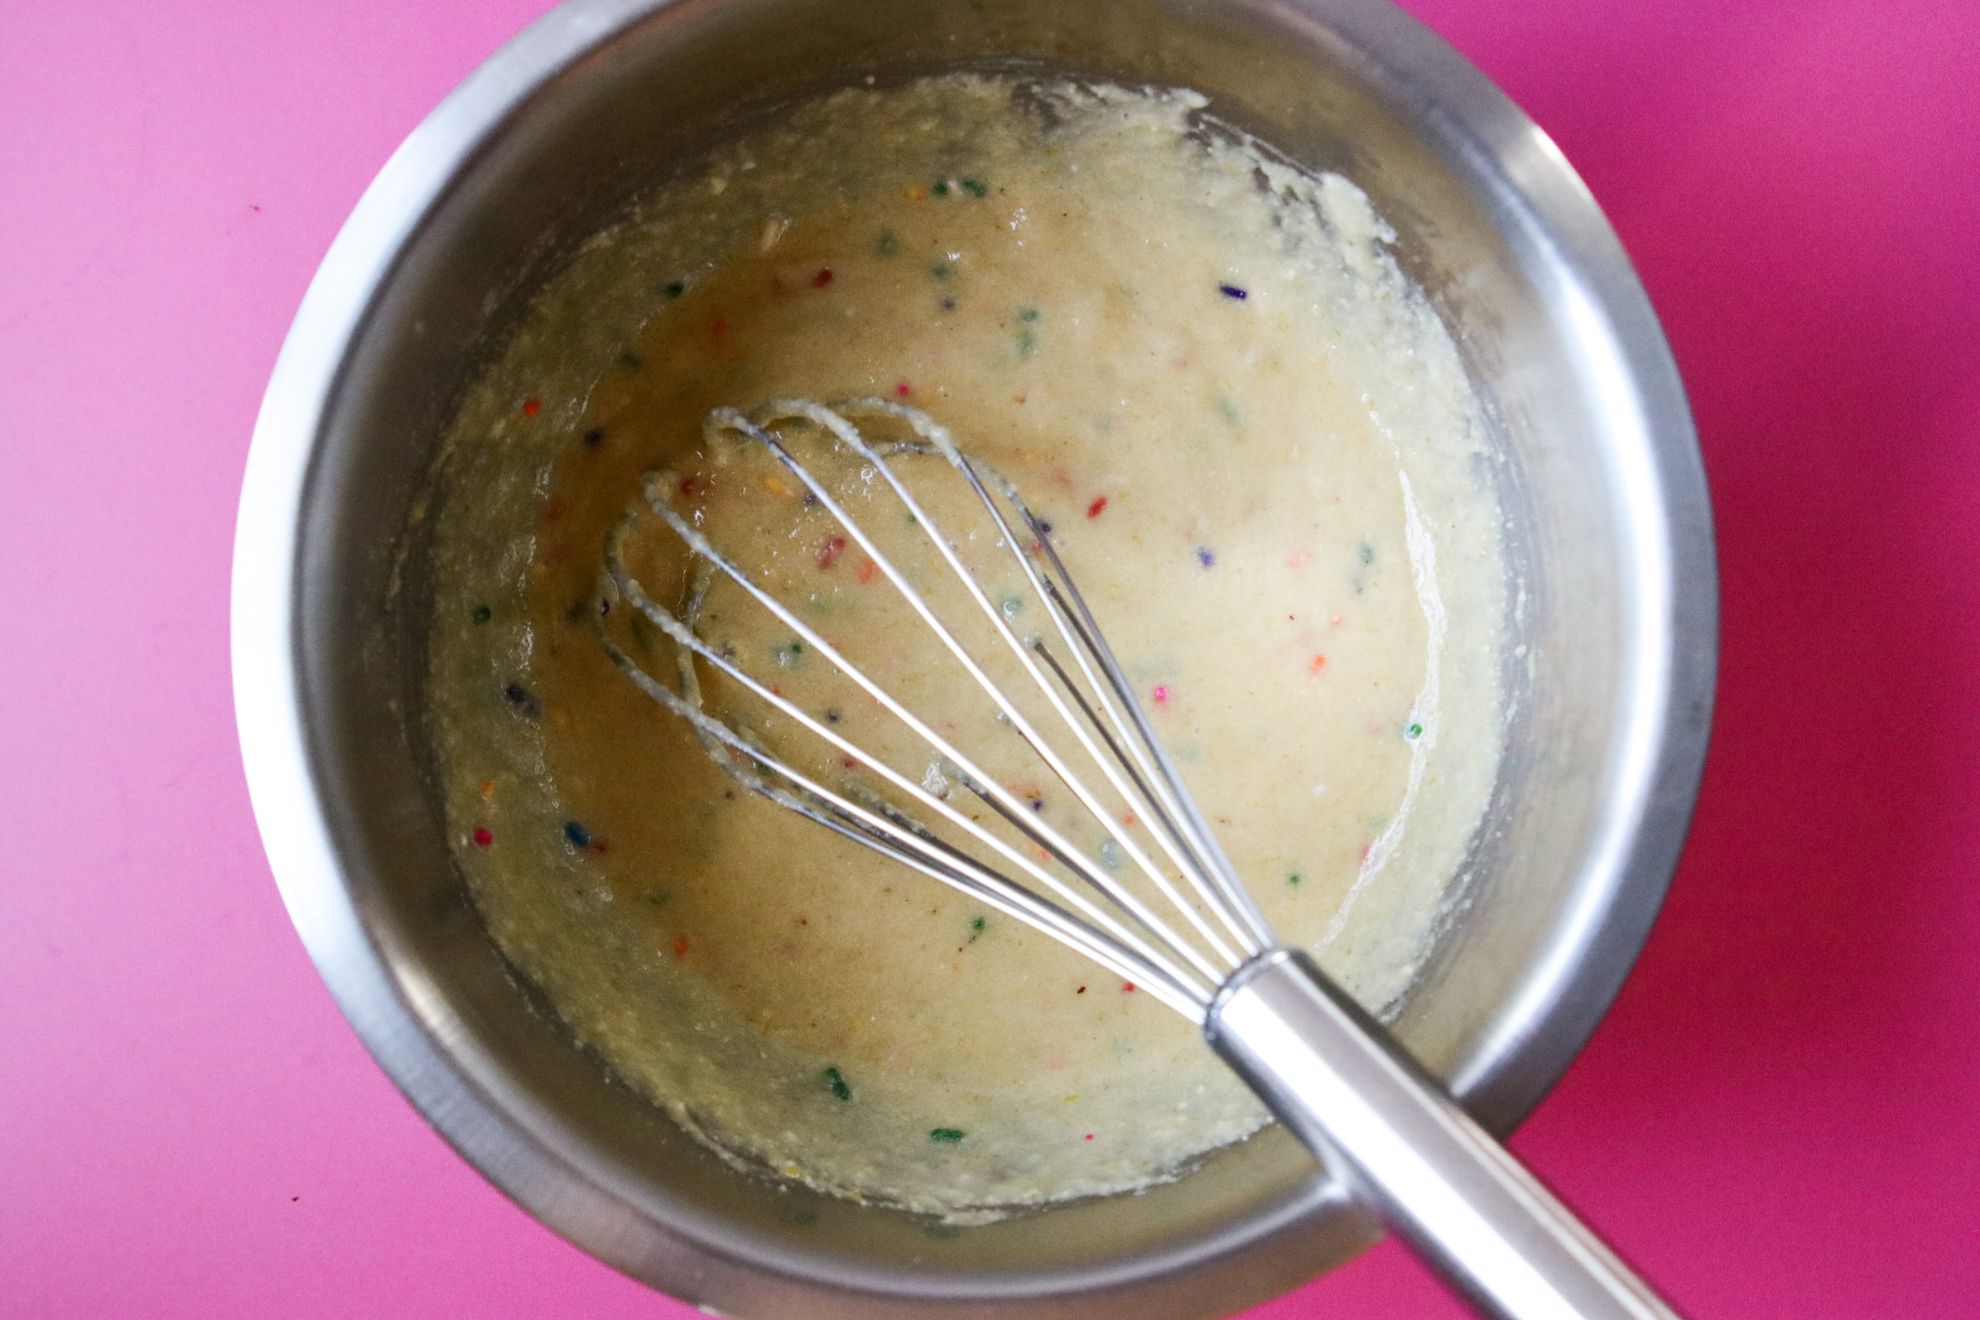
  4. Whisk in the dry ingredients until combined.
    This is an overhead horizontal image of a stainless steel bowl with a vanilla batter with rainbow sprinkles mixed in. A whisk is in the batter with the handle of the whisk leaning against the side of the bowl and angled to the bottom right corner of the image. The bowl sits on a dark pink surface.
  5. Divide the batter between two mugs and add a pinch of extra sprinkles to the tops of each.
    This is an overhead horizontal image of two white mugs with raw vanilla cake batter in it. The batter has rainbow sprinkles mixed in and more sprinkled on top. The image focuses on one mug with a second mug cut off in the bottom right corner of the image. The white mugs sit on a dark pink surface.
  6. Microwave each mug for 1 minute. Some microwaves may take more time so if the mug cake looks a bit wet around the edges, put it back in for another 30 seconds. 
    This is an overhead horizontal image of two white mugs with funfetti sprinkle cake in it. The mug cake has rainbow sprinkles mixed throughout the cake. The white mugs sit on a dark pink surface.
  7. Top with whatever you want! I added some whipped cream and more sprinkles (always!).
    This is an overhead horizontal image of two white mugs with funfetti sprinkle cake in it. The mug cake has rainbow sprinkles mixed throughout the cake, is topped with whipped cream with more rainbow sprinkles sprinkled on top. The image focuses on one white mug in the center with the second mug cut off in the bottom right corner of the image. The white mugs sit on a dark pink surface with rainbow sprinkles scattered around them.

Nutrition Info:

  • Serving Size: 1 mug
  • Calories: 515
  • Sugar: 41.5g
  • Sodium: 783mg
  • Fat: 35g
  • Saturated Fat: 15.8g
  • Unsaturated Fat: 0g
  • Trans Fat: 0g
  • Carbohydrates: 47g
  • Fiber: 1.8g
  • Protein: 6.3g
  • Cholesterol: 143mg
© The Toasted Pine Nut

Did you make this?

I love seeing what you made! Tag me on social @thetoastedpinenut

Rate recipe Tag me on Instagram

Enjoy!! xo

This is an overhead vertical image of two white mugs with funfetti sprinkle cake in them. The mug cake has rainbow sprinkles mixed throughout the cake, is topped with whipped cream with more rainbow sprinkles. The image focuses on one white mug in the center with the second mug cut off in the bottom left corner of the image. Silver spoons are digging into the cake and leaning against the side of the mug. The white mugs sit on a dark pink surface with rainbow sprinkles scattered around them. Text overlay reads "funfetti mug cake only 1-min get the recipe at thetoastedpinenut.com"
196 shares
  • Share
  • Tweet
  • Save
  • Email
overhead image of a gluten free sprinkle cookie with a bite taken out on a white counter

Never miss a recipe!

Join our pine nut family and get recipes delivered right to your inbox.

Join now!
15 no bake desserts

You May Also Like...

  • This is an overhead image of a yellow mug with fluffy banana cake with chocolate chips. The mug sits on a white counter with a couple chocolate chips on the counter.
    3-Min Moist & Fluffy Microwave Banana Mug Cake
  • overhead image of a yellow mug with a baked pumpkin cake and a spoon digging in
    1-Min Moist & Fluffy Microwave Pumpkin Mug Cake
  • side view of sprinkle funfetti cake with vanilla icing on top
    Gluten Free Funfetti Cake

Reader Interactions

Leave a Comment & Rate this Recipe Cancel reply

If you love this recipe it would mean SO MUCH to me if you give it a star rating and leave a comment about it. Not only do I love basking in the glory of your recipe love, but (perhaps more importantly 😋) it helps other readers find my recipes online. Thanks so much for your feedback!!

Have a question? Submit your question or comment below. Your email address will not be published. Required fields are marked *

Recipe rating 5 Stars 4 Stars 3 Stars 2 Stars 1 Star

  1. AvatarJustina says

    Posted on 6/22/20 at 12:14 pm

    I made this today and boy or boy was it delicious!! I didn’t microwave it instead threw it in the oven for I guess less than 20 minutes under 350 C. I did brown it a bit under but it was still moist and fluffy. Think I’ll microwave it next time:)

    Reply
    • Lindsay Grimes Freedman says

      Posted on 8/5/20 at 11:44 am

      Yay! I’m so happy you loved it!! Funfetti is just the best 🙂

      Reply
  2. AvatarDiana says

    Posted on 11/8/20 at 8:32 am

    OMG this looks soooo good!! I want to try it so bad! Unfortunately, I’m out of almond flour.. would it be possible to make this with rice flour?

    Reply
    • Lindsay Grimes Freedman says

      Posted on 11/8/20 at 4:56 pm

      You could give it a try! I’ve never tested it so I don’t know how it would go. Let me know how you make out!! xo

      Reply
Older Comments

Primary Sidebar

Lindsay

Nice to Meet You!

I’m Lindsay - cookbook author, blogger and chocolate lover! If gluten-free desserts are your jam, you’re in the right place! I live in south Jersey with my family and new puppy Roxie! Some of my favorite things are oat milk lattes, sunny days and warm, gooey chocolate chip cookies.

Read more...

Recipe Key

GF Gluten-Free DF Dairy-Free V Vegan VG Vegetarian EF Egg-Free NF Nut-Free P Paleo Browse All

Most Popular

This is a horizontal image of a hand with deep pink nail polish holding a chocolate quinoa crisp in between their thumb and pointer finger. More chocolate quinoa crisps are blurred in the background.

5-Minute Crunchy Chocolate Quinoa Crisps

overhead image of a muffin tin filled with 12 raw eggs sprinkled with pepper

Perfect Oven-Baked Eggs in a Muffin Tin

This is a side view of a chocolate almond butter bar with a bite taken out of it. The bar sits on a white piece of parchment paper and is sprinkled with salt. More bars are blurred in the background.

No Bake Almond Butter Bars

Lemon & Avocado Kale Salad

Freebie alert!

Get My Free No Bake Desserts eBook!

Explore

More Cakes & Cupcakes

This is a vertical image looking down onto a white piece of parchment paper with a piece of coffee cake leaning on its side so you can see the thick layer of crumble topping and fluffy tender cake. The cake leans against another piece of coffee cake to the bottom right corner of the image. Another piece of coffee cake is in the top left corner of the image. Some caramel and crumbs are on the parchment paper to the bottom left corner of the image.

Tender Gluten Free Coffee Cake with Cottage Cheese

This is a vertical image looking at a cherry cheesecake square from the side. The cheesecake is light pink, has a graham cracker crust, and swirls of cherry jam on top. A silver fork has a bite of cheesecake on it and lies on the white surface in front of the cheesecake square. More cherry cheesecake squares are blurred behind and to the side of the slice in focus.

Silky Sweet No Bake Cherry Cheesecake (with cherry jam!)

This is a vertical image of a mini bundt cake on a small white plate. The image is looking at the cake from the side. The cake has a white glaze on top and dripping down the sides and middle. A white sugar flower is on top of the bundt cake and a fork is on the right side of the image leaning against the side of the plate. Another plate with a mini bundt cake and a lemon wedge is on a small white plate blurred in the background.

Sweet & Tangy Mini Lemon Bundt Cakes (with almond flour)

This is a vertical image of mini layered carrot cakes on a cooling rack. The cooling rack sits on a white surface. The cakes have a layer of cream cheese frosting in the middle and frosting on the top with a candy carrot. The image focuses on on cake but more are blurred around the cake on the cooling rack. A single white tulip is in the bottom left corner of the image.

Moist Mini Layered Carrot Cakes (with almond flour)

Browse All
15 No bake desserts

Download my FREE No Bake Dessert Ebook!

As seen on:

Food Network
Shape
Men's Health
NBC
Kitchn
Glamour
  • Reader Faves: Gluten-Free Desserts
    • Gluten free macarons
    • Banana mug cake
    • Almond butter bars
    • Peanut butter Cheerio bars
    • Chia seed cookies
    • More gluten-free desserts
  • Top Chocolate Desserts
    • Chocolate quinoa crisps
    • Microwave baked oats
    • Hot chocolate bombs
    • Chocolate banana bread
    • Peanut butter brownies
    • All chocolate recipes
  • DIY & How To
    • Dried orange garland
    • How to melt chocolate chips
    • DIY face oil
    • Oven-baked eggs in a muffin tin
    • How to make taco seasoning
    • How to make oat milk in 5 minutes
  • Explore Resources
    • FAQ
    • My Baking Mixes
    • Cookbook
    • Shop Favorites
    • Web Stories
    • Meet Lindsay
Follow

@thetoastedpinenut

Accessibility

Privacy Policy

Disclaimer

Contact

© 2025 The Toasted Pine Nut
|
Site Credits Designed by Melissa Rose Design Developed by Once Coupled Support by Foodie Digital
Back to Top
196 shares