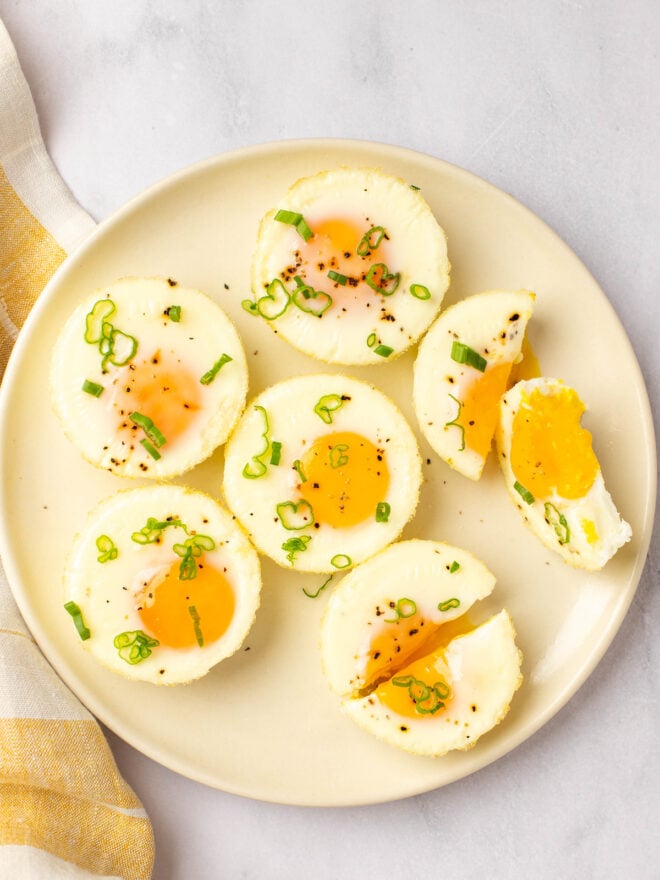
This recipe is perfect if you meal prep and want to batch prep some Oven-Baked Eggs in a Muffin Tin. They’re perfect for breakfast or snacking throughout the day.
Today I’m going to show you how to make both hard-boiled and soft-boiled eggs in your oven so you can customize the type of egg depending how you like it!
Are these Shirred Eggs?
Yep! Shirred eggs are a type of baked eggs that are cooked in a shallow dish, often with a small amount of milk or cream. Shirred eggs are often served with a variety of toppings, such as cheese, herbs, or bacon, and they can be enjoyed as a breakfast or brunch dish.
These are a very basic version of a shirred egg that can be dressed up in any way you like!
Tips for making perfect oven-baked eggs in a muffin tin:
1. Hard-boiled oven-baked eggs
Hard-boiled eggs are eggs that have been cooked until the whites and yolks are fully set.
- Cook time: 20 min
- Oven temperature: Preheat your oven to 350F
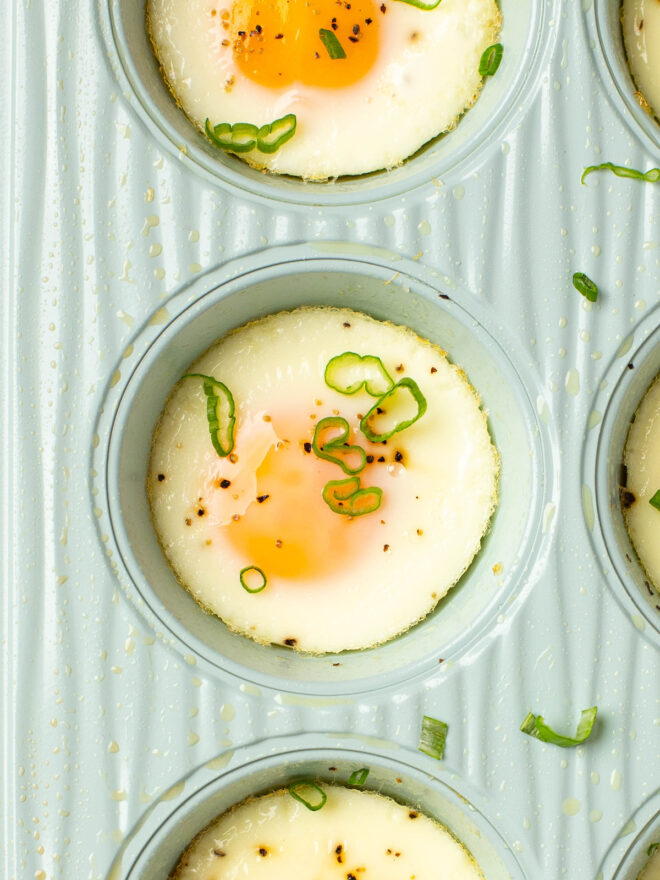
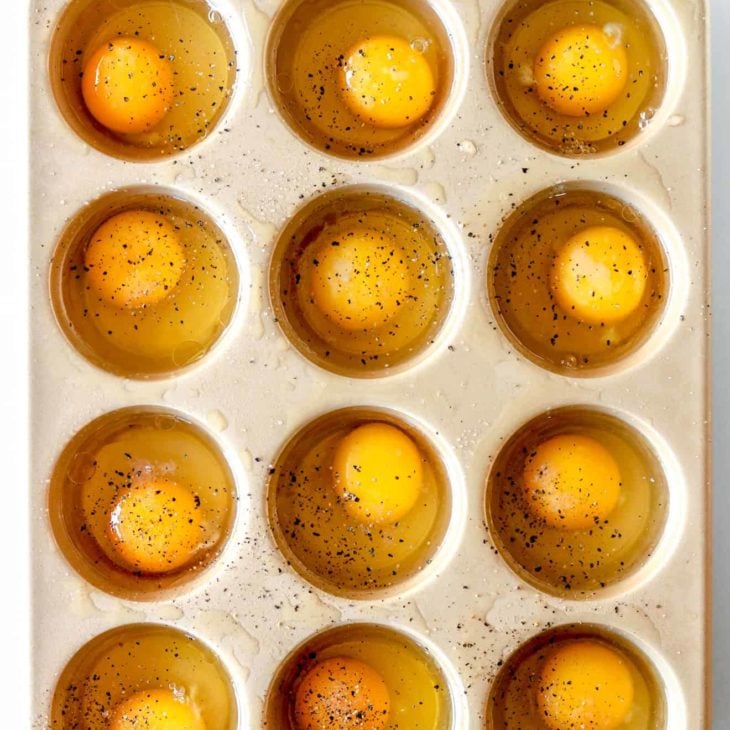
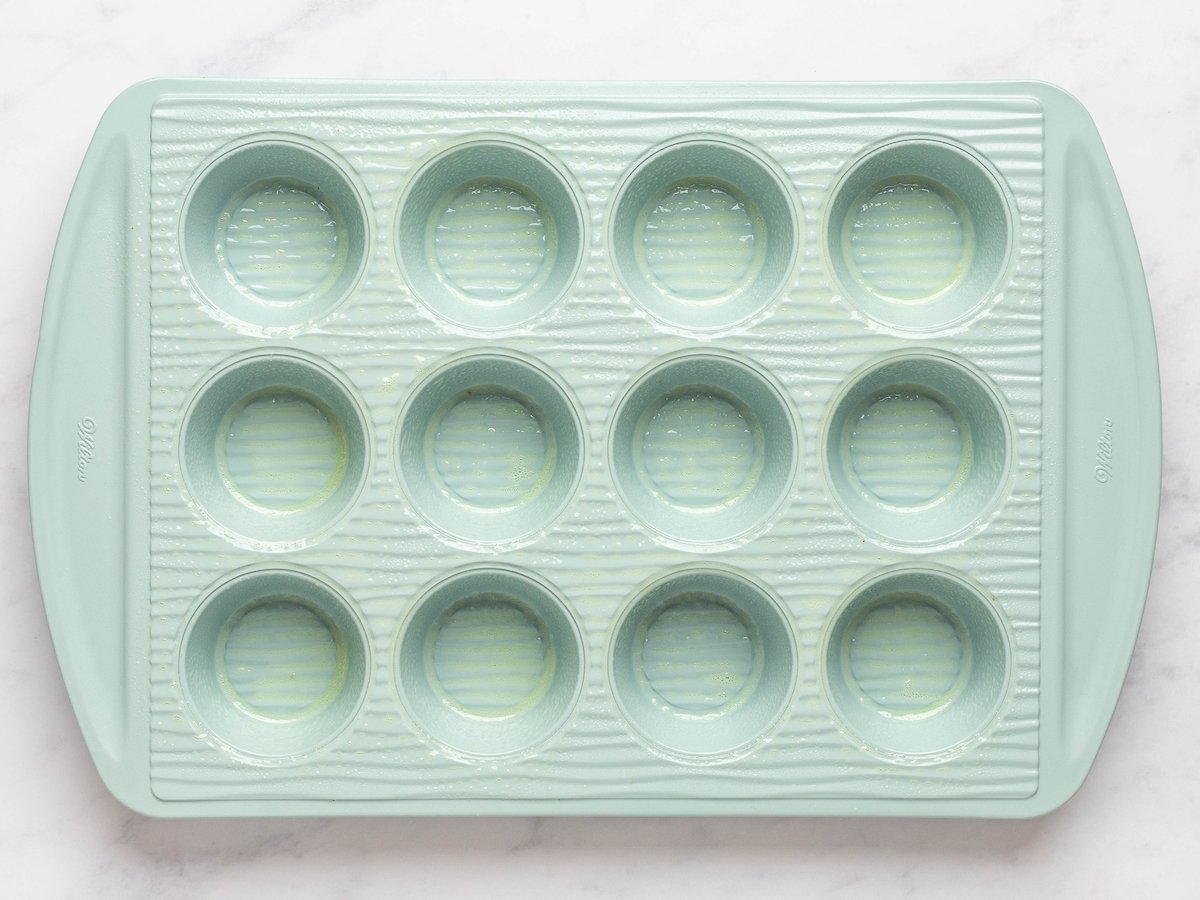
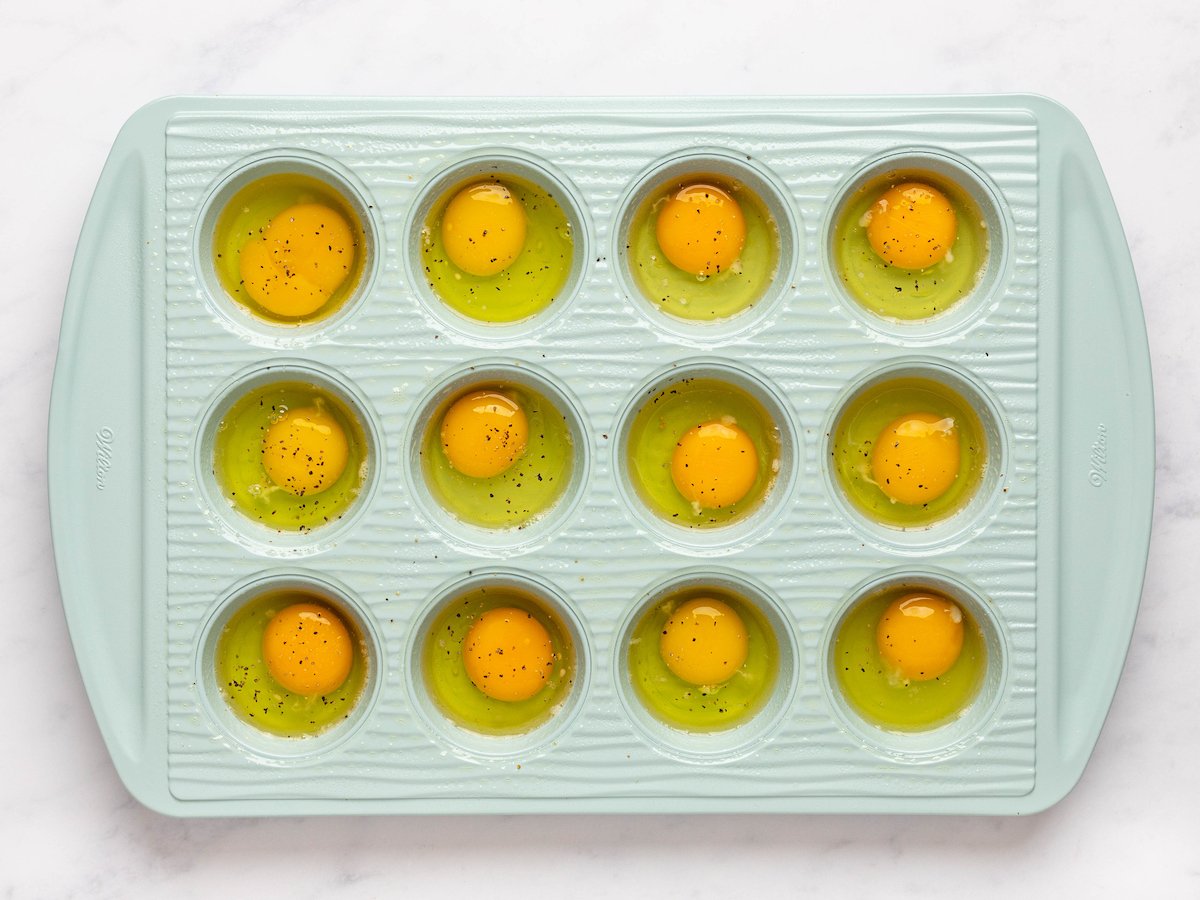
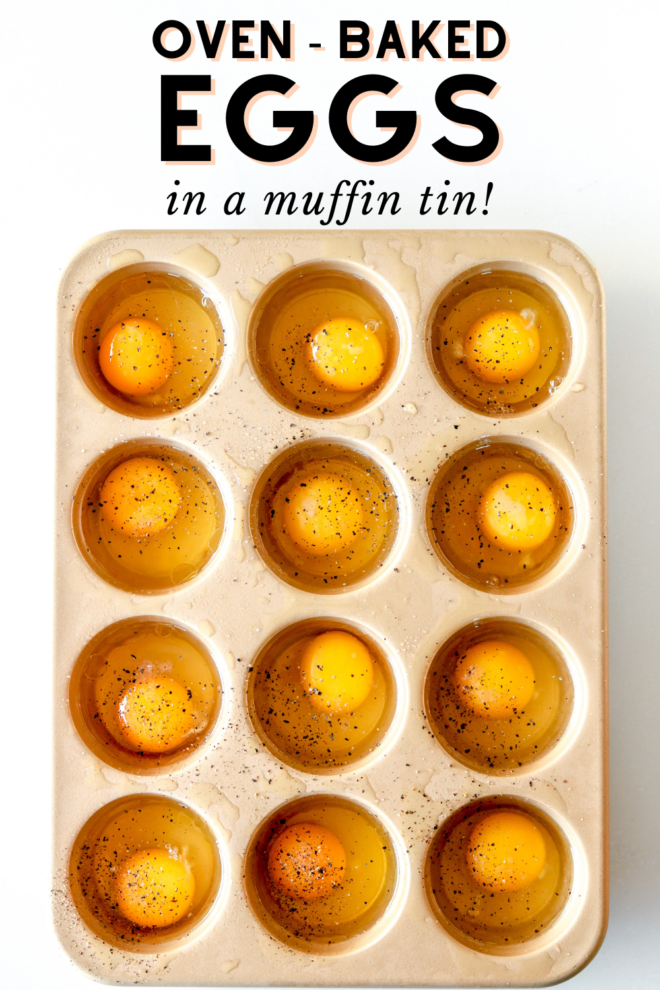
- Spray a 12 cup muffin tin with your favorite cooking oil. Gently crack the eggs into the muffin tin.
- Sprinkle with salt and pepper.
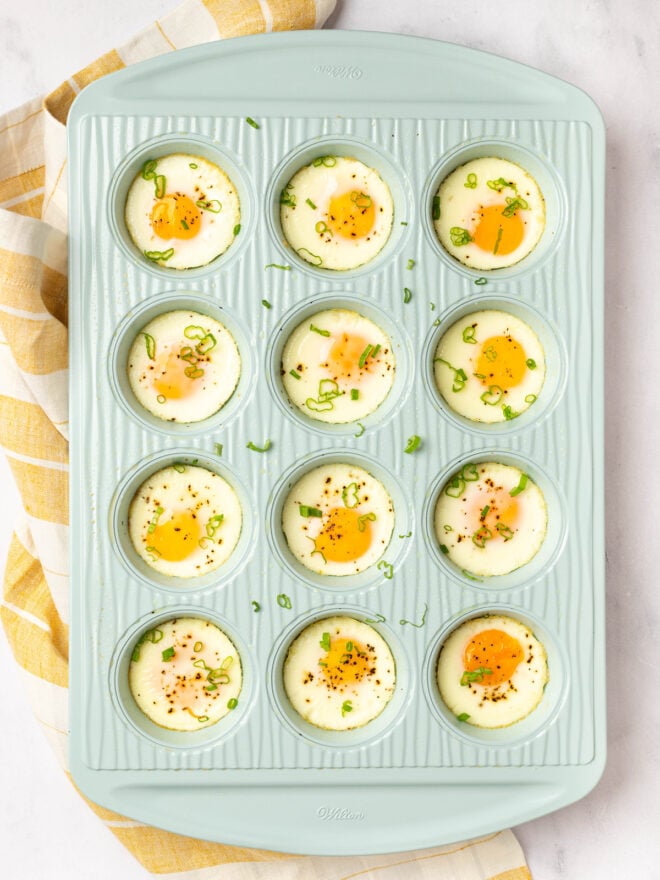
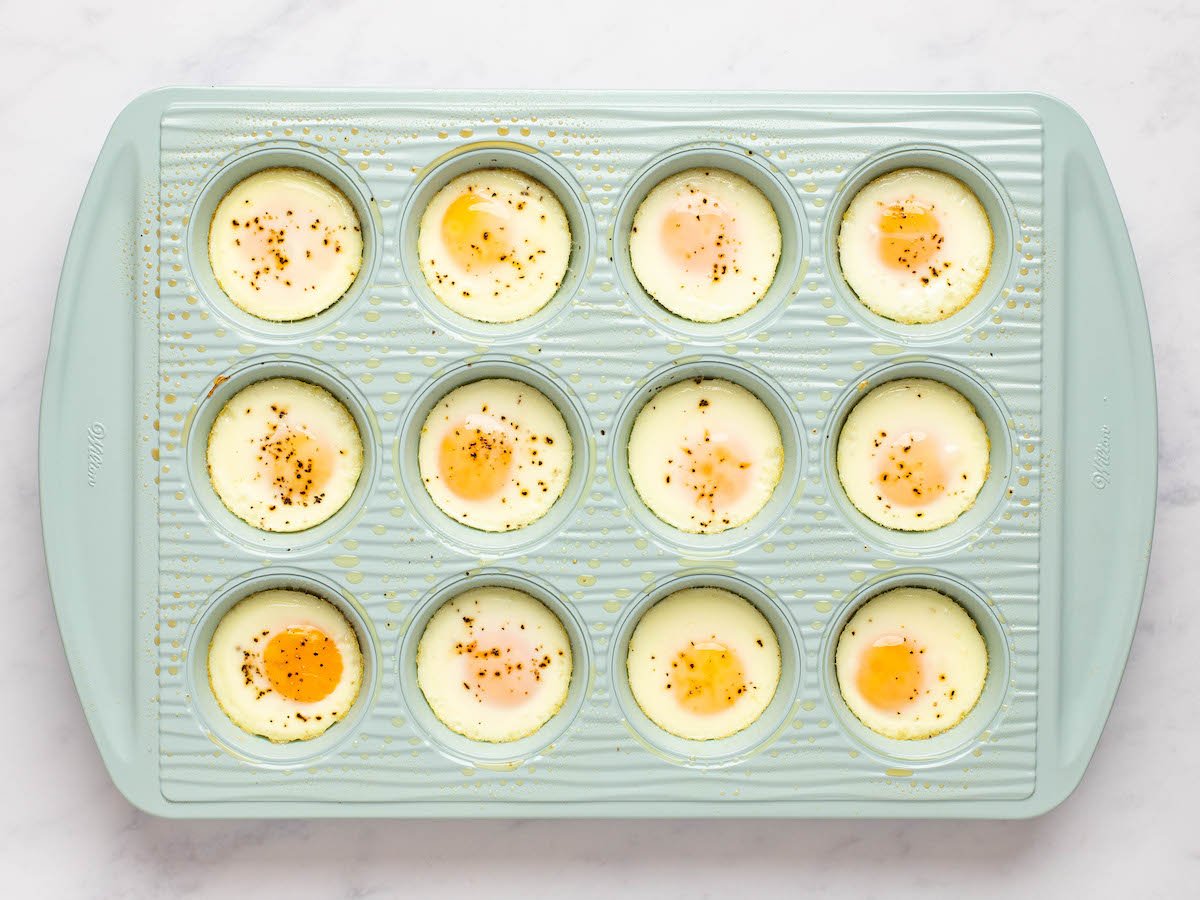
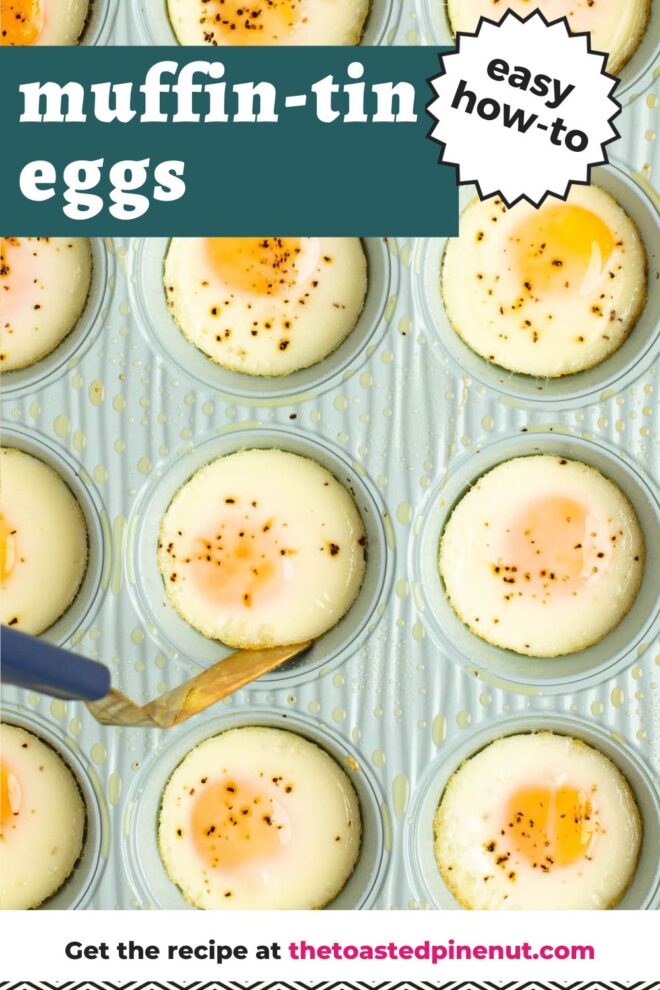
- Bake the eggs for 20 minutes until the clear part of the eggs are white.
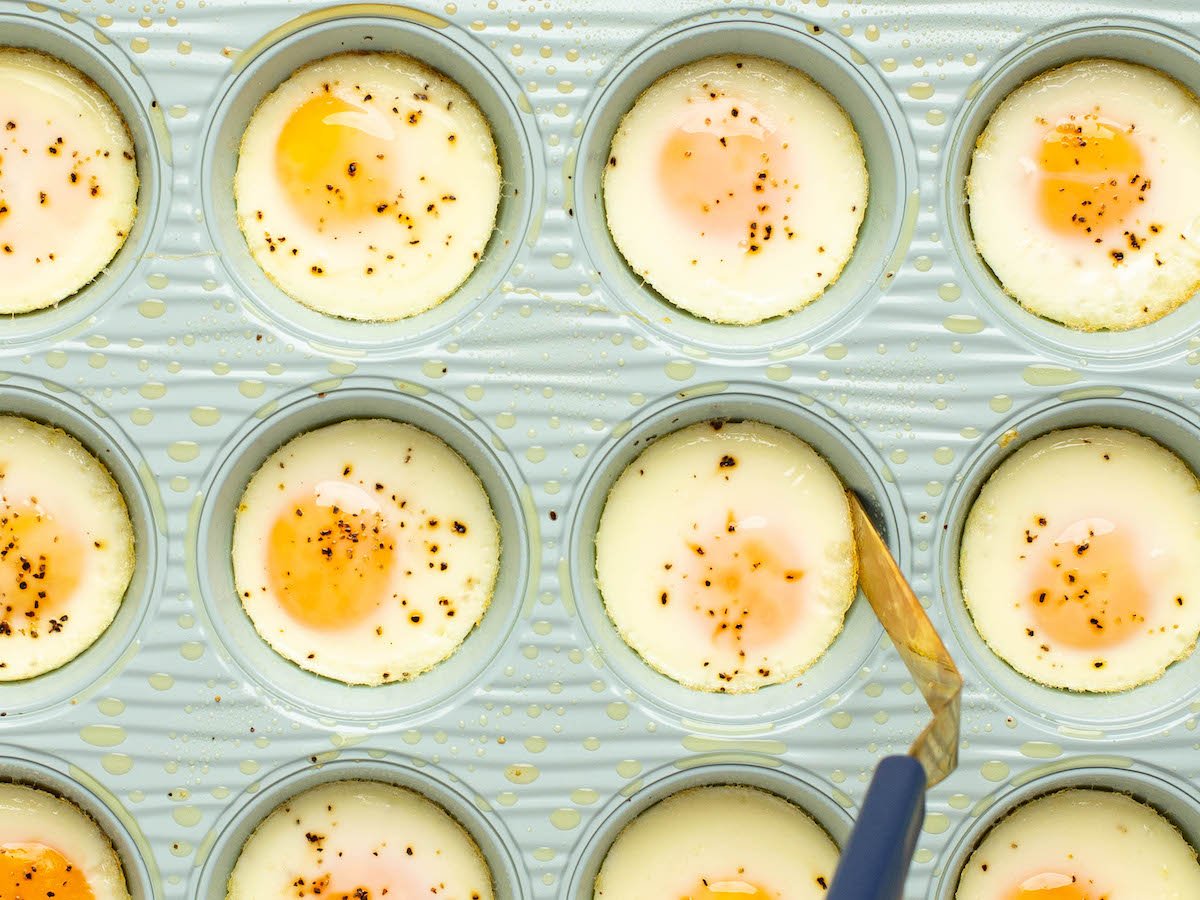
- Use a butter knife to slide around the edges to remove the eggs from the muffin tin.
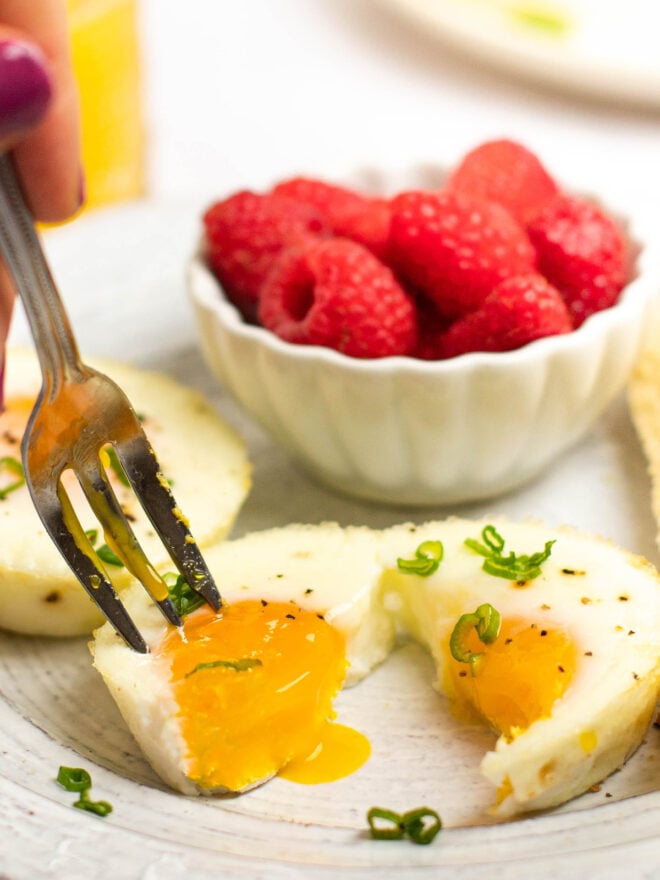
2. Soft-boiled oven-baked eggs
A soft-boiled egg is a type of egg that is cooked until the white is set and the yolk is still soft.
- Cook time: 10 minutes
- Oven temperature: preheat your oven to 350F.
- Spray a 12 cup muffin tin with your favorite cooking spray. Gently crack the eggs into the muffin tin.
- Sprinkle with salt and pepper.
- Bake the eggs for 10 minutes until the clear art of the eggs are white, and the yolk is still drippy.
- Use a butter knife to slide around the edges to remove the eggs from the muffin tin.
Can I Make these Scrambled?
Absolutely! They would be similar to a mini omelette. Use a fork to beat the eggs before you transfer them to the muffin tin. Or, you can beat them directly in the tin after you crack them in.
Why you’ll love these “hard-boiled” style eggs:
- Convenient: Hard-boiled eggs are easy to prepare and can be stored in the refrigerator for several days, making them a convenient snack or breakfast option.
- Versatile: Hard-boiled eggs can be eaten on their own or used in a variety of dishes, such as deviled eggs, egg salad, or as a topping for salads.
- Flavor: Some people enjoy the rich, savory flavor of hard-boiled eggs.
Overall, the combination of their nutrition, convenience, versatility, and flavor make hard-boiled eggs a crowd favorite.
Why you’ll love these “soft-boiled” style eggs with the drippy yolk:
- Texture: The soft yolk of a soft-boiled egg has a creamy, velvety texture that some people strive for time and time again.
- Flavor: The yolk of a soft-boiled egg is rich and flavorful, and the whites are tender and delicate. This combination of flavors and textures is pure perfection.
- Easy to prep: Soft-boiled eggs are very easy to prepare and only take a few minutes to cook, especially when you make them in the oven! They are a convenient and quick snack or breakfast option.
- Versatility: Soft-boiled eggs can be served on their own or used as an ingredient in a variety of dishes, such as salads, sandwiches, and more.
The combination of their creamy texture, rich flavor, and versatility make soft-boiled eggs a popular choice for many people.
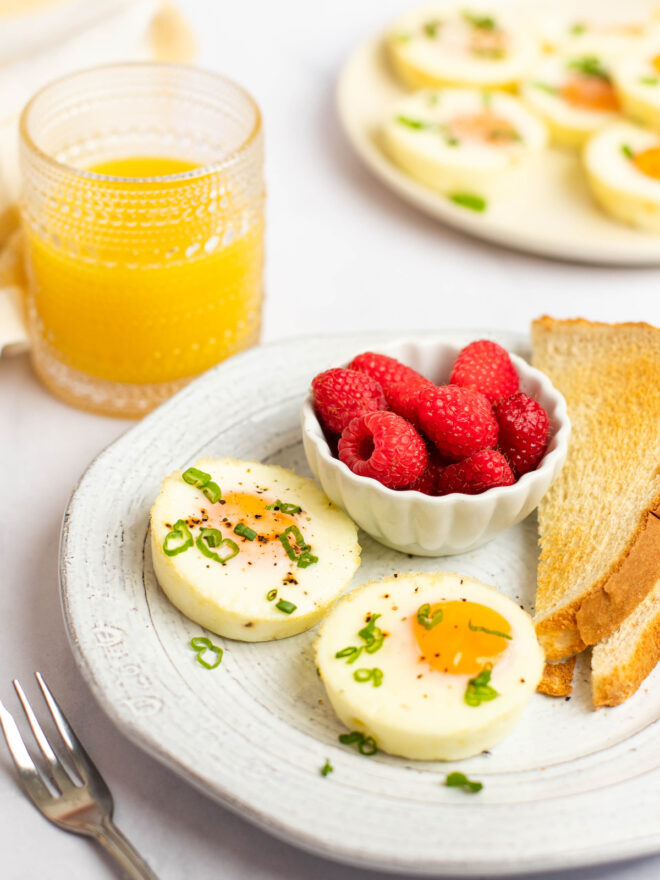
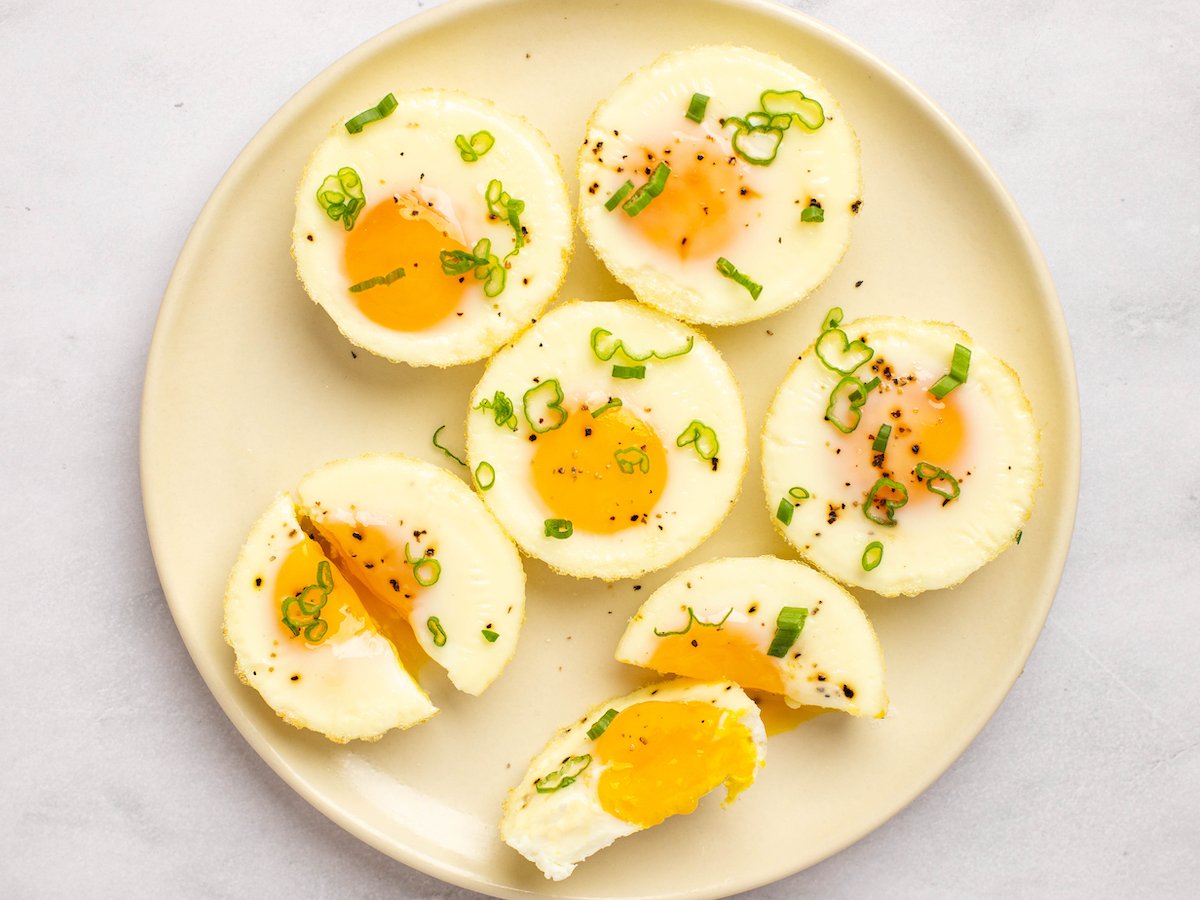
You could pop these eggs on top of an avocado toast, a salad, or literally just east it as is. I sprinkled with some simple salt and pepper, but get creative!
Add some shredded cheese or some everything bagel seasoning. Pop some sun-dried tomatoes or little bites of bacon in there.
Other egg recipes you may like:
- asparagus & goat cheese quiche
- bacon & blue cheese egg muffins
- caramelized onion bacon gruyere quiche
- southwestern sweet potato egg bake
- roasted red pepper sous vide eggs
 Recipe
Perfect Oven-Baked Eggs in a Muffin Tin
Learn how to bake eggs in the oven! They’re crazy easy to pop in the oven and perfect for meal prepping breakfasts and snacks for the week!
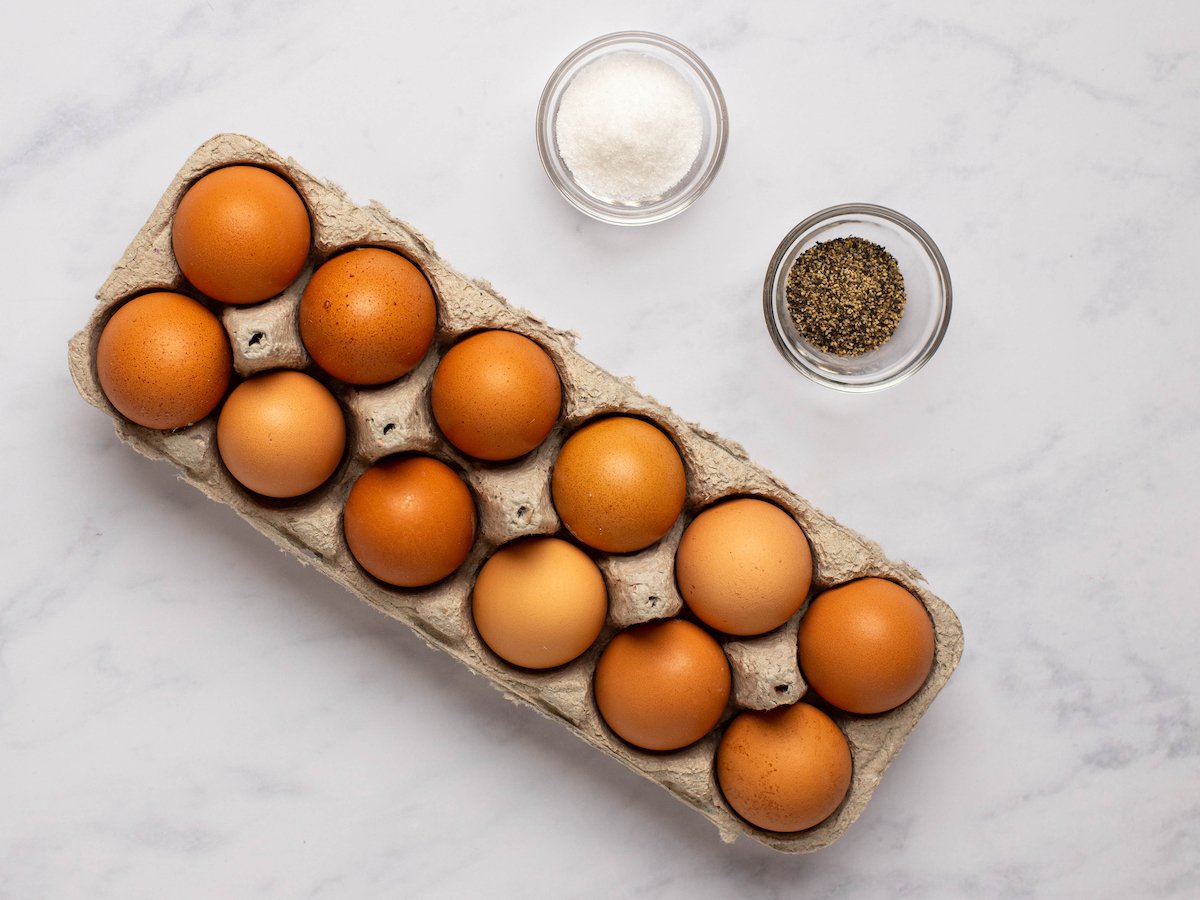
Ingredients
- 12 eggs
- cooking spray (I like avocado oil spray)
- salt and pepper
Instructions
- Preheat oven to 350F and gather your ingredients.

- Spray the muffin tins with cooking spray.
- Gently crack the eggs into the muffin tins and sprinkle with salt and pepper.
- Bake for 10 minutes until the clear part of the eggs are white and the yolk is still drippy. If you want hard boiled eggs, bake for 20 minutes total.
- Use a butter knife to slide around the edges to remove the eggs from the tins.
- Serve with a side of your favorite breakfast foods! Try Sweet & Crispy Air Fryer Bacon and Savory Spinach & Feta Muffins!
Tips
Food photography by Dalya Rubin.
Nutrition Info:
- Serving Size: 1 egg
- Calories: 64
- Sugar: 0.3g
- Sodium: 159mg
- Fat: 4.4g
- Saturated Fat: 1.4g
- Unsaturated Fat: 0g
- Trans Fat: 0g
- Carbohydrates: 0.4g
- Fiber: 0g
- Protein: 5.5g
- Cholesterol: 164mg
Enjoy!! xo


Love this make breakfast ahead for the week. Bring to work and just pop in microwave for a minute
They’re so simple and perfect for meal prep! I’m so happy you love them! xo
I looked for a good half hour on Pinterest trying to find a recipe that told me how long and at what temp to do eggs in the oven. I finally gave up and just googled it, and there you were!!! Thank you so much for putting this o line!!!
Yay! I’m so happy you found me!! Hope your eggs were delish 🙂
I had been doing soft boiled eggs in the oven but still in the shell and hated peeling them! These were perfect and are a total game changer thank you!
Yay!! I’m so happy you are loving this method!! xo
Turned out perfect dipping eggs in 10 minutes!
Love it!! So happy you enjoyed!! xo
For your Perfect Oven-Baked Eggs in a Muffin Tin, you say cook time for soft boiled eggs is 10 minutes, and just a few lines down you say bake for 15 minutes. Please clarify. Also how long would I cook the eggs for soft boiled at an altitude of 5,000 feet?
Hi Nancy – it’s 10 minutes for soft boiled. I’m sorry for the typo!