I went through a serious cinnamon bun phase. I think it started in middle school when my parents gave me $20 to go to the mall. Instead of buying clothes or accessories or shoes, I hung around the food court and bought some treats.
The mall food court is how I discovered double doozies (cookie sandwiches with icing in the middle) and that asking for an extra cup of icing at Cinn-a-Bon is totally necessary.
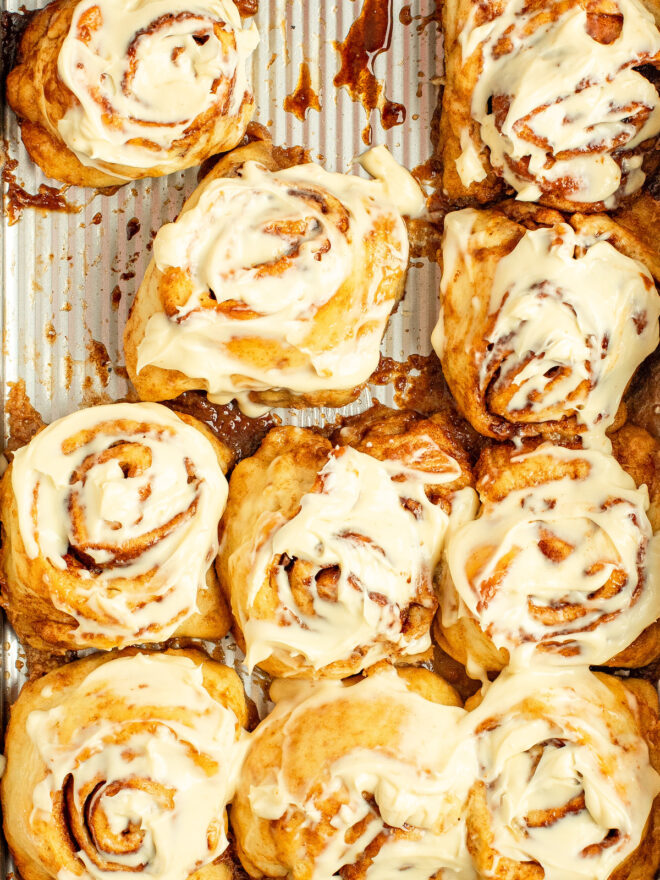
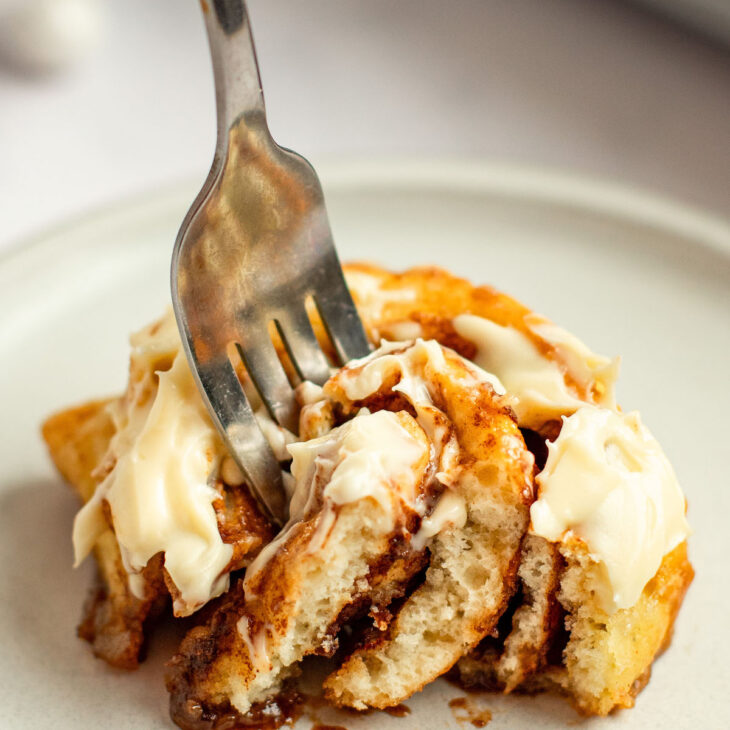
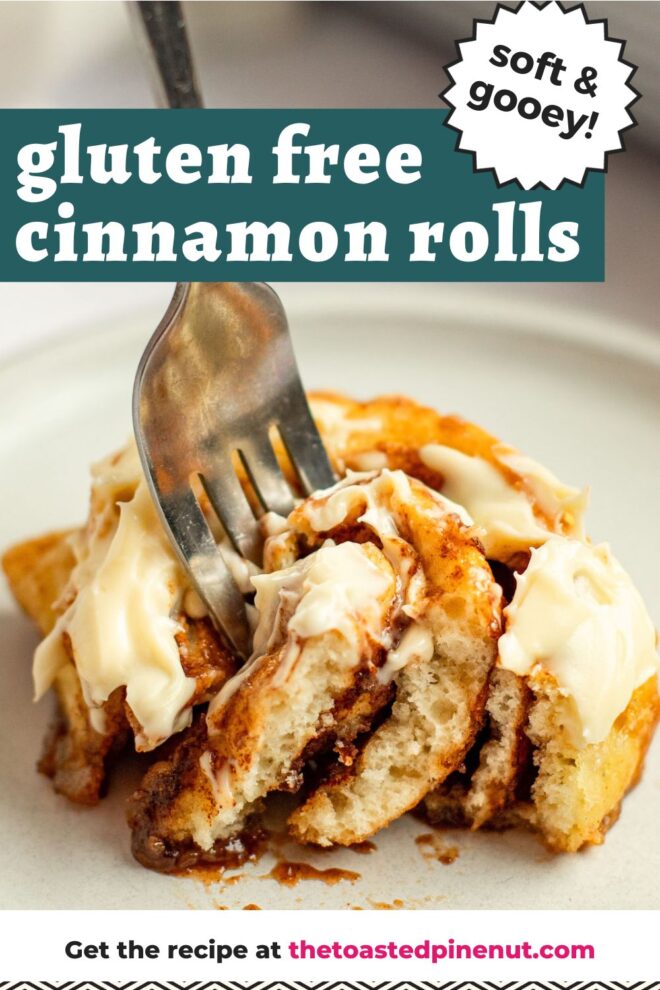
Today I’m bringing my love for cinnamon buns onto the blog and sharing these incredible gluten free cinnamon rolls. They’re soft and cinnamon-y and pretty easy to make so don’t get intimidated!
Gooey, decadent homemade baked goods are my all-time favorite. Forever. If you’re into them too, try my 10 Minute Warm & Gooey Hot Chocolate Dip, 1-Min Quickie Gooey Chocolate Mug Cake and Fudgey Chocolate Brownie Crinkle Cookies. You won’t regret it.
Why You’ll Love these Gluten Free Cinnamon Rolls
Rich and Sweet. The combination of cinnamon, sugar, and butter creates a deliciously indulgent filling that caramelizes during baking, resulting in a gooey, sugary center.
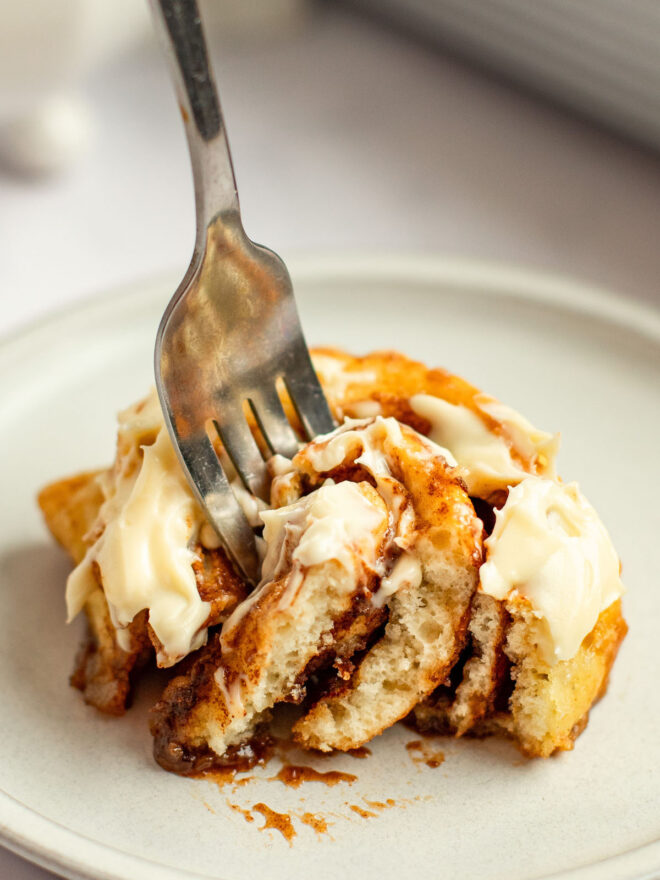
Soft and Gooey. The texture of a drool-worthy cinnamon roll is soft, tender, and gooey. When baked, the filling melts and oozes, creating a sticky and gooey interior. The contrast between the soft, pillowy dough and the gooey, caramelized filling adds to the overall indulgence of biting into a cinnamon roll.
The smell! If you want your house to smell like heaven, make a batch of these cinnamon rolls! The gooey cinnamon middle will flood your house with cozy, warm, homemade love kinda feels.
Ingredients for Gluten Free Cinnamon Rolls
For the rolls:
Granulated Sugar. Sugar adds sweetness to the dough and provides food for the yeast helping the dough to rise.
Whole Milk. Milk adds moisture and fat to the dough, making the cinnamon rolls tender and flavorful. In gluten-free baking, moisture is crucial as gluten-free flours tend to be dry. If you need or want to, feel free to sub in your favorite dairy free milk.
Rapid-Rise Dry Yeast. Yeast ferments the sugars in the dough, producing carbon dioxide which makes the dough expand and rise.
Eggs. Eggs provide structure, stability, and moisture to the dough. They also contribute to the overall richness of the rolls. I haven’t tested this recipe with egg replacers so if you do any experimenting, let me know how it goes!
Apple Cider Vinegar. In gluten-free baking, acids like vinegar help strengthen the texture and rise of the dough.
Vanilla Extract. Vanilla extract enhances the flavor and cozy flavors of the rolls.
All-Purpose Gluten-Free Flour. Gluten-free flour is the base of the dough. I link to my favorite gluten free flour in the recipe card below, but any typical all0purpose gluten free flour should work nicely.
Baking Powder. Baking powder provides additional leavening, helping the dough rise. It’s especially important in gluten-free baking where the dough lacks the structure that gluten provides.
Salt. Salt enhances the flavor of the dough and regulates the yeast activity. It also strengthens the dough structure.
Unsalted Butter. Butter adds richness and flavor to the dough. It also contributes to the soft, tender texture of the cinnamon rolls.
Heavy Cream. Heavy cream, when drizzled around the rolls as they bake, adds moisture and richness to the rolls.
Gluten Free Cinnamon Roll Filling:
Softened Unsalted Butter. Butter in the filling adds a creamy texture and rich flavor. It gives the cinnamon sugar something to stick to!
Brown Sugar (or Coconut Sugar). Brown sugar is a classic choice for cinnamon roll filling. It melts and caramelizes during baking, creating a gooey, sweet, and slightly molasses-flavored filling. Coconut sugar can be used as a healthier alternative with a similar caramel flavor.
Ground Cinnamon. Cinnamon is the star flavor of cinnamon rolls. It provides a warm, aromatic spiciness that pairs perfectly with the sweetness of the sugar and butter.
How to Make Gluten Free Cinnamon Rolls
Make the Dough
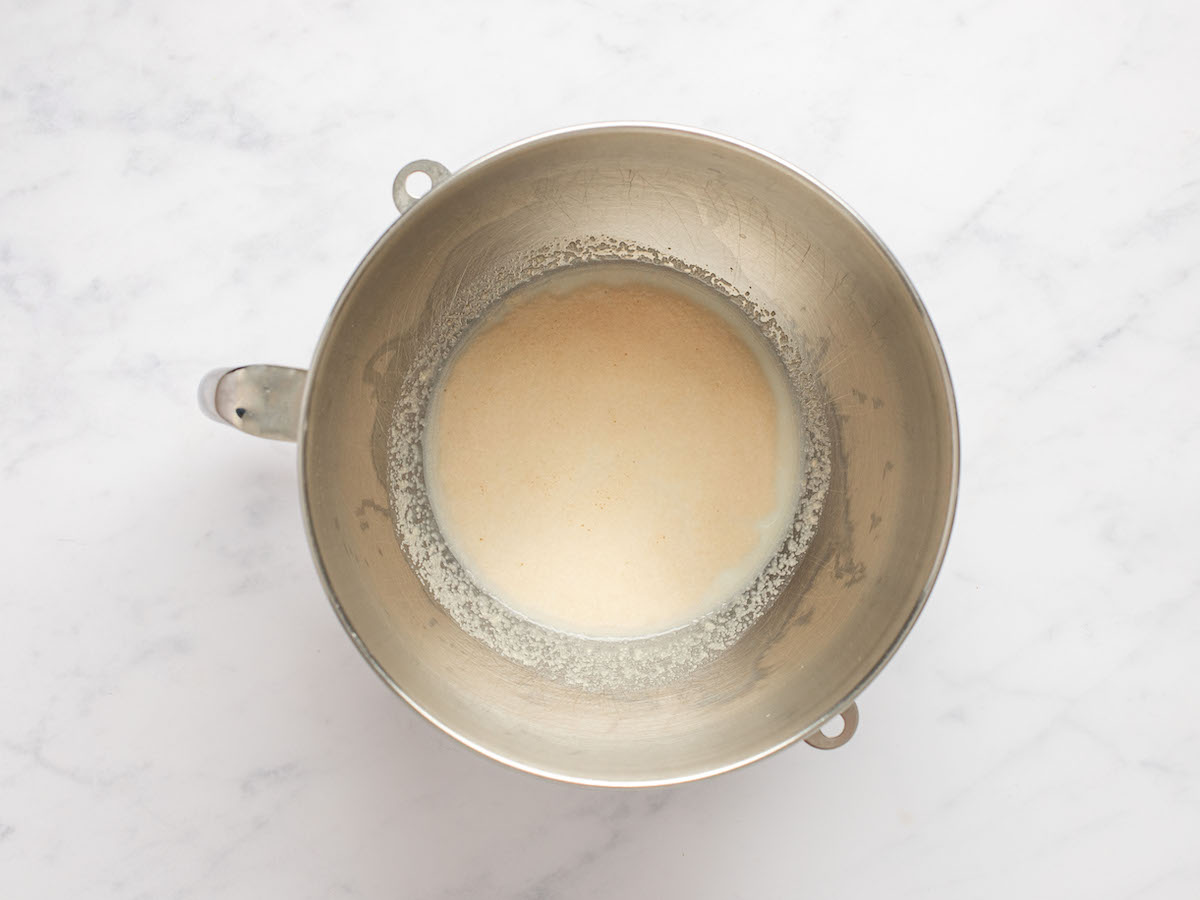
Add the warmed milk and sugar to the bowl of a standing mixer. Sprinkle the yeast on top and allow to sit for 2 – 5 minutes until it blooms with small bubbles and a yeasty smell.
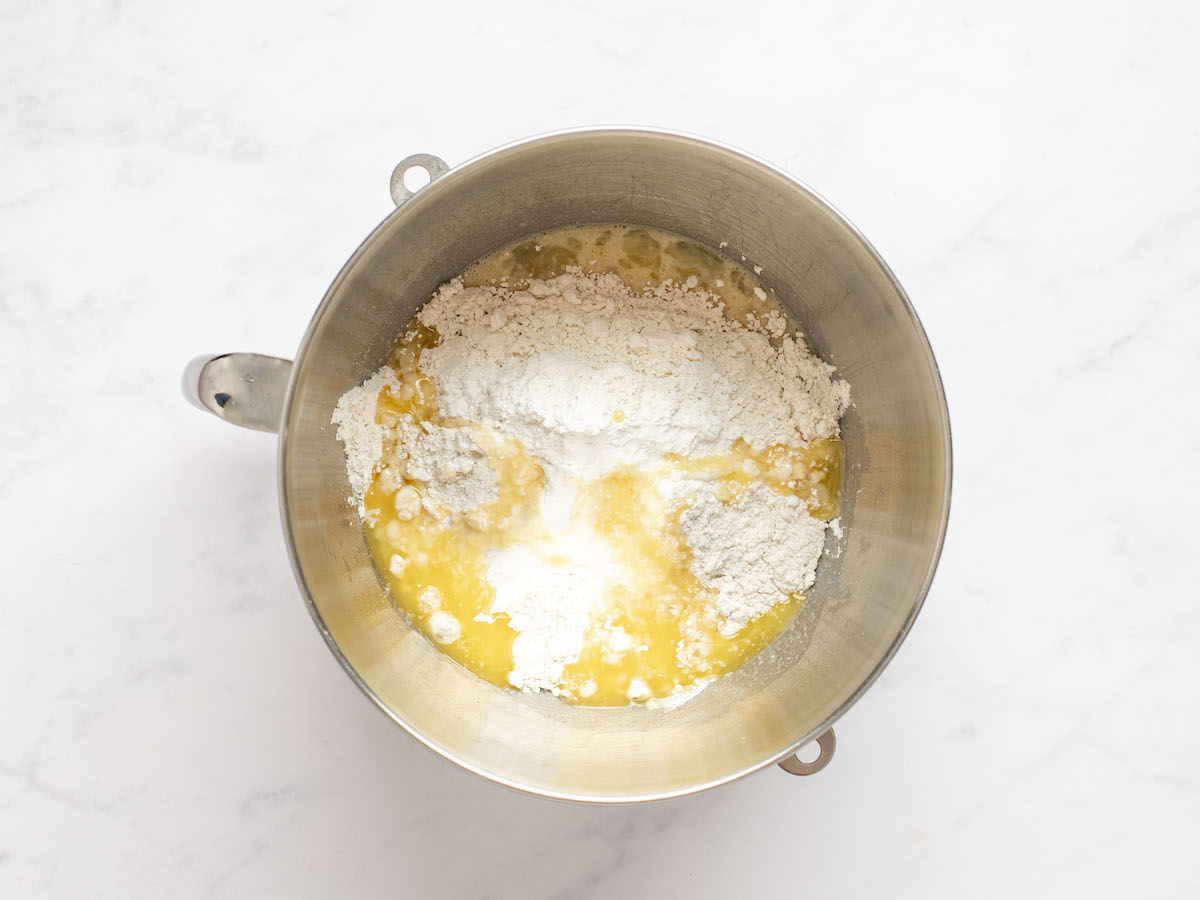
Next, add the room temperature eggs, apple cider vinegar, and vanilla extract. Give it a quick mix before adding in the flour, baking powder, salt and melted butter. Use the mixer’s dough hook attachment to incorporate the ingredients together for about 2 minutes.
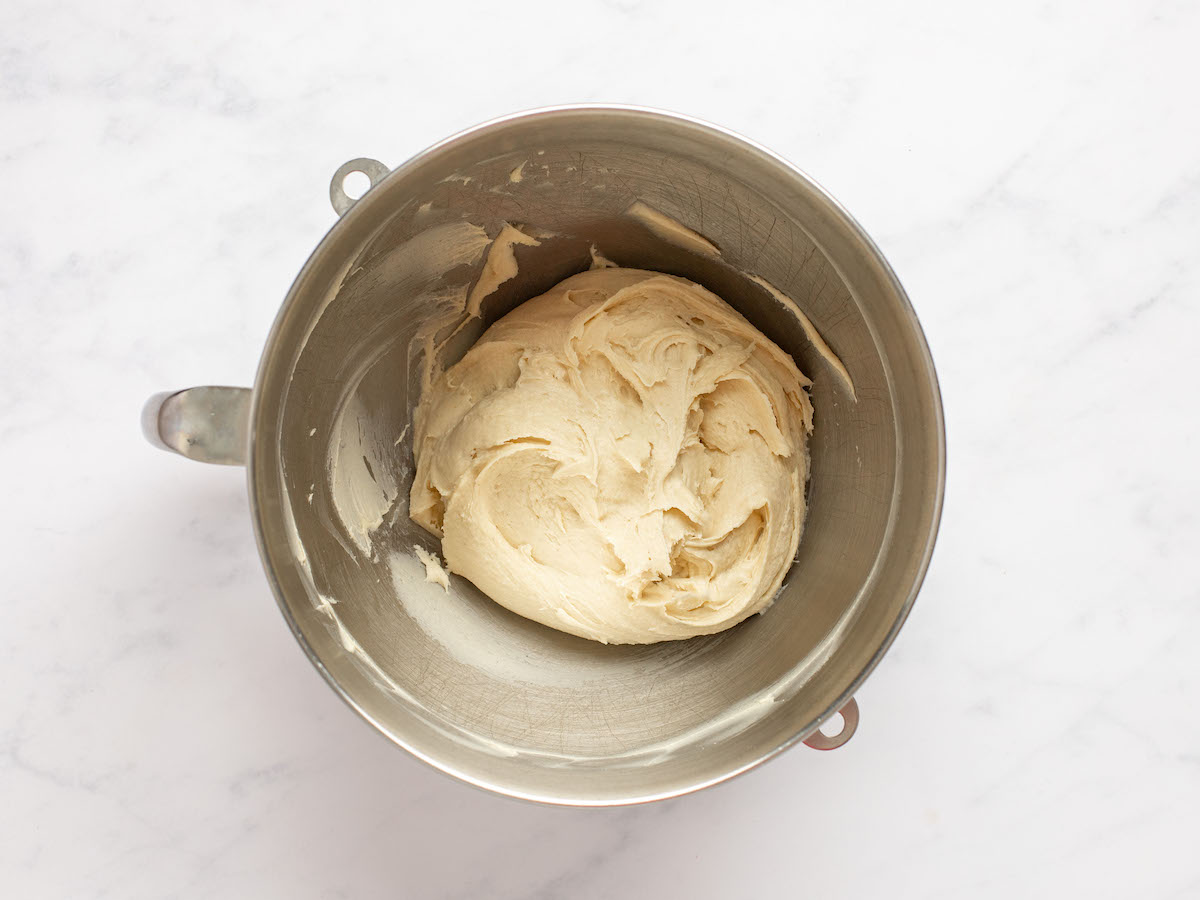
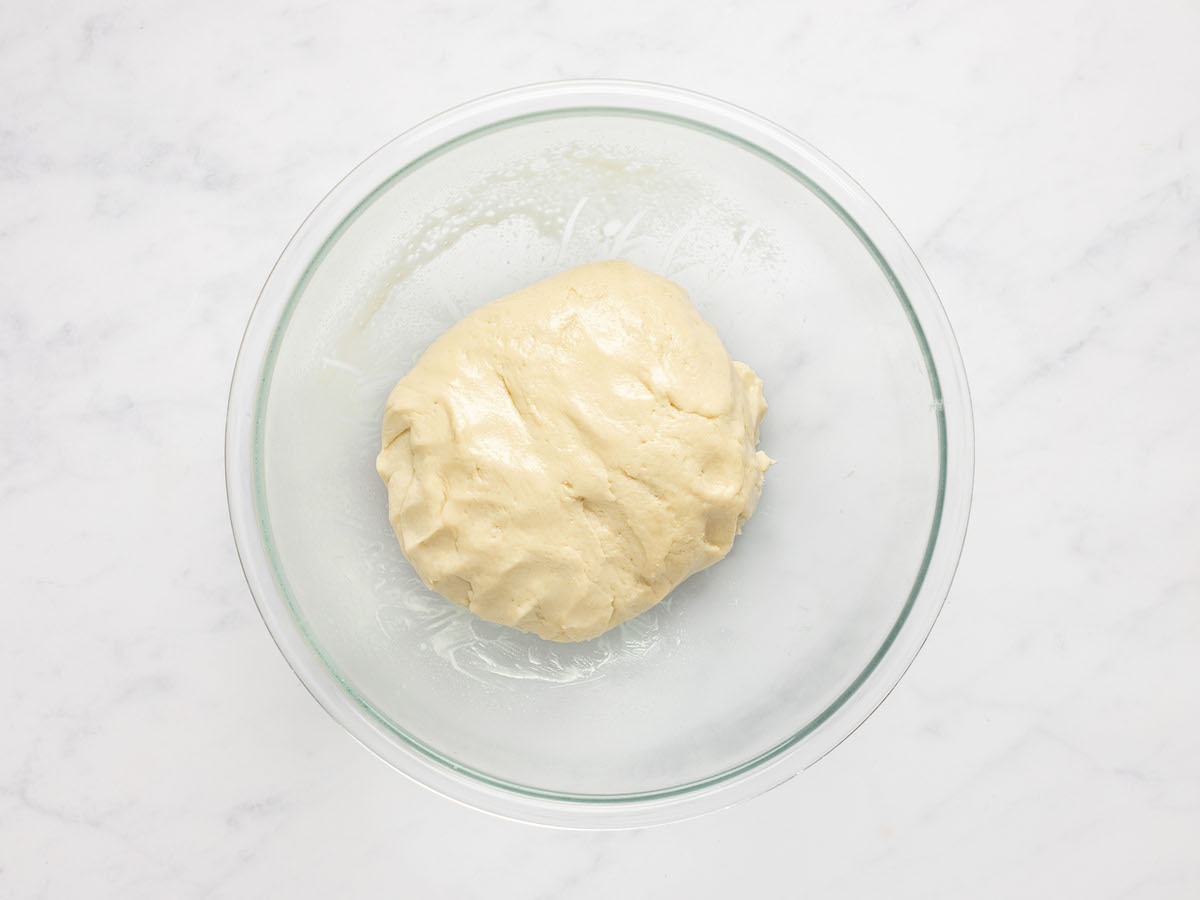
Scrape down the sides of the bowl with a rubber spatula and turn the mixer back on, allowing it to knead the dough for about 3 minutes.
First proof
Spray a large bowl with your favorite cooking spray and transfer the dough to it. Gluten free dough is a bit stickier than traditional dough, so don’t be alarmed if it attaches itself for dear lift to your fingers. It will end up delicious!
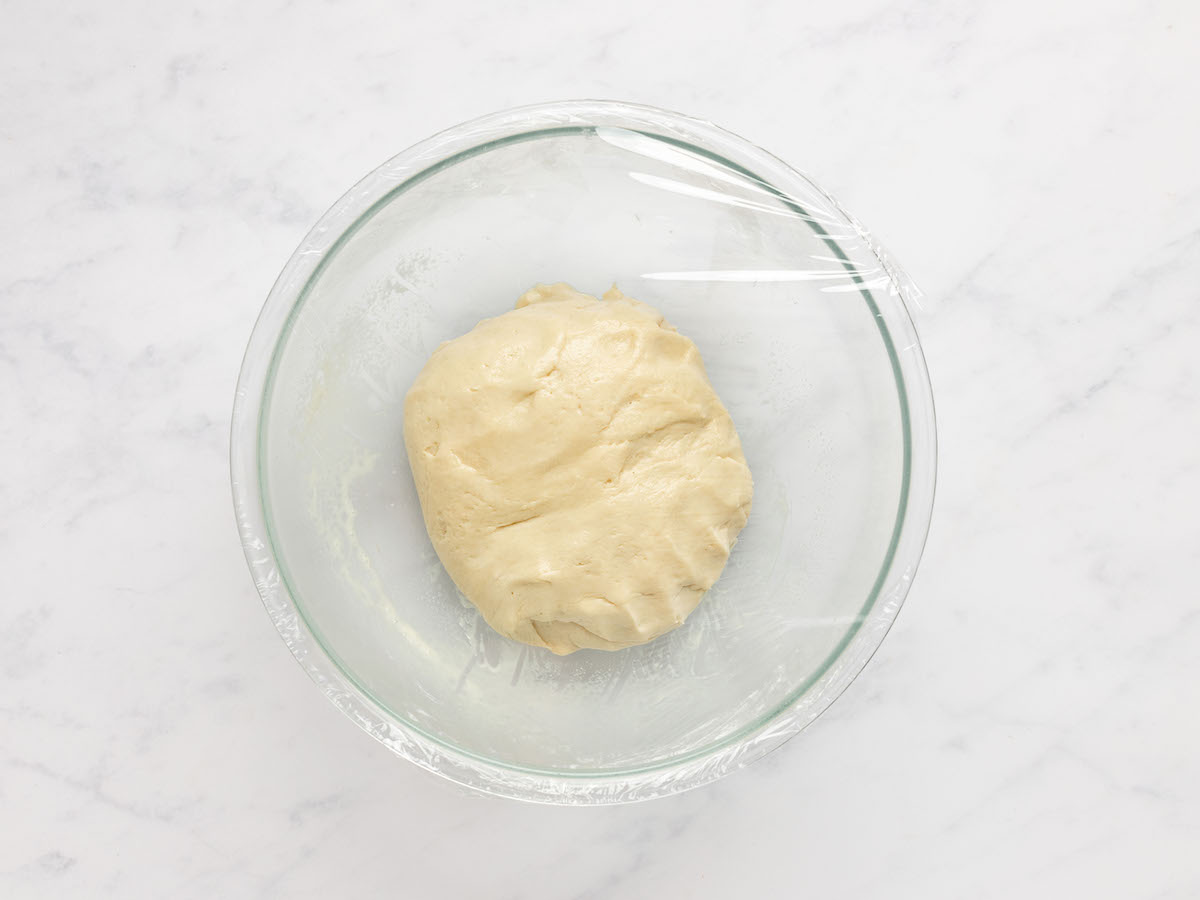
Dampen your hands to coat the top of the dough with a bit of water and cover the entire bowl with plastic wrap. Set aside and allow the dough to rise for 20 minutes.
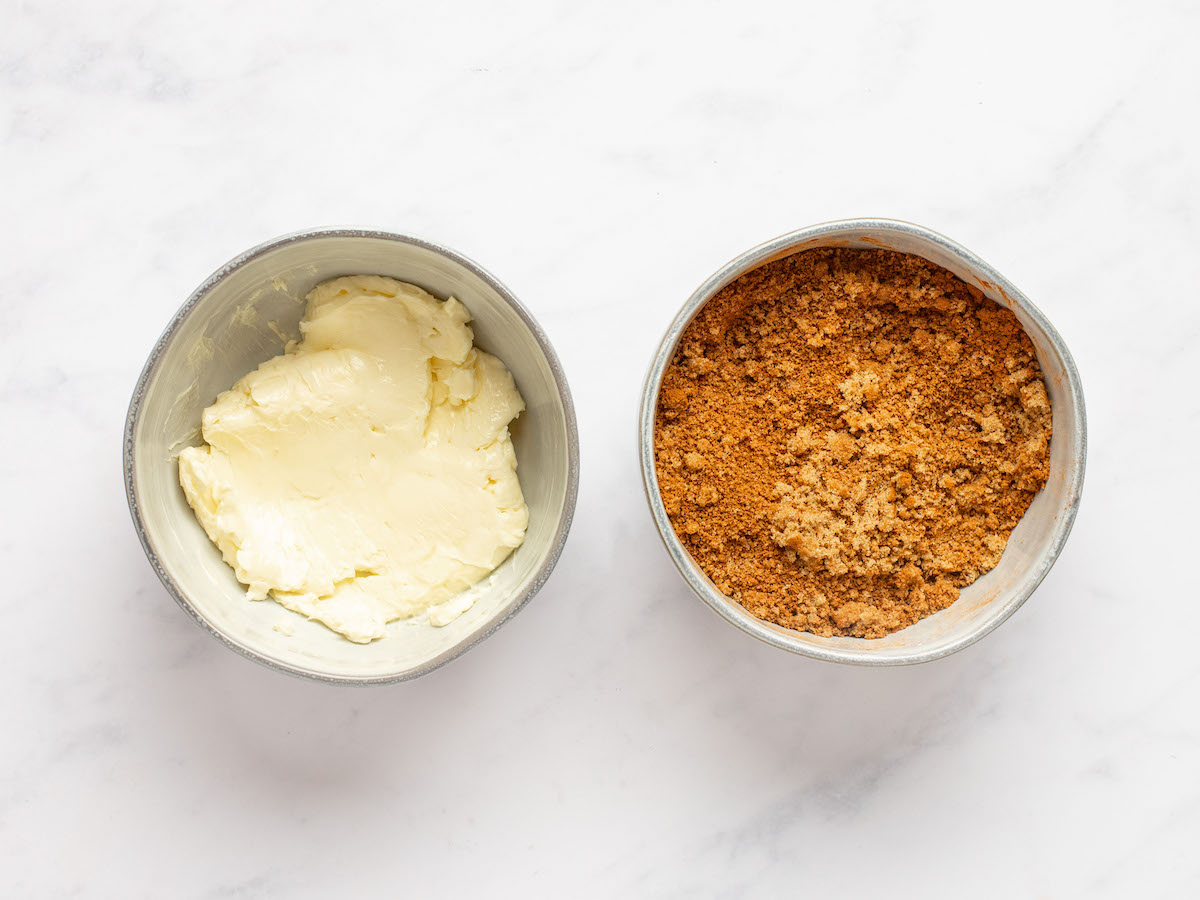
While the dough is rising, prep the filling. Add your softened butter to a small bowl. It helps to spread it later if the butter is already whipped a bit so use a small whisk or fork to mix it. In a separate bowl, combine the brown sugar and cinnamon. Set aside.
Roll it out, then roll it up!
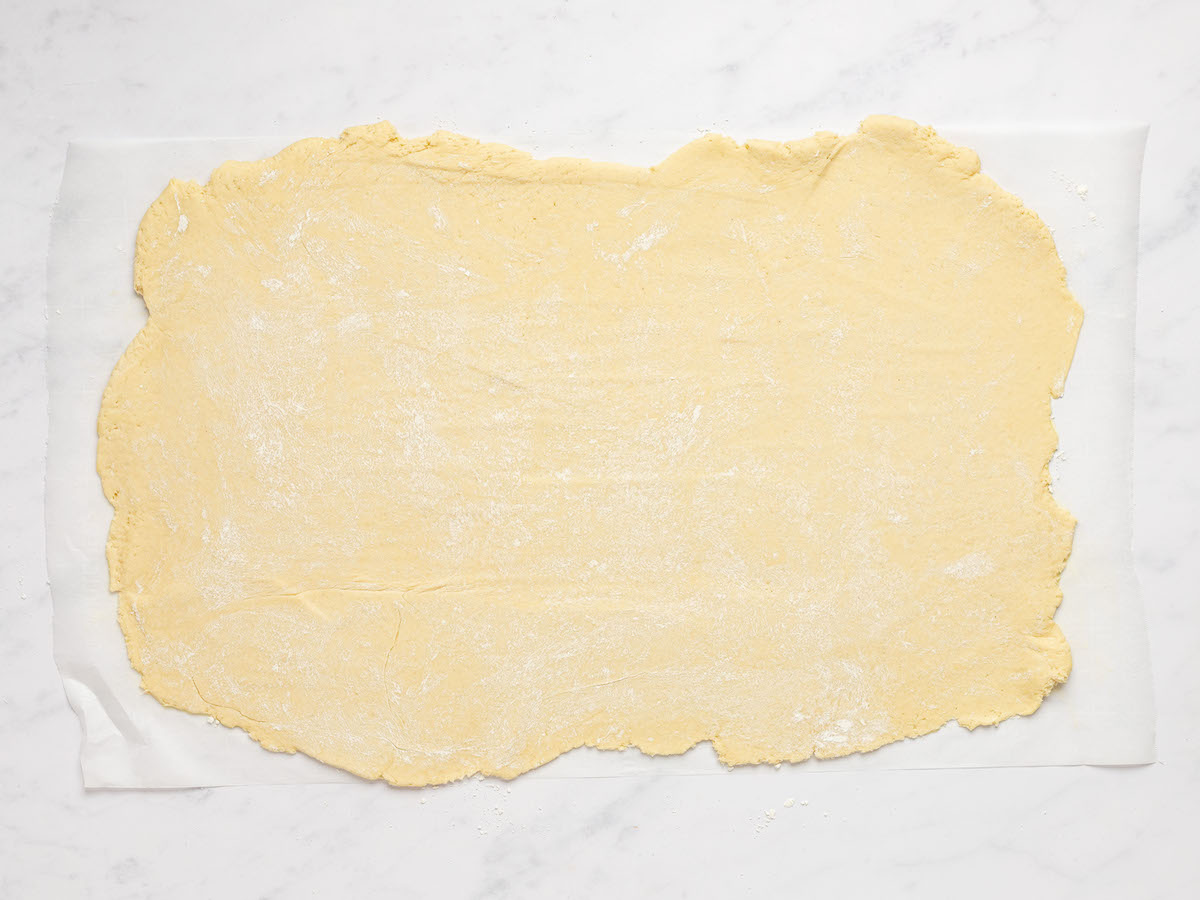
Place a large piece of parchment paper onto a cutting board and spray it with cooking spray. Transfer the dough to the center of the parchment.
Sprinkle the dough with some more flour and dust the rolling pin with flour. Roll the dough out onto a piece of parchment paper into a rectangle. You want it to be on the thinner side, I shoot for making a 19″ x 15″ rectangle.
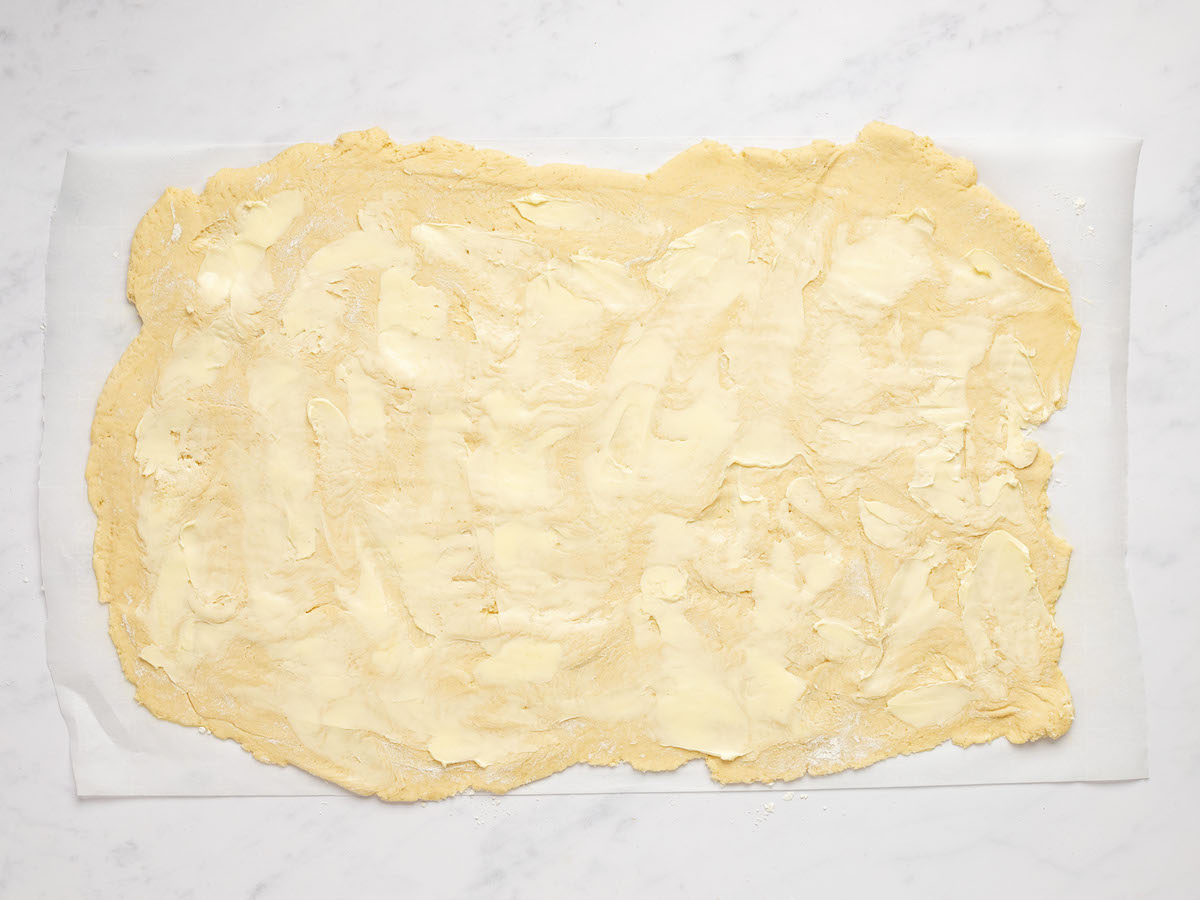
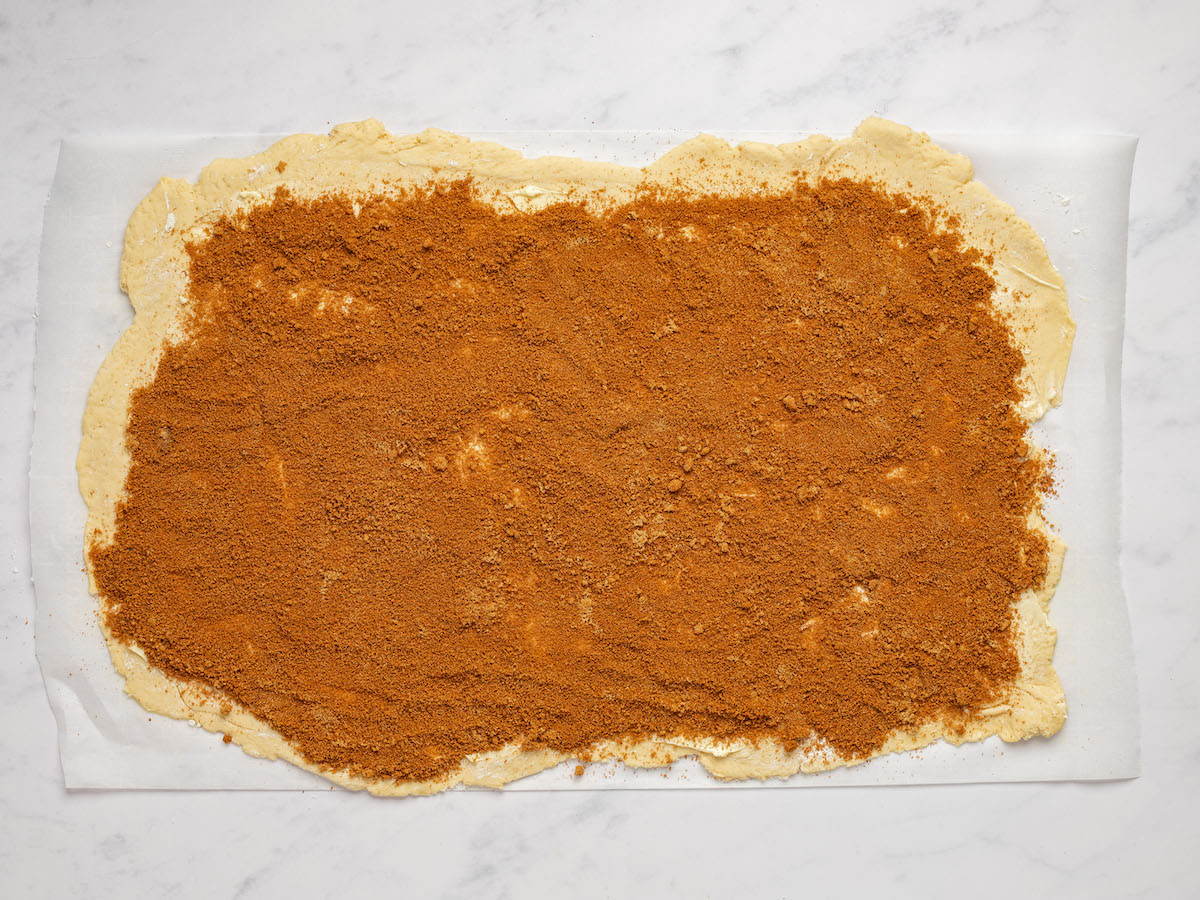
Spread the butter onto the dough in an even layer. Then, sprinkle on the cinnamon and coconut sugar and spread it out evenly with your hands.
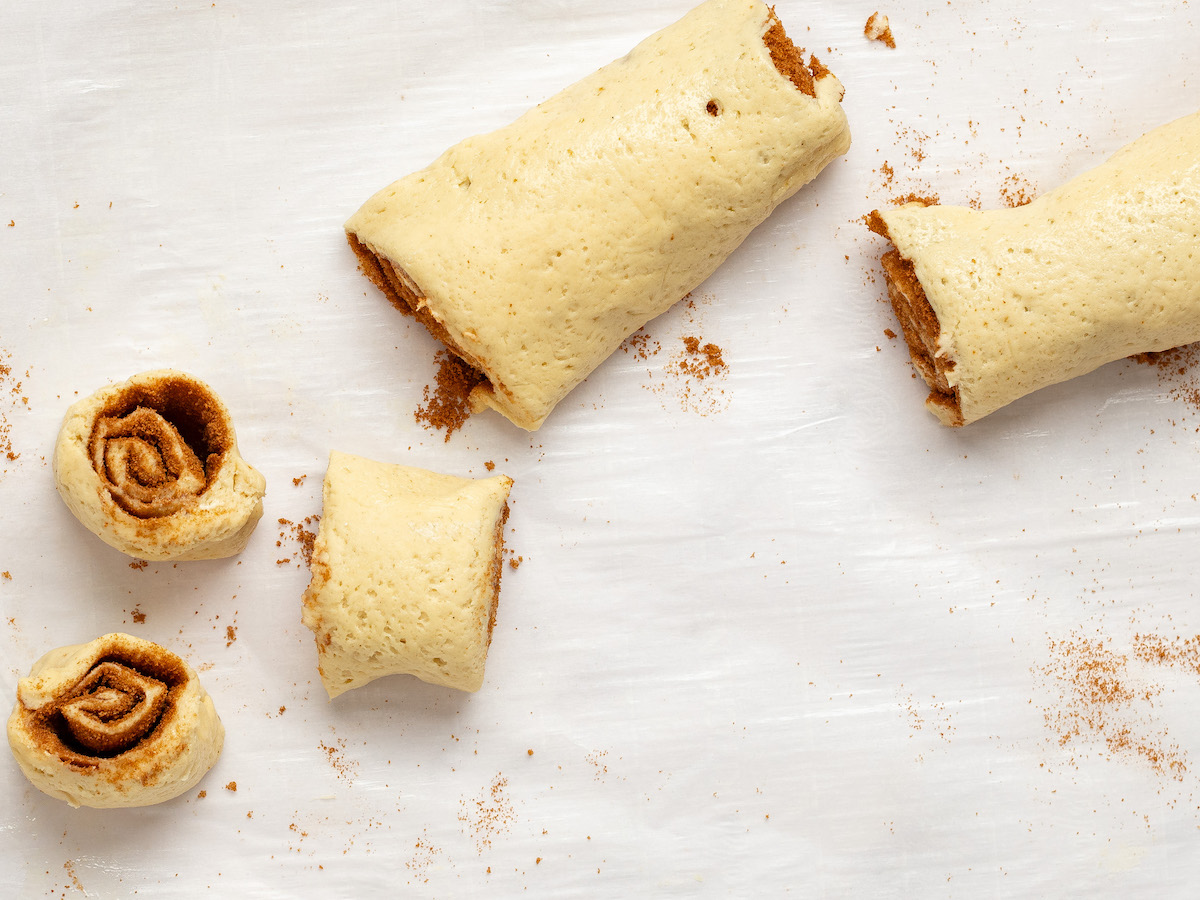
Starting at one of the long ends, roll the dough into a log as tightly as you can.
Second proof, then bake your gluten free cinnamon rolls
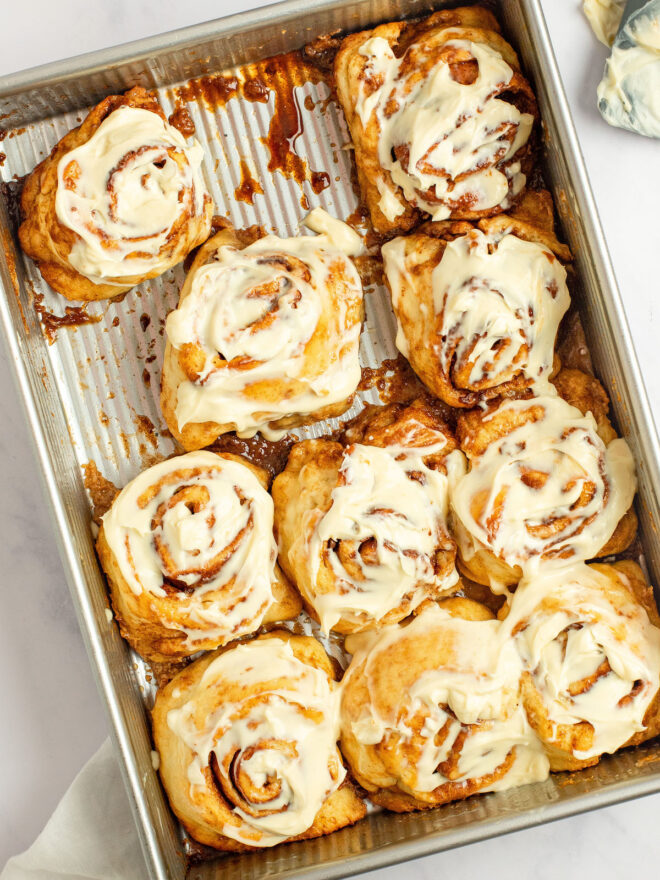
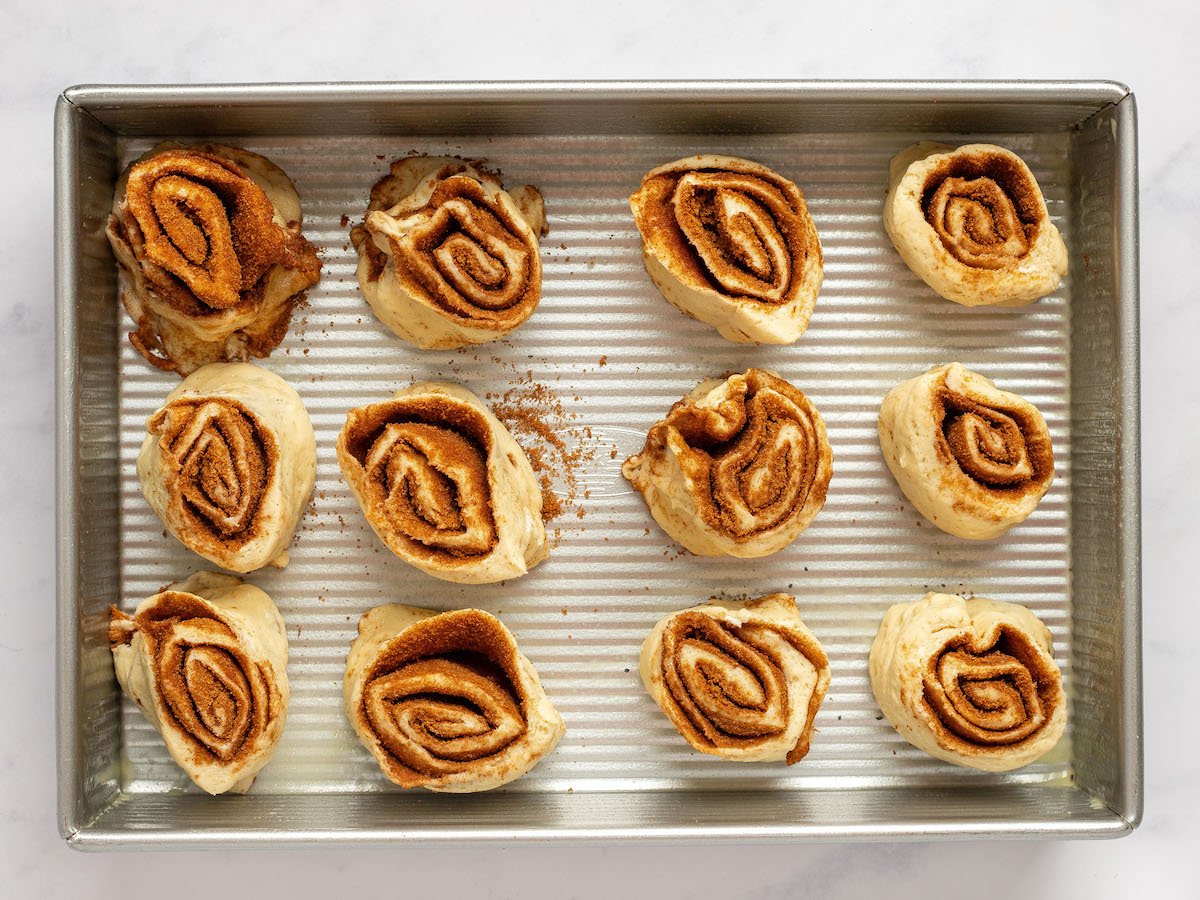
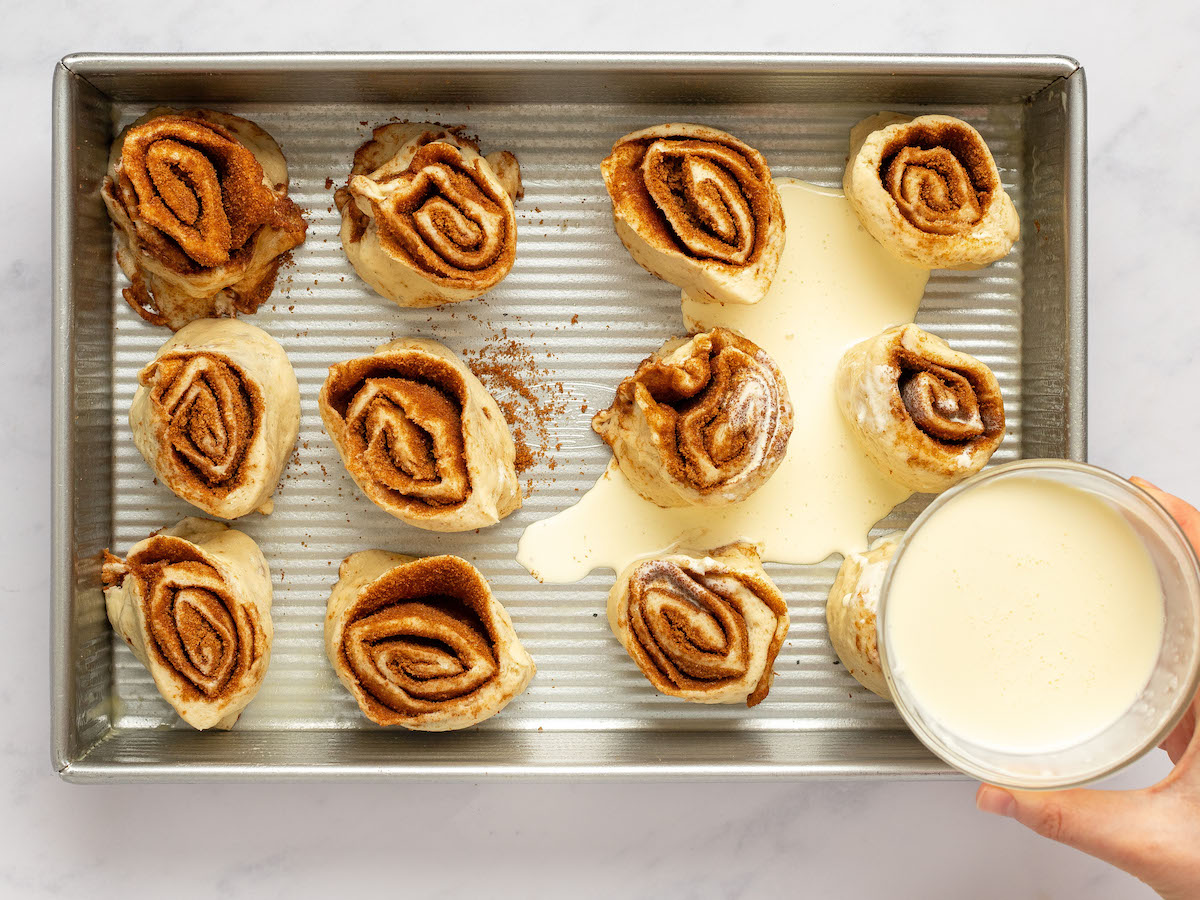
Grease a 9×13 inch casserole dish or pan with butter or your favorite cooking spray. Slice the log into 12 pieces and arrange them in the dish. It’s ok if there is about an inch between the rolls, they will expand as they proof and bake.
Pour the heavy cream on top and place the pan into the oven while it preheats to 375F. The time they spend in the oven as it comes to temperature will serve as the second proof.
Once the oven is preheated, bake for 15 minutes.
Serve & Enjoy!
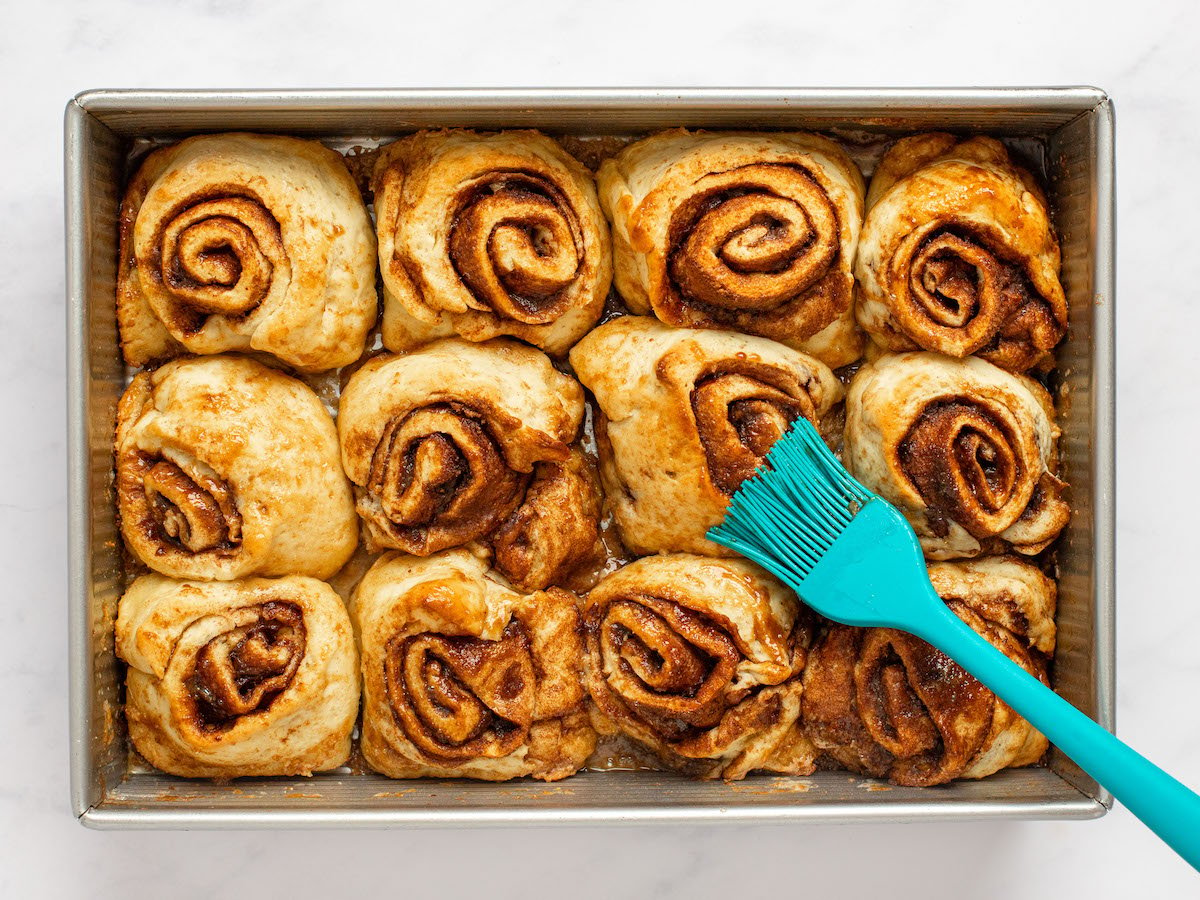
While the cinnamon rolls are still hot and bubbly use a silicone or pastry brush to brush the tops of the rolls with the cinnamon butter in the dish between the rolls.
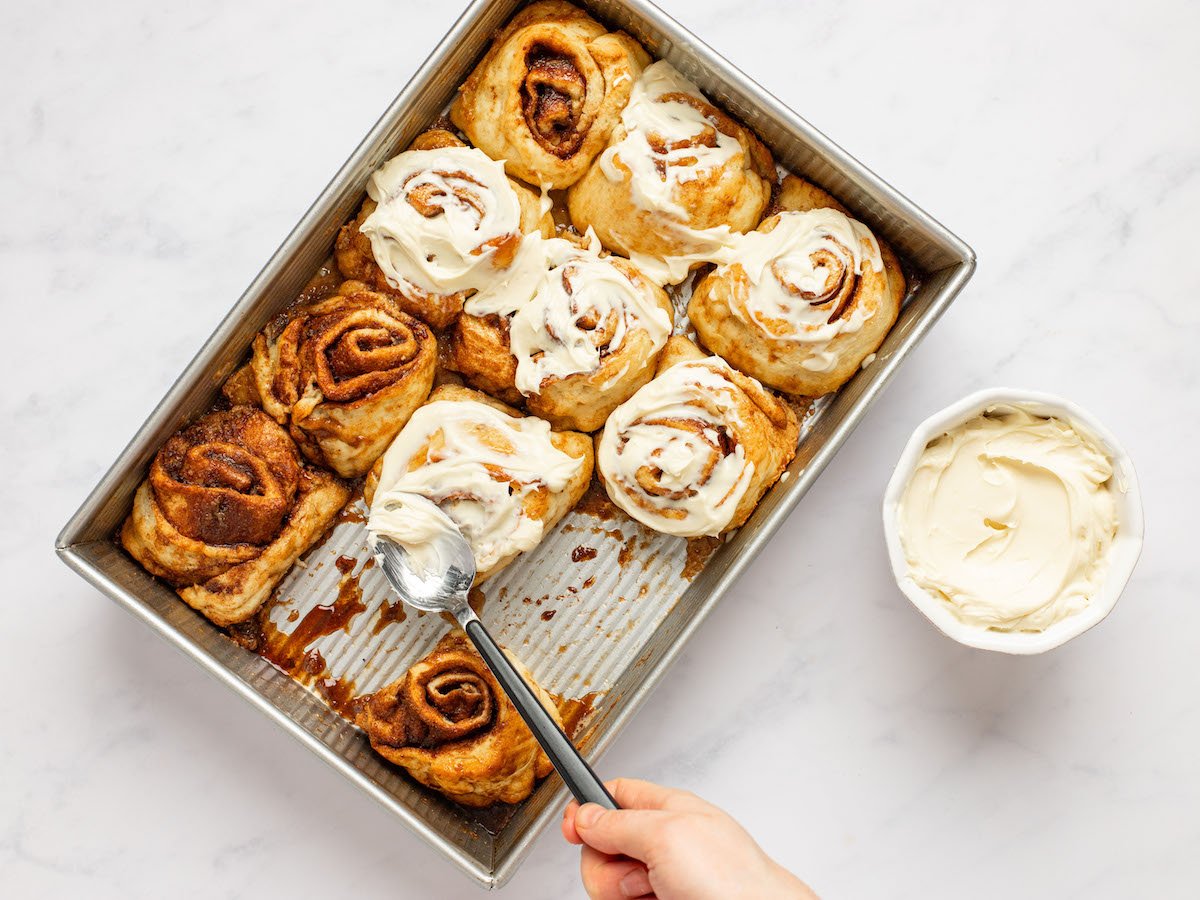
Let the rolls cool for 5 or so minutes before mixing together the glaze ingredients and pouring it over the cinnamon rolls and enjoying!
Gluten Free Cinnamon Roll Variations
Nutty Delight
Add a layer of finely chopped nuts such as pecans or walnuts along with the cinnamon-sugar filling. You can also sprinkle some on top of the icing for added crunch.
Fruit-Filled Rolls
Incorporate fruit fillings such as apple pie filling, blueberry compote, or raspberry jam. Spread the fruit filling over the dough before rolling it up for a fruity twist.
Sticky Bun Style
Drizzle the bottom of the baking pan with a sticky caramel sauce and nuts before placing the rolls on top. When the rolls are done baking, flip them over so the caramel-nut topping becomes the crown.
Pumpkin Spice Rolls
Add pumpkin spice (a blend of cinnamon, nutmeg, ginger, and cloves) to the dough for a fall-inspired treat. Fill the rolls with cinnamon sugar and top them with a cream cheese icing infused with a hint of pumpkin spice.
Chocolate Swirl Rolls
Replace or complement the cinnamon filling with a layer of melted chocolate, chocolate chips, or a mixture of cocoa powder and sugar. For a double chocolate experience, drizzle the tops with Nutella or chocolate frosting.
Citrus Twist
Add citrus zest (such as orange or lemon) to the dough for a refreshing aroma and taste. You can also incorporate citrus flavors into the icing for a zesty contrast.
How to Store Leftover Cinnamon Rolls
Remember that the sooner you consume the leftover cinnamon rolls, the better they will taste. Freshness tends to diminish over time, even when properly stored.
Cool Completely. Allow the cinnamon rolls to cool completely at room temperature before storing them. If you store them while they’re still warm, condensation can form inside the container, making the rolls soggy.
Wrap or Cover. Once the cinnamon rolls have cooled, wrap them tightly in plastic wrap or aluminum foil. Alternatively, you can place them in an airtight container. Make sure they are well-covered to prevent air from getting in, as exposure to air can dry out the rolls.
Refrigeration (Short-Term Storage). If you plan to consume the leftover cinnamon rolls within a day or two, you can store them in the refrigerator. However, be aware that refrigeration can make them a bit firmer.
Freezing (Long-Term Storage). For longer storage, place the wrapped or stored cinnamon rolls in the freezer, and they can last for several weeks. To reheat, allow them to thaw in the refrigerator overnight, then warm them up in the oven or microwave before serving.
Separate Layers. If you’re stacking the rolls, place a sheet of parchment paper or wax paper between the layers. This prevents them from sticking together.
Avoid the Fridge if Possible. While the fridge can keep cinnamon rolls fresh for a short time, it’s not the best option because it can alter the texture of the rolls. If you have a cool, dry place to store them, like a pantry or bread box, that’s preferable for short-term storage.
 Recipe
Gloriously Gooey Gluten Free Cinnamon Rolls
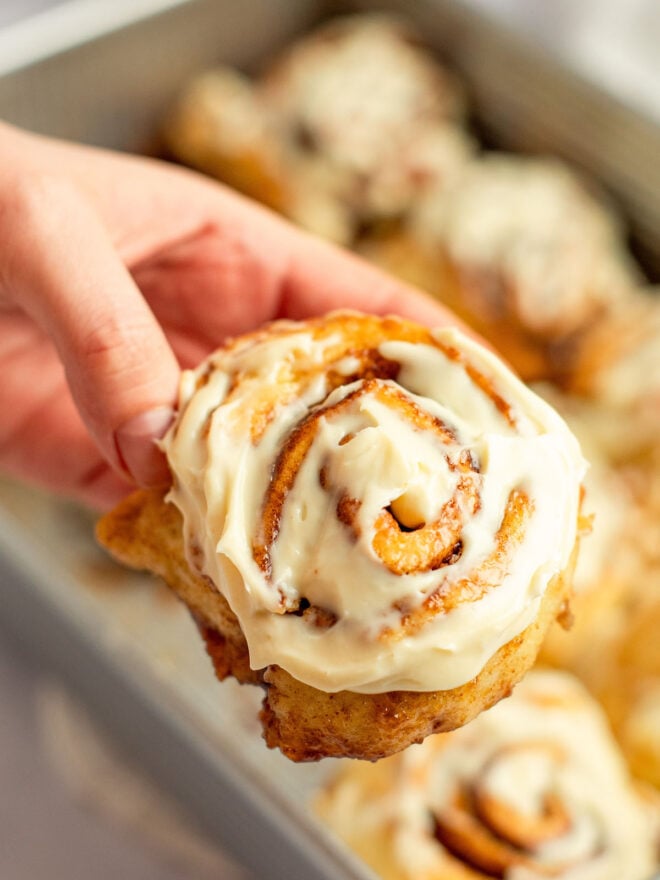
Gluten Free Cinnamon Rolls are pillowy soft and gloriously gooey! They’re gluten free and are easy to whip together for any occasion!
Ingredients
For the rolls:
- 1/2 cup granulated sugar
- 1 cup warm whole milk
- 1 (1/4 oz) package rapid-rise dry yeast (about 2 1/4 teaspoons)
- 2 eggs, room temperature and whisked
- 1 teaspoon apple cider vinegar
- 1 teaspoon vanilla extract
- 3 1/4 cups all-purpose gluten free flour (Caputo Fioreglut Gluten Free Flour is the best in my opinion!) plus a couple extra tablespoons for dusting
- 2 teaspoons baking powder
- 1/2 tsp. salt
- 1/4 cup unsalted butter, melted and cooled
- 1/2 cup heavy cream
For the filling:
- 1/2 cup softened unsalted butter
- 1 1/3 cup brown sugar (or coconut sugar)
- 2 tablespoons ground cinnamon
For Vanilla Glaze (option 1):
- 2/3 cup confectioners sugar
- About 2 tablespoons whole milk
For Cream Cheese Frosting (option 2):
- 1/2 cup salted butter, room temperature
- 8 oz. cream cheese, room temperature
- 1 teaspoon vanilla extract
- 2 tablespoons agave nectar
Instructions
- Add the warmed milk and sugar to the bowl of a standing mixer. Sprinkle the yeast on top and allow to sit for 2 – 5 minutes until it blooms with small bubbles and a yeasty smell.

- Next, add the room temperature eggs, apple cider vinegar, and vanilla extract.
- Give it a quick mix before adding in the flour, baking powder, salt and melted butter. Use the mixer’s dough hook attachment to incorporate the ingredients together for about 2 minutes.
- Scrape down the sides of the bowl with a rubber spatula and turn the mixer back on, allowing it to knead the dough for about 3 minutes.
- Spray a large bowl with your favorite cooking spray and transfer the dough to it. Gluten free dough is a bit stickier than traditional dough, so don’t be alarmed if it attaches itself for dear life to your fingers. It will end up delicious!
- Dampen your hands to coat the top of the dough with a bit of water and cover the entire bowl with plastic wrap. Set aside and allow the dough to rise for 20 minutes.
- While the dough is rising, prep the filling. Add your softened butter to a small bowl. It helps to spread it later if the butter is already whipped a bit so use a small whisk or fork to mix it. In a separate bowl, combine the brown sugar and cinnamon. Set aside.
- Place a large piece of parchment paper onto a cutting board and spray it with cooking spray. Transfer the dough to the center of the parchment.
- Sprinkle the dough with some more flour and dust the rolling pin with flour. Roll the dough out onto a piece of parchment paper into a rectangle. You want it to be on the thinner side, I shoot for making a 19″ x 15″ rectangle.
- Spread the butter onto the dough in an even layer.
- Then, sprinkle on the cinnamon and coconut sugar and spread it out evenly with your hands.
- Starting at one of the long ends, roll the dough into a log as tightly as you can. Slice the log into 12 pieces and arrange them in the dish.
- Grease a 9×13 inch casserole dish or pan with butter or your favorite cooking spray. It’s ok if there is about an inch between the rolls, they will expand as they proof and bake.
- Pour the heavy cream on top and place the pan into the oven while it preheats to 375F. The time they spend in the oven as it comes to temperature will serve as the second proof.
- Once the oven is preheated, bake for 15 minutes.
- While the cinnamon rolls are still hot and bubbly use a silicone or pastry brush to brush the tops of the rolls with any cinnamon butter that has fallen in between the rolls.
- Let the rolls cool for 5 or so minutes before mixing together the glaze ingredients and pouring it over the cinnamon rolls and enjoying!

Tips
Food photography by Dalya Rubin.
Enjoy!! xo
What gf flour mix do you like best?
Bob’s Red Mill has a great one!
Can I make these the day before and let them rise in the fridge then bake them in the morning?
I haven’t tried it but it’s worth a shot! Let me know how you make out! xo
The recipe calls for two eggs, but the directions say “the egg”. Is it just one? Thank you!!
It should be two eggs! I think I’m missing an “s” 🙂 I’ll fix it now! xo
These look divine! Can I make them ahead of time? Like the night before and bake in the morning? (Thinking Christmas morning)
Family favorite!!!
Aw I’m so glad!! Now I’m craving a batch of these!! 😂