 Recipe
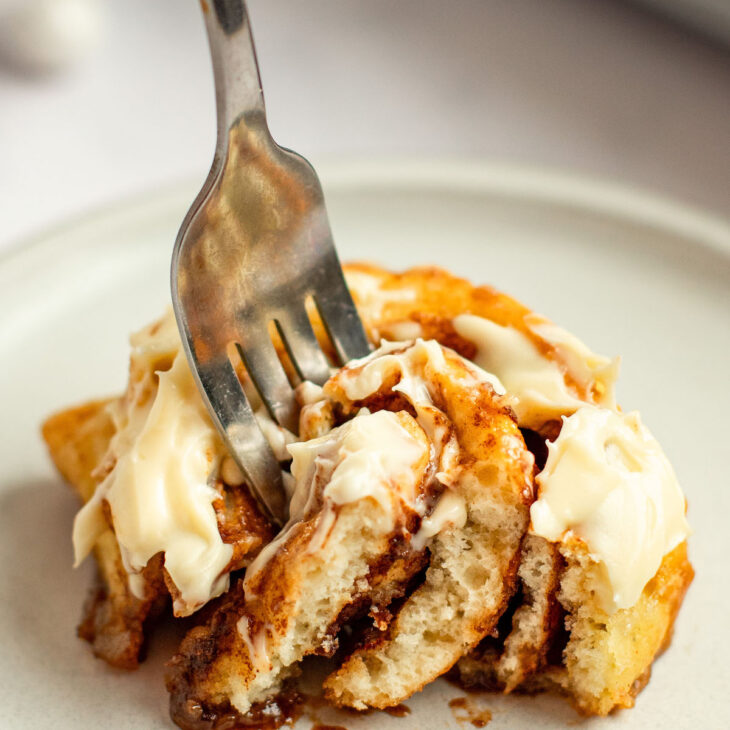
Gloriously Gooey Gluten Free Cinnamon Rolls
Gluten Free Cinnamon Rolls are pillowy soft and gloriously gooey! They’re gluten free and are easy to whip together for any occasion!
Prep: 45 minCook: 20 minTotal: 1 hour 5 min
Servings: 9 rolls 1x
Ingredients
For the rolls:
- 1/2 cup granulated sugar
- 1 cup warm whole milk
- 1 (1/4 oz) package rapid-rise dry yeast (about 2 1/4 teaspoons)
- 2 eggs, room temperature and whisked
- 1 teaspoon apple cider vinegar
- 1 teaspoon vanilla extract
- 3 1/4 cups all-purpose gluten free flour (Caputo Fioreglut Gluten Free Flour is the best in my opinion!) plus a couple extra tablespoons for dusting
- 2 teaspoons baking powder
- 1/2 tsp. salt
- 1/4 cup unsalted butter, melted and cooled
- 1/2 cup heavy cream
For the filling:
- 1/2 cup softened unsalted butter
- 1 1/3 cup brown sugar (or coconut sugar)
- 2 tablespoons ground cinnamon
For Vanilla Glaze (option 1):
- 2/3 cup confectioners sugar
- About 2 tablespoons whole milk
For Cream Cheese Frosting (option 2):
- 1/2 cup salted butter, room temperature
- 8 oz. cream cheese, room temperature
- 1 teaspoon vanilla extract
- 2 tablespoons agave nectar
Instructions
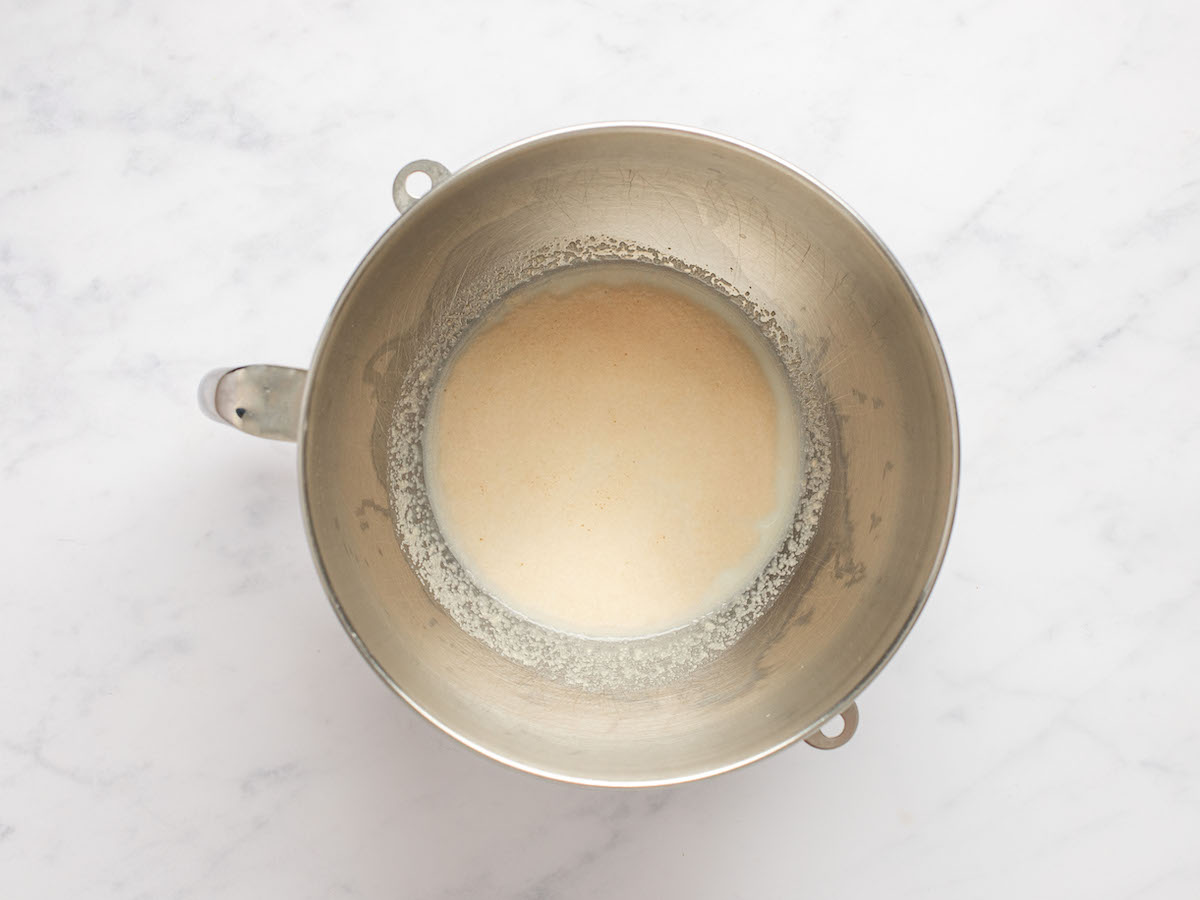
- Add the warmed milk and sugar to the bowl of a standing mixer. Sprinkle the yeast on top and allow to sit for 2 – 5 minutes until it blooms with small bubbles and a yeasty smell.

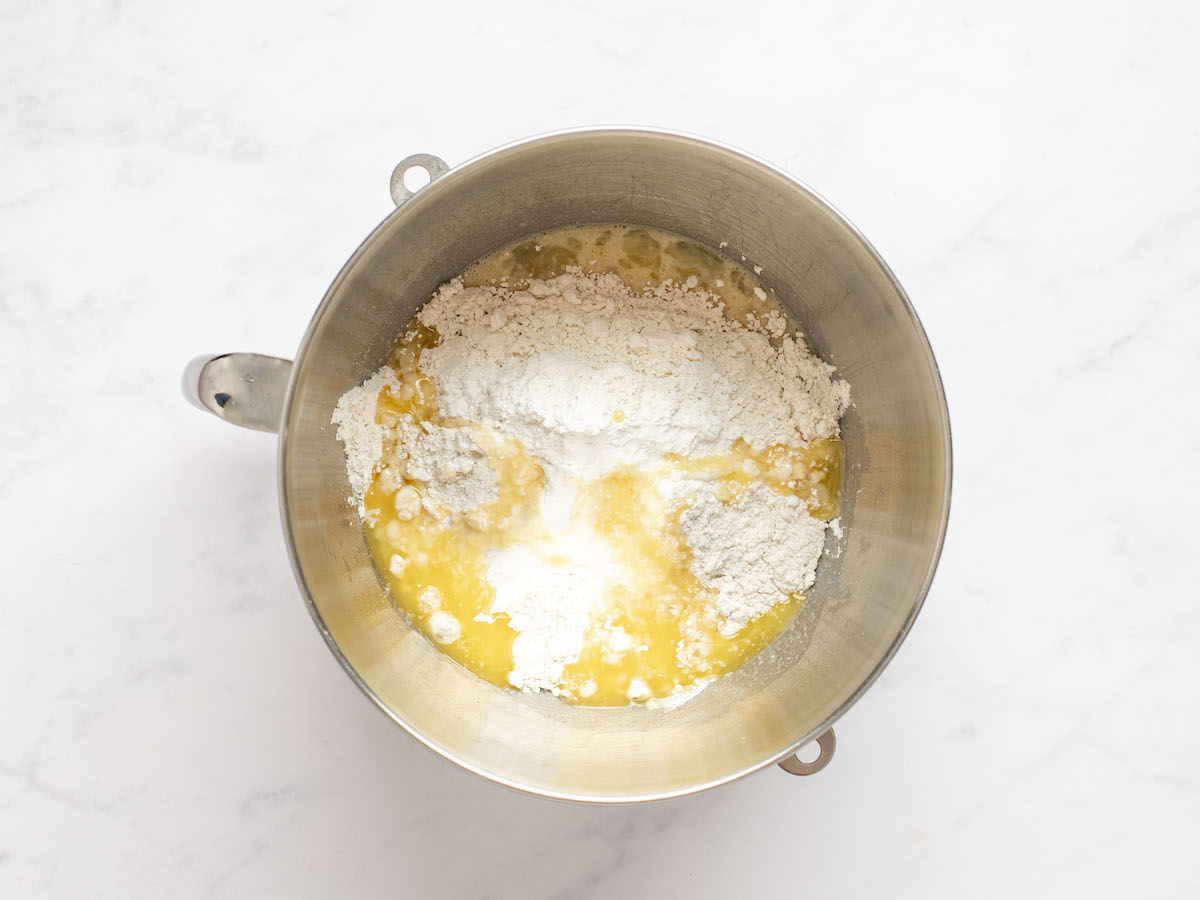
- Next, add the room temperature eggs, apple cider vinegar, and vanilla extract.
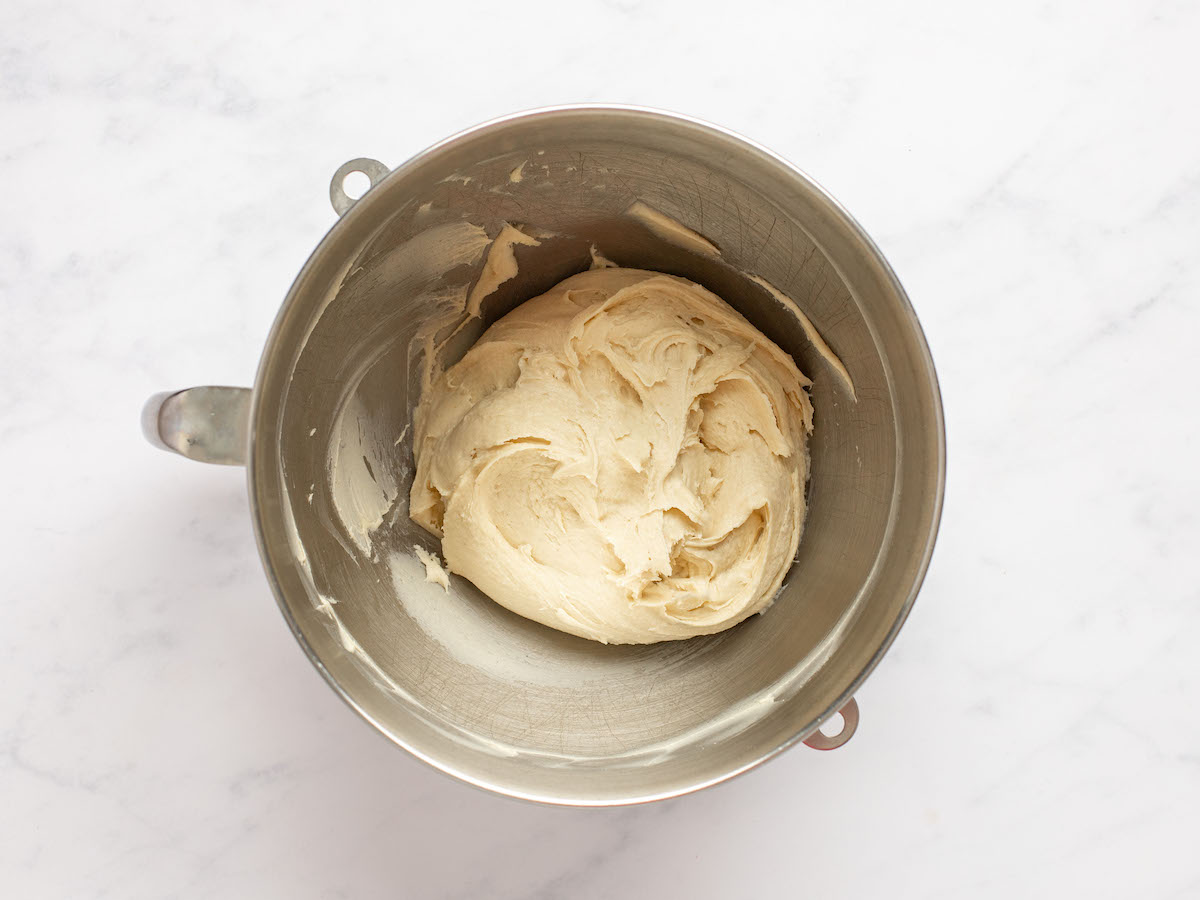
- Give it a quick mix before adding in the flour, baking powder, salt and melted butter. Use the mixer’s dough hook attachment to incorporate the ingredients together for about 2 minutes.
- Scrape down the sides of the bowl with a rubber spatula and turn the mixer back on, allowing it to knead the dough for about 3 minutes.
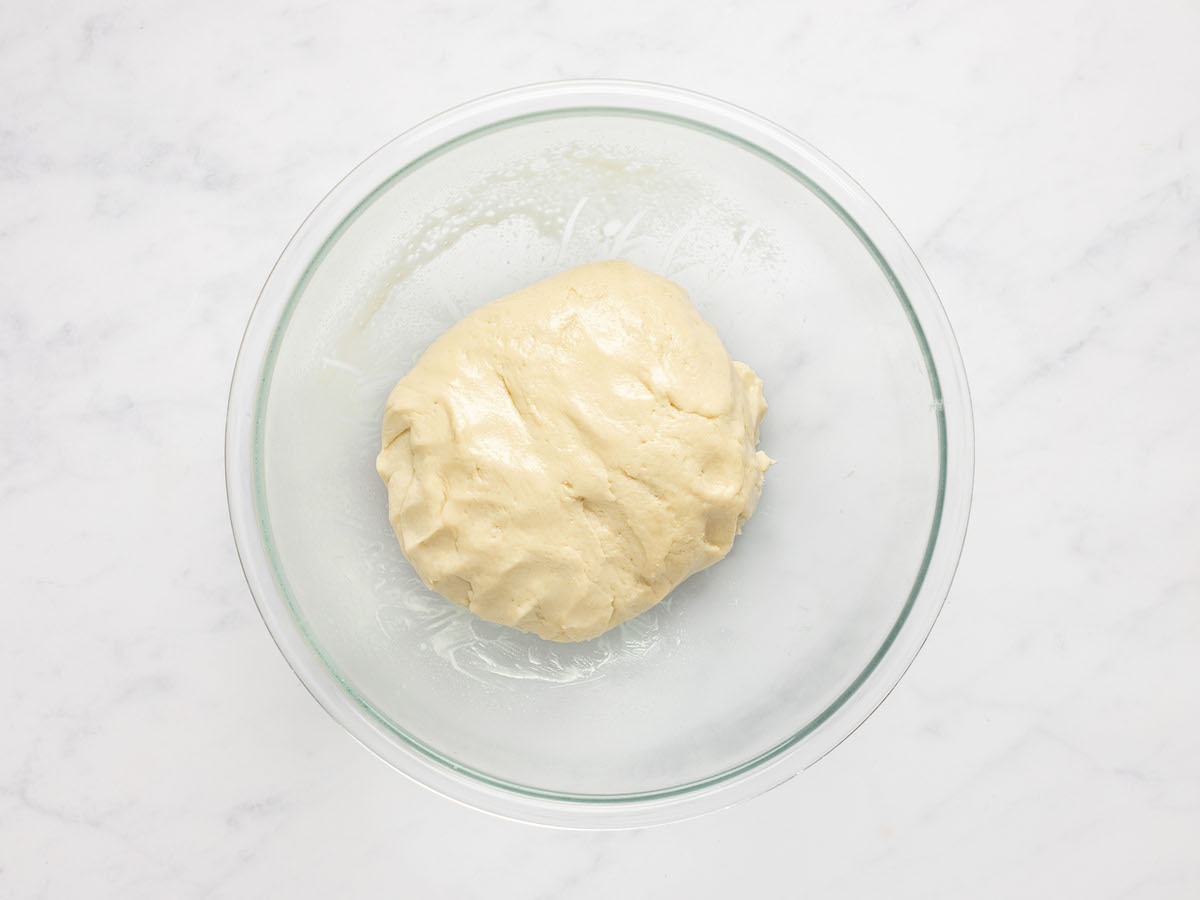
- Spray a large bowl with your favorite cooking spray and transfer the dough to it. Gluten free dough is a bit stickier than traditional dough, so don’t be alarmed if it attaches itself for dear life to your fingers. It will end up delicious!
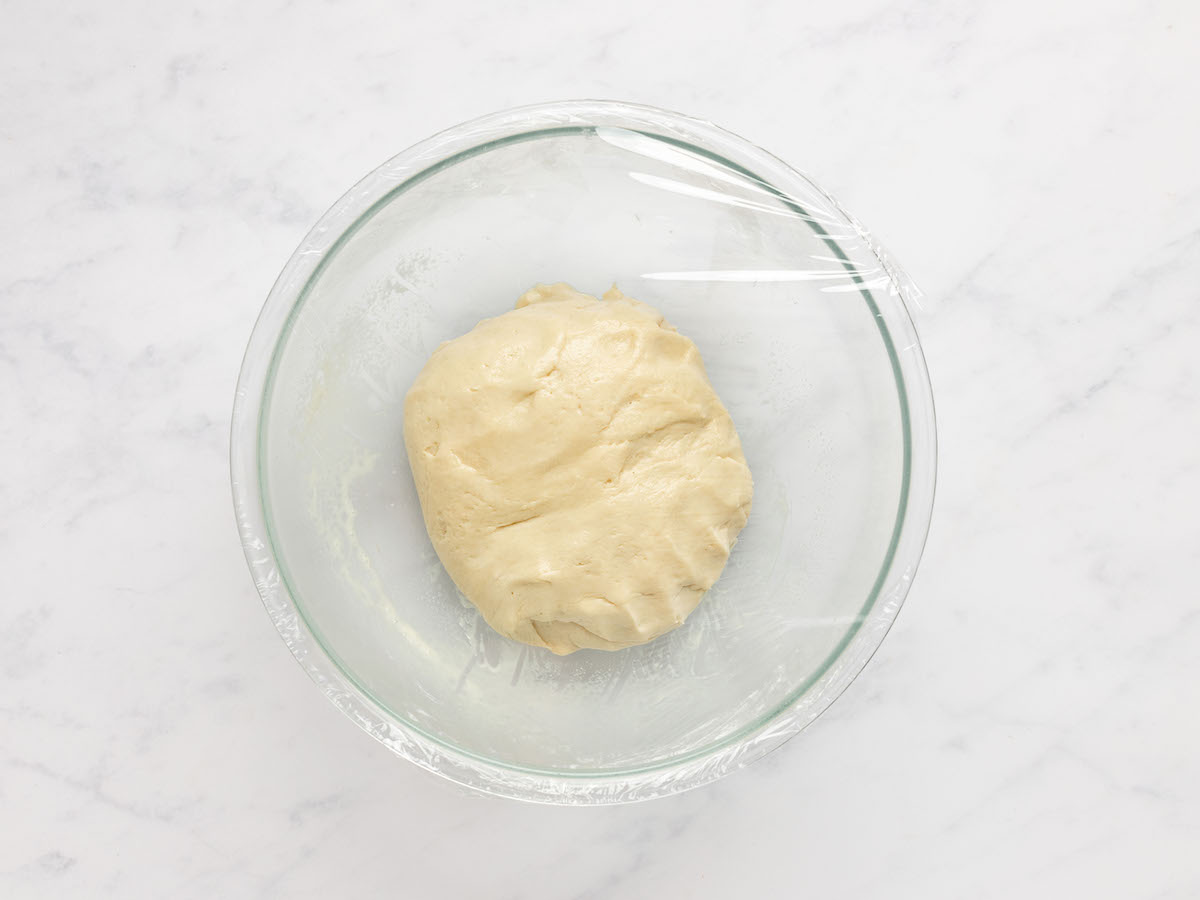
- Dampen your hands to coat the top of the dough with a bit of water and cover the entire bowl with plastic wrap. Set aside and allow the dough to rise for 20 minutes.
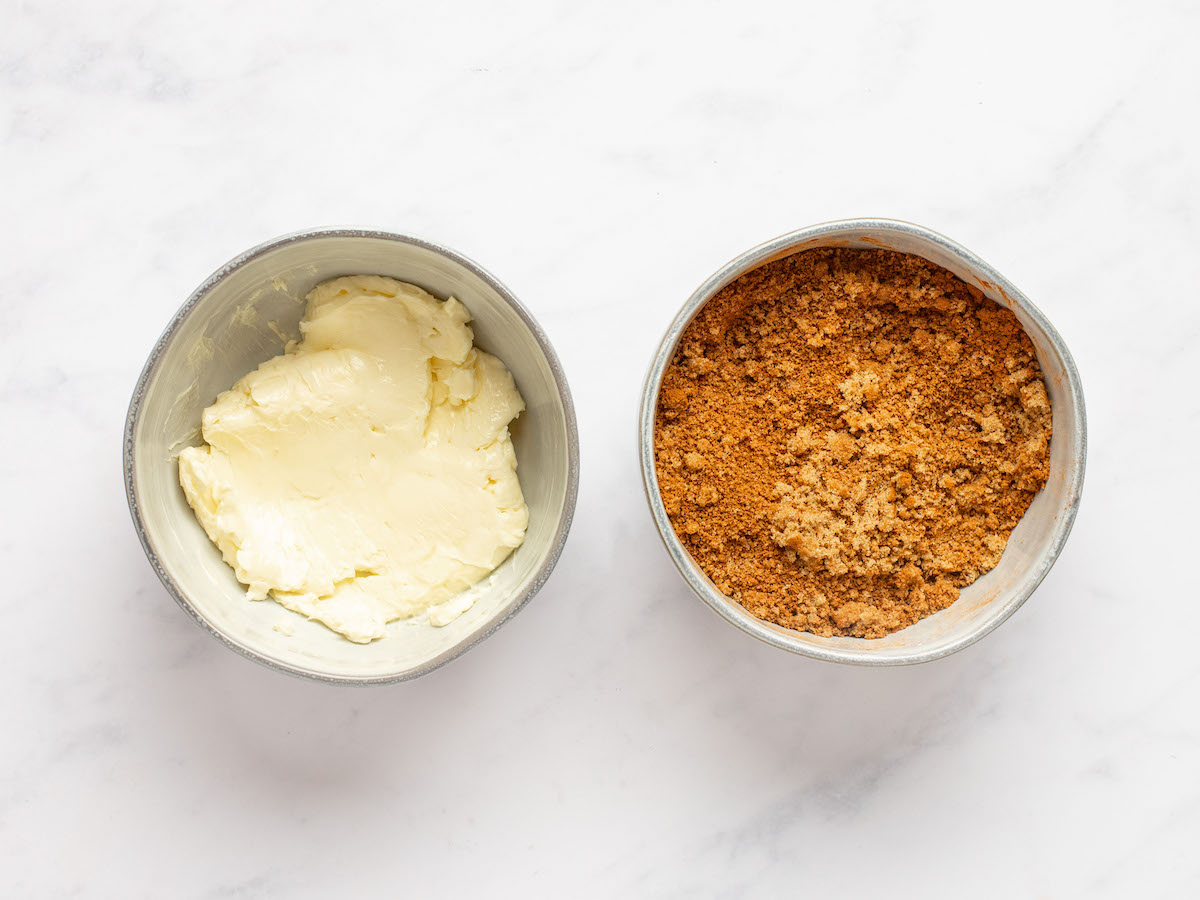
- While the dough is rising, prep the filling. Add your softened butter to a small bowl. It helps to spread it later if the butter is already whipped a bit so use a small whisk or fork to mix it. In a separate bowl, combine the brown sugar and cinnamon. Set aside.
- Place a large piece of parchment paper onto a cutting board and spray it with cooking spray. Transfer the dough to the center of the parchment.
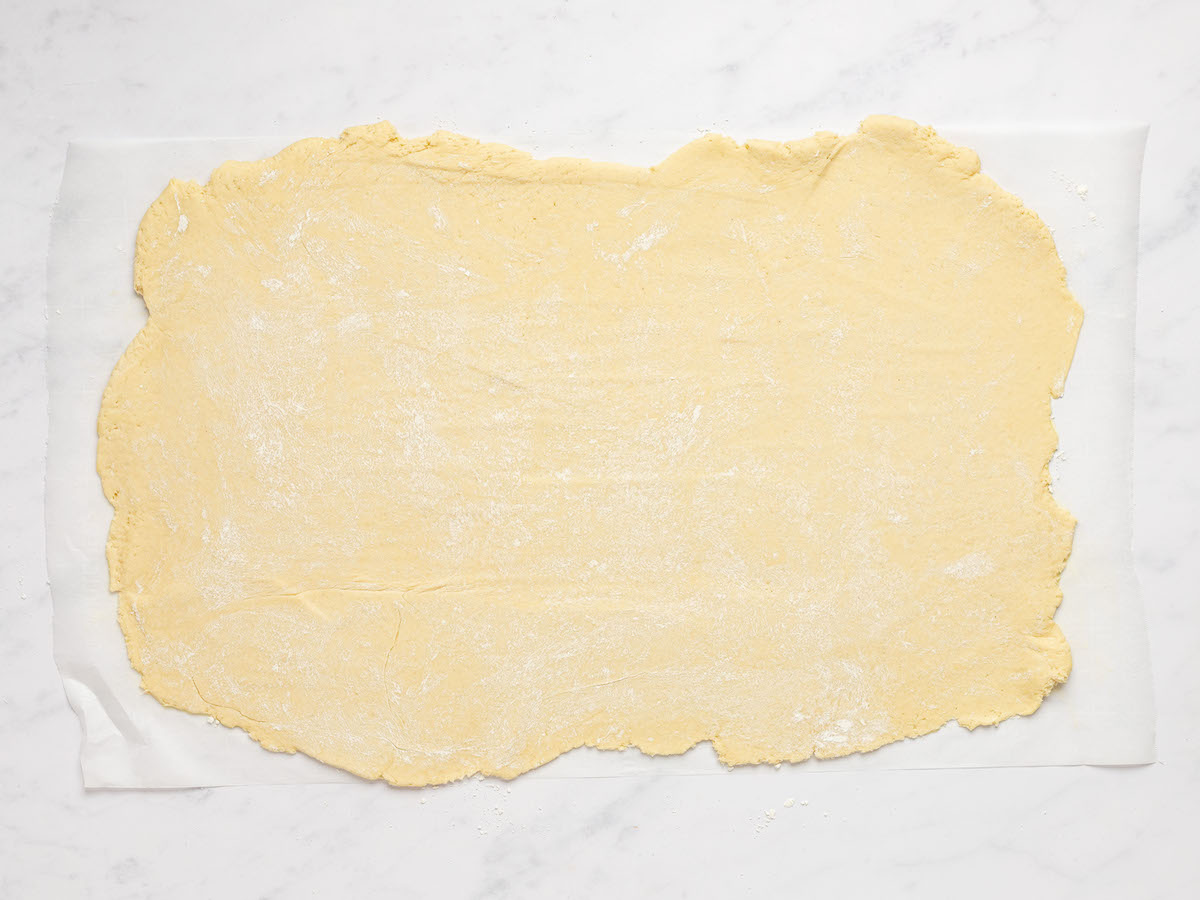
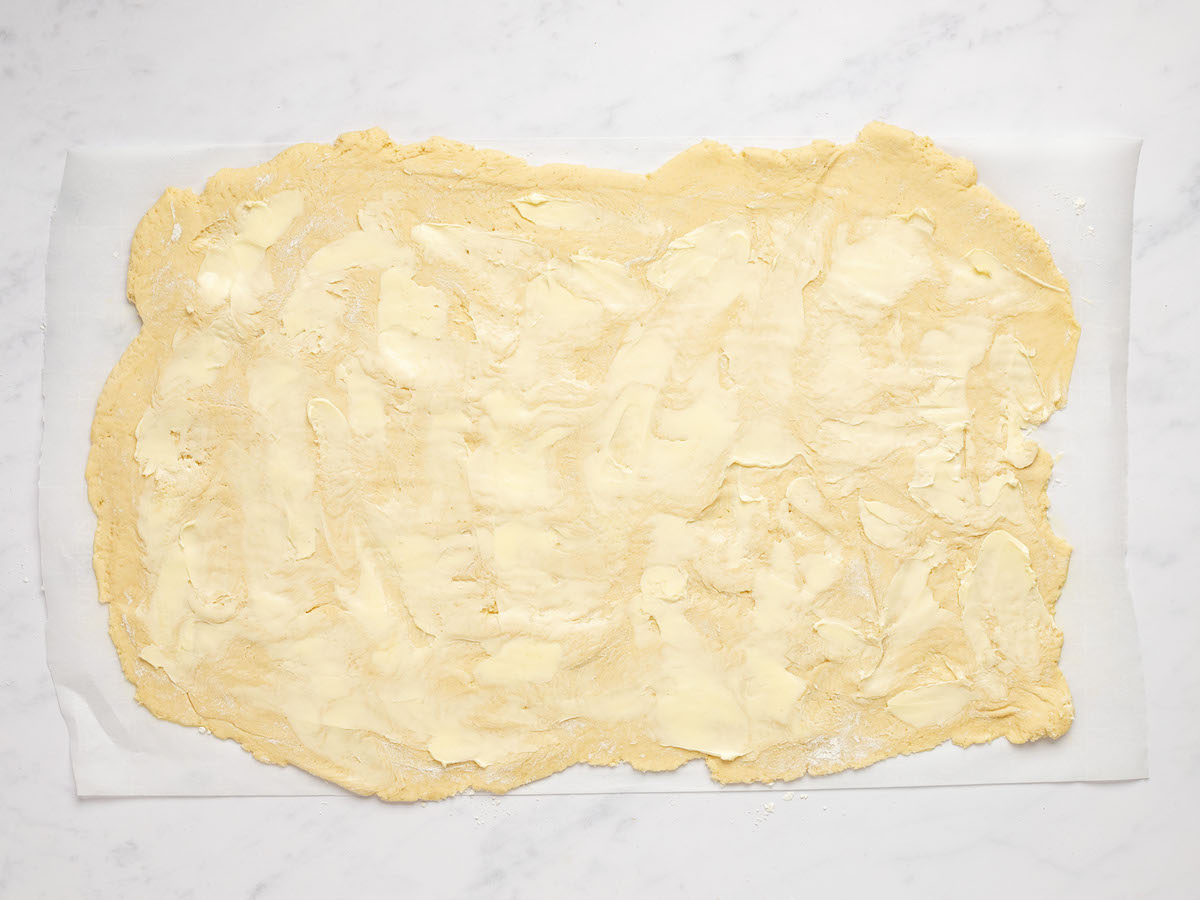
- Sprinkle the dough with some more flour and dust the rolling pin with flour. Roll the dough out onto a piece of parchment paper into a rectangle. You want it to be on the thinner side, I shoot for making a 19″ x 15″ rectangle.
- Spread the butter onto the dough in an even layer.
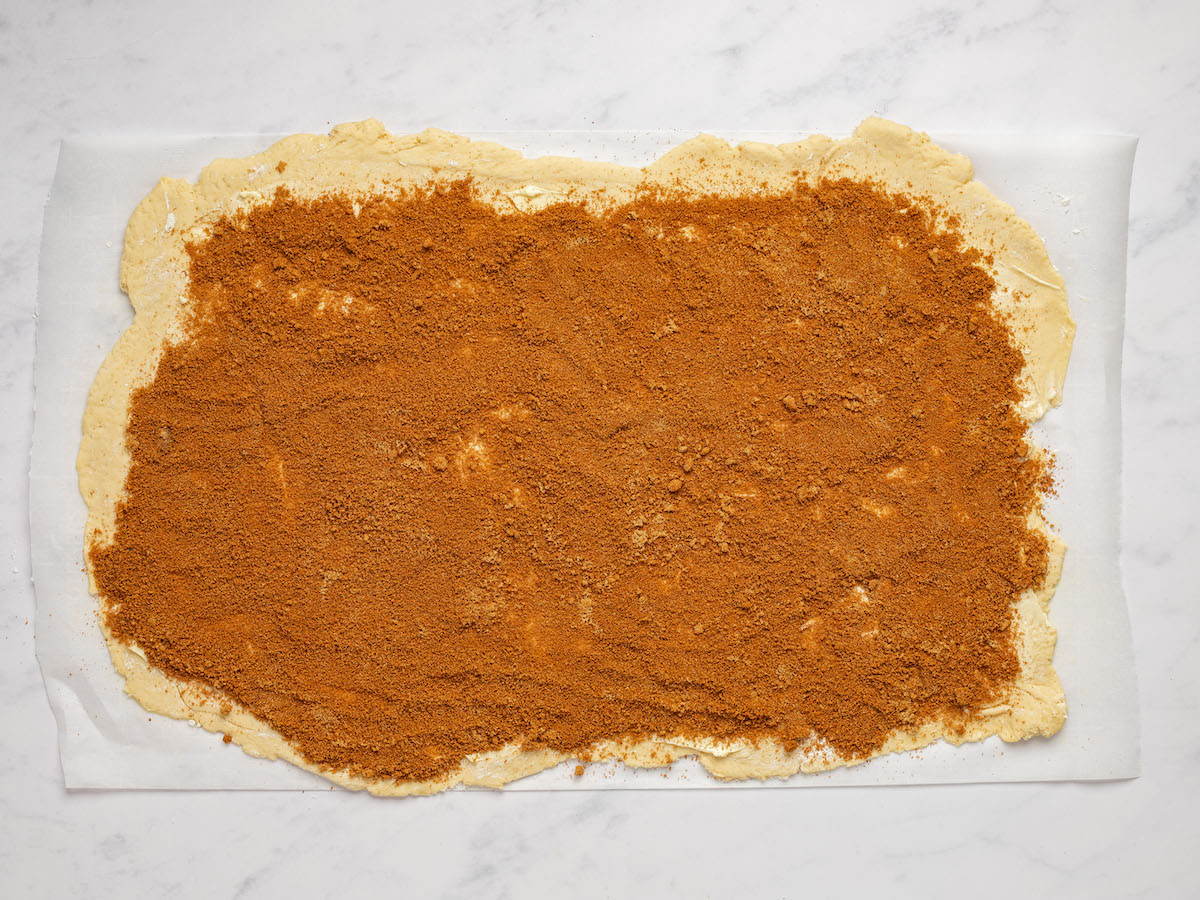
- Then, sprinkle on the cinnamon and coconut sugar and spread it out evenly with your hands.
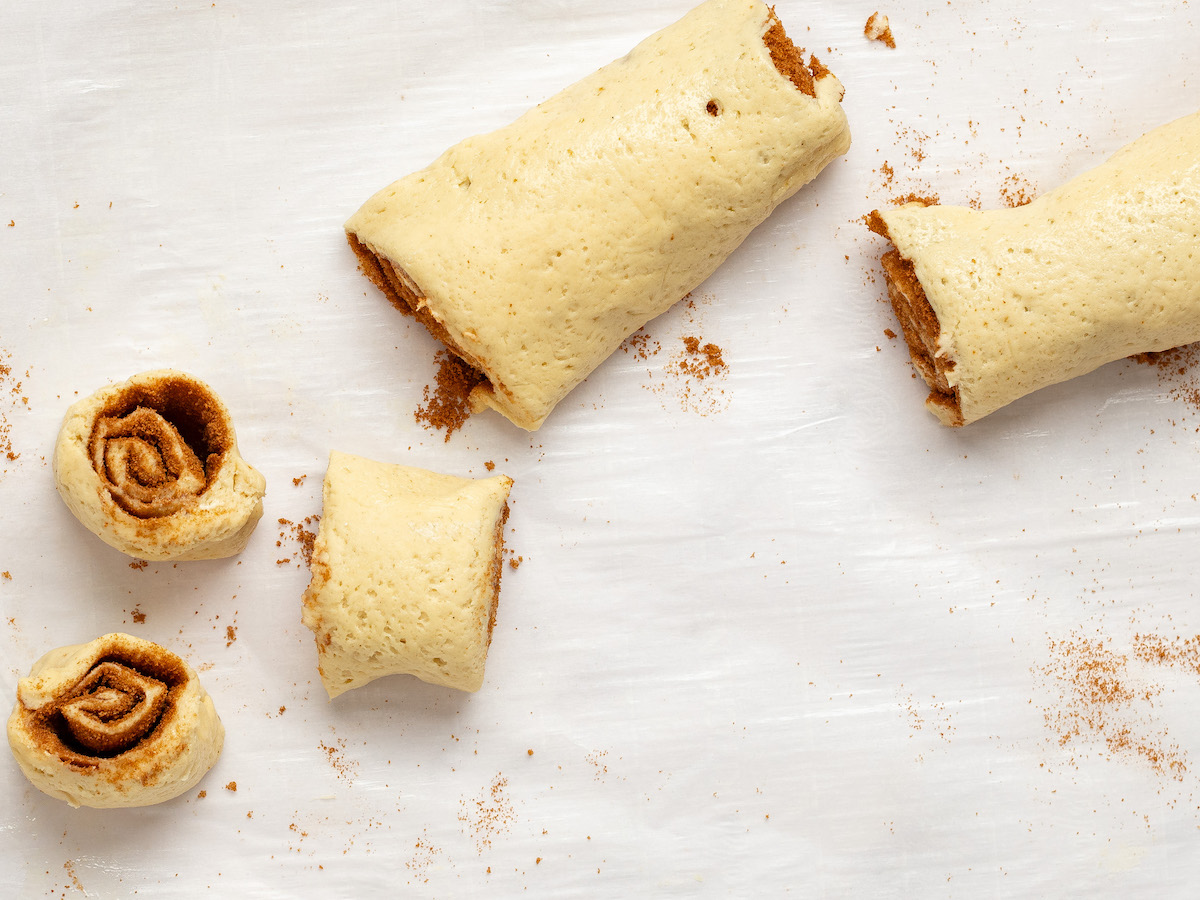
- Starting at one of the long ends, roll the dough into a log as tightly as you can. Slice the log into 12 pieces and arrange them in the dish.
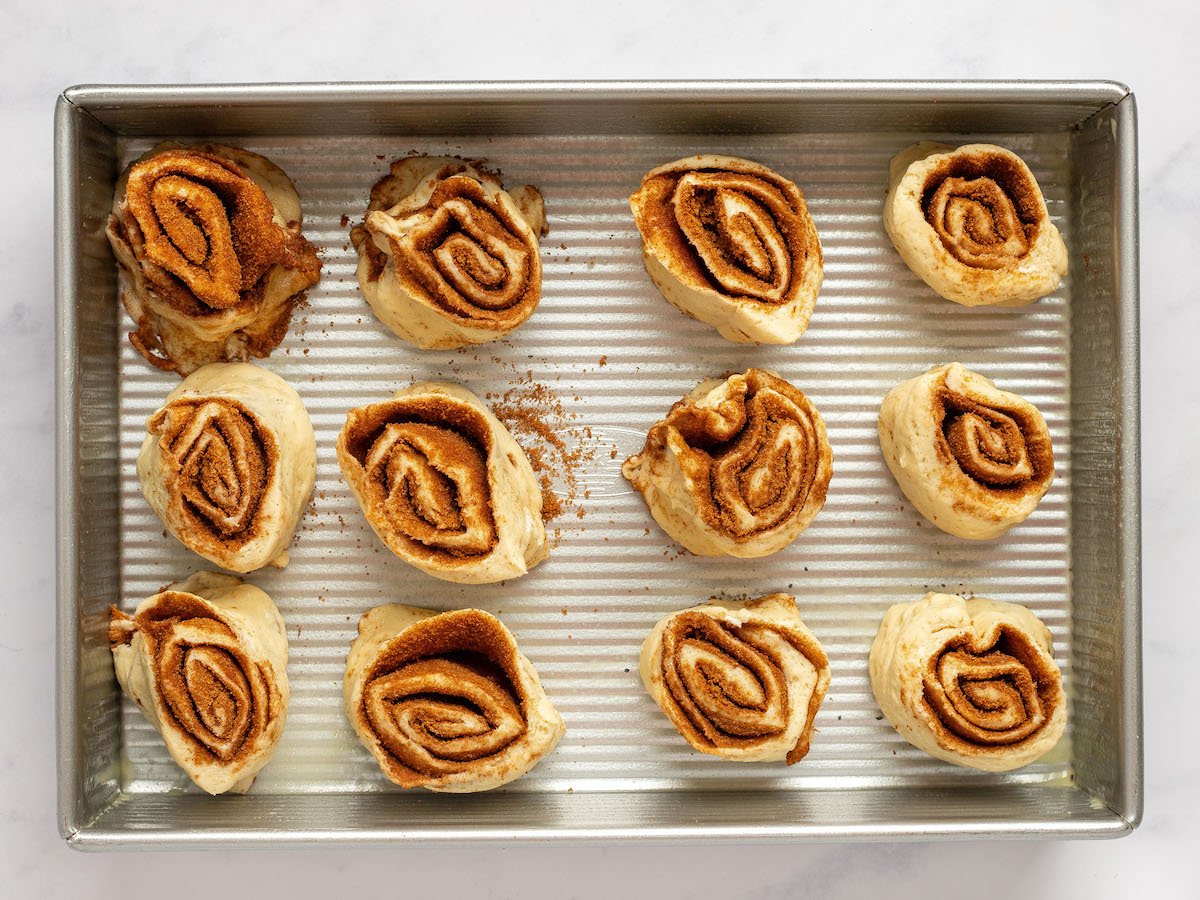
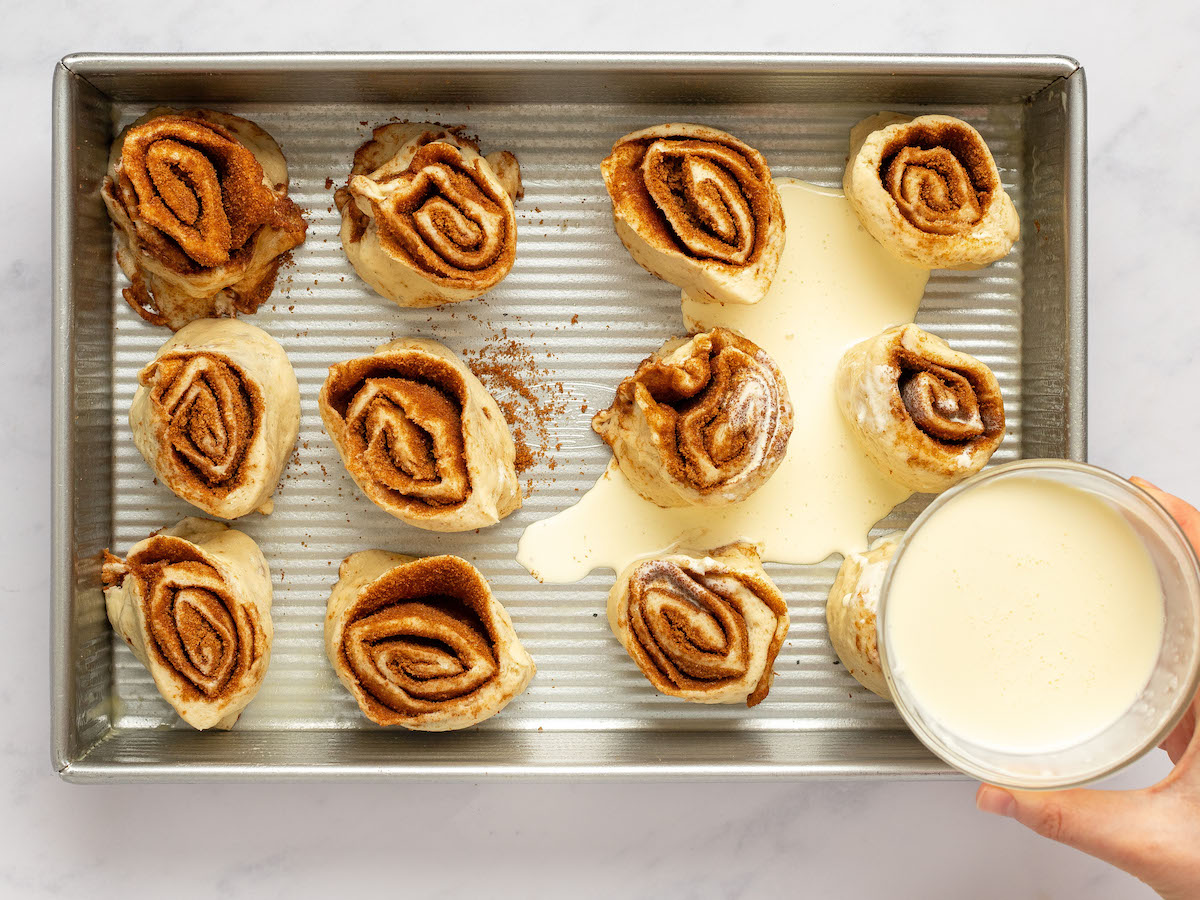
- Grease a 9×13 inch casserole dish or pan with butter or your favorite cooking spray. It’s ok if there is about an inch between the rolls, they will expand as they proof and bake.
- Pour the heavy cream on top and place the pan into the oven while it preheats to 375F. The time they spend in the oven as it comes to temperature will serve as the second proof.
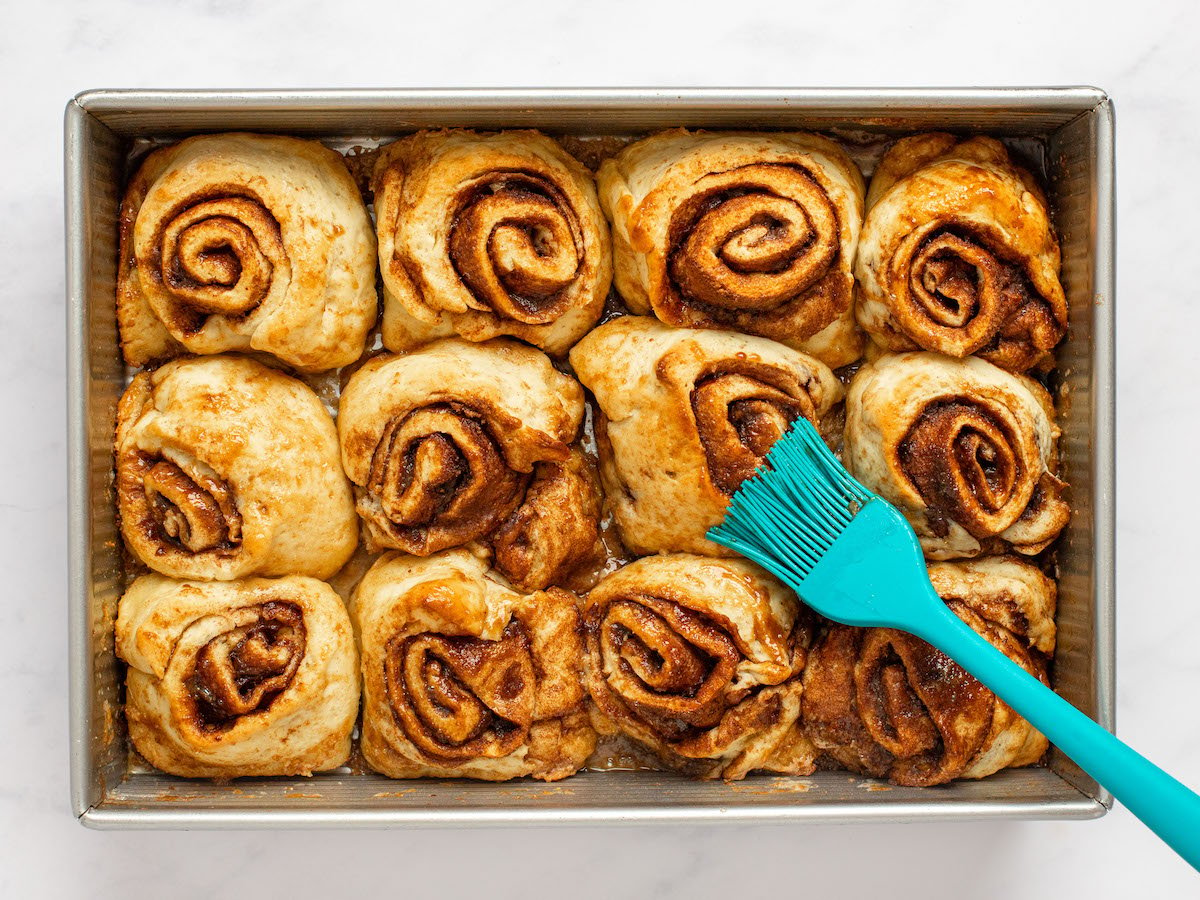
- Once the oven is preheated, bake for 15 minutes.
- While the cinnamon rolls are still hot and bubbly use a silicone or pastry brush to brush the tops of the rolls with any cinnamon butter that has fallen in between the rolls.
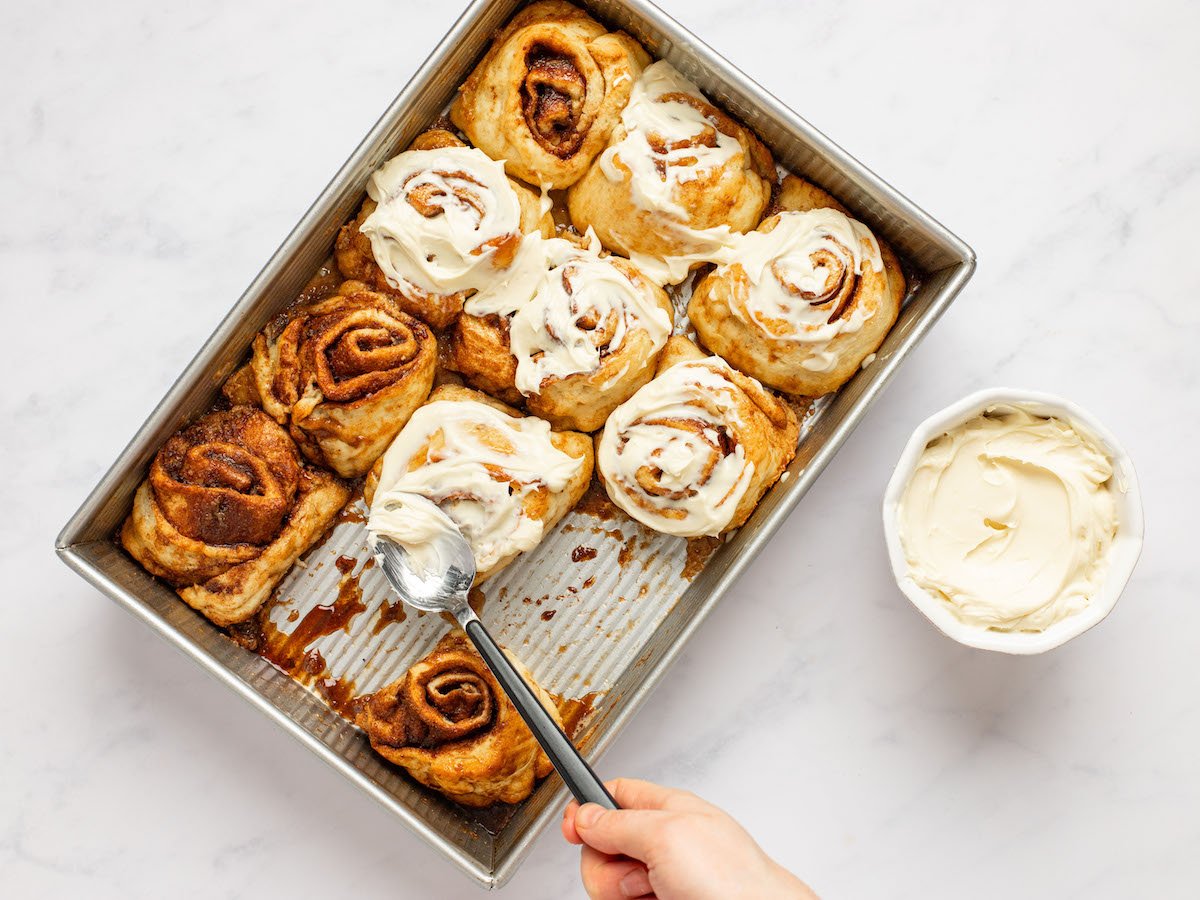
- Let the rolls cool for 5 or so minutes before mixing together the glaze ingredients and pouring it over the cinnamon rolls and enjoying!

Tips
Food photography by Dalya Rubin.
Find it online: https://thetoastedpinenut.com/gluten-free-cinnamon-rolls/