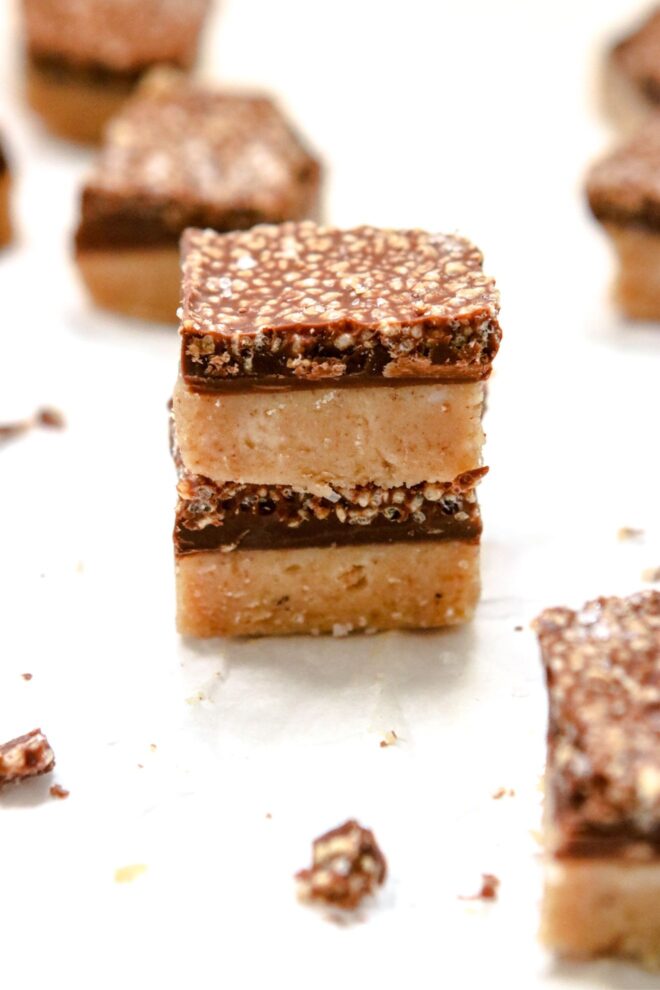
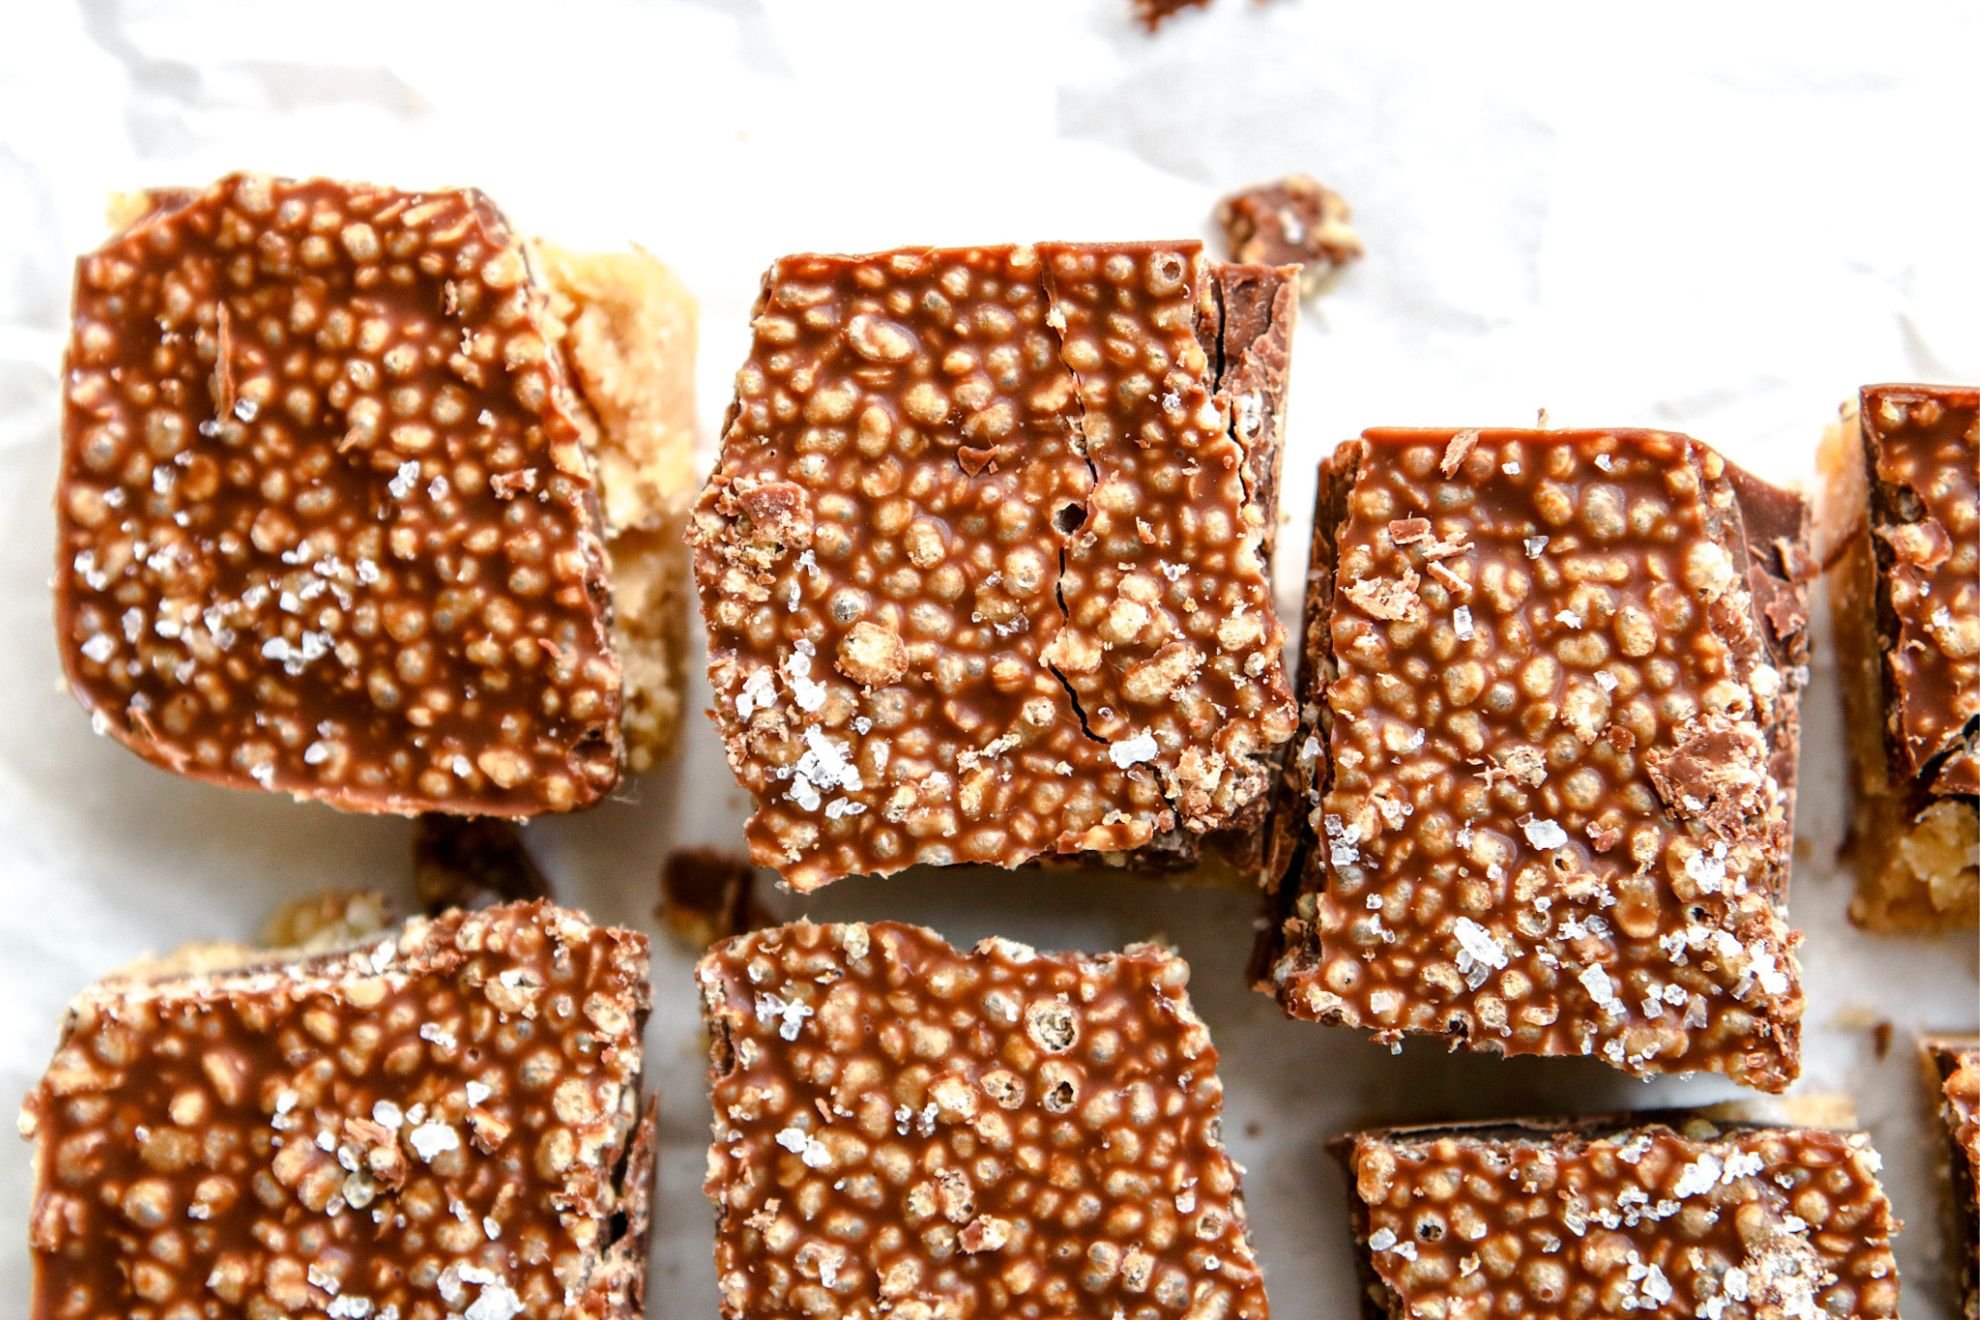
These Crispy Chocolate Peanut Butter Banana Bites are a perfect combination of flavors and textures. They’re incredibly tasty and super simple to make with just a few basic ingredients.
Whether you’re a busy mom looking for a quick and satisfying snack for your kids or a dessert lover searching for a sweet treat to keep in your fridge, these banana bites are sure to become a favorite in your household.
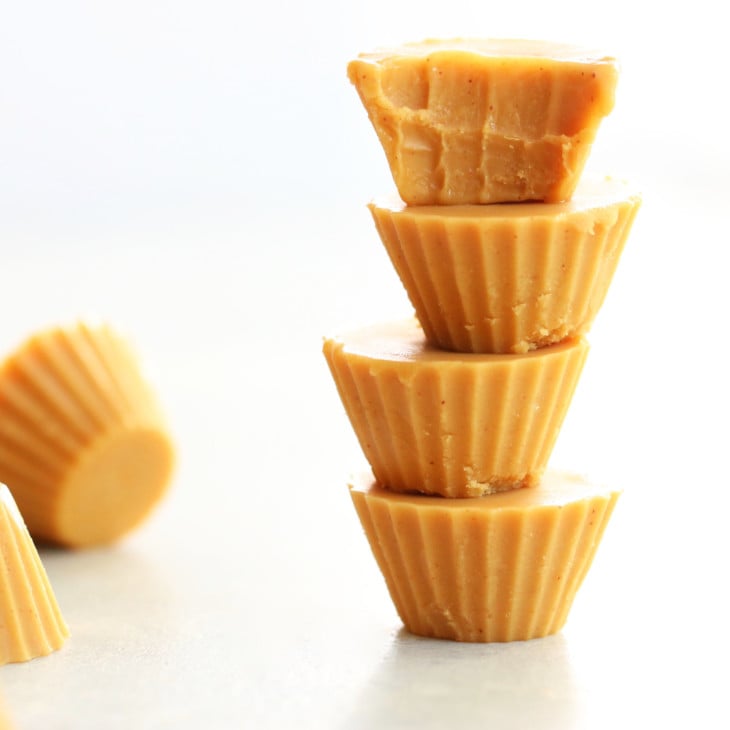
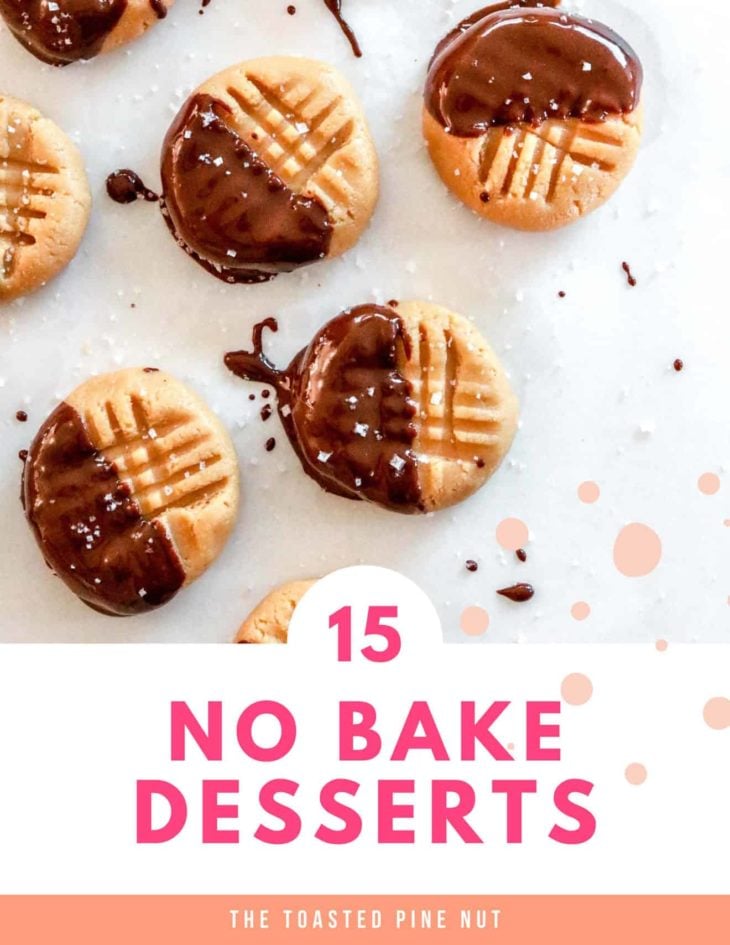
If you love quick bites, you have to try 5-Min Crunchy Chocolate Quinoa Crisps which are a reader favorite! Rich & Creamy Microwave Peanut Butter Fudge and Chocolate Tahini Freezer Fudge are definitely worth making too!
Why You’ll Love these Banana Bites
Convenience. No-bake recipes are quick and easy to prep and require little to no cooking or baking time. They are ideal for busy individuals or those who want a quick kitchen project for little helpers! No bake desserts can be a big time-saver and a convenient option for satisfying a sweet craving.
Naturally Sweet. Using bananas as a base for the bites can add natural sweetness, moisture, and creaminess without relying on refined sugars.
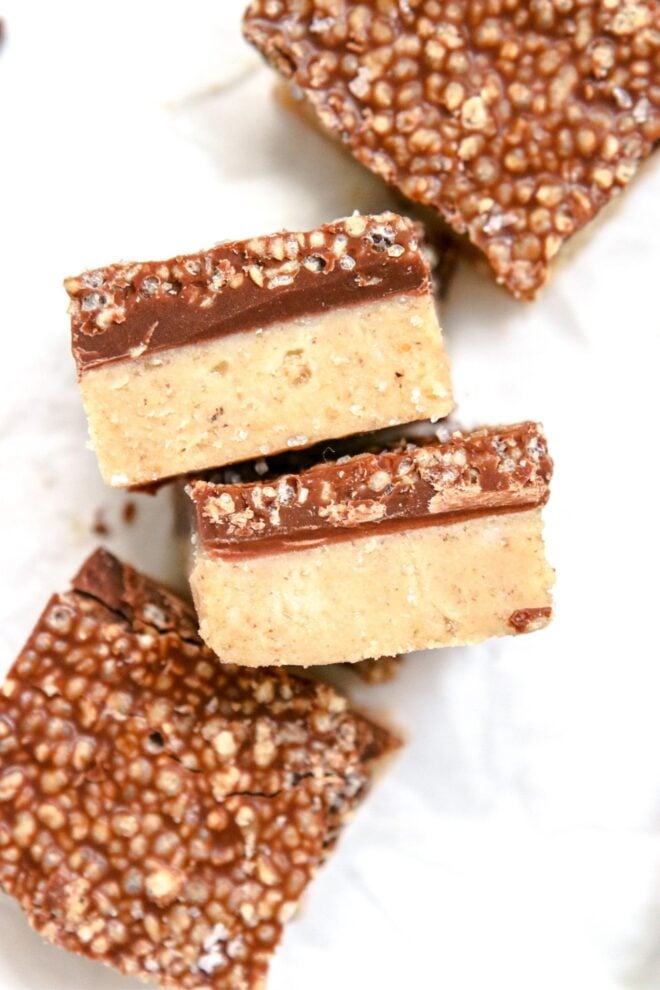
Deliciousness. The combination of banana and peanut butter flavors, along with the crispy chocolate top layer is sure to satisfy your sweet tooth. The natural sweetness of bananas pairs perfectly with the creamy richness of peanut butter. Plus the crispy chocolate top layer adds a super satisfying crunch.

Ingredients for Banana Bites
Banana. Bananas are a great ingredient to use in recipes as they add natural sweetness, moisture, and creaminess.
Peanut Butter. If you have a peanut allergy, sub in almond butter, cashew butter, sunflower seed butter, or tahini (sesame seed paste).
Coconut Oil. I like using refined coconut oil as it has a mild flavor. The great thing about coconut oil is it hardens when it is chilled meaning it’s a key factor in this recipe that helps hold the bites together.
Agave Nectar. Agave nectar is a natural sweetener that comes from the agave plant. It is commonly used in vegan recipes as a substitute for honey, as it has a similar sweetness profile. Honey and maple syrup can be used as substitutions for agave nectar in most recipes, but keep in mind that they have their own distinct flavors that may affect the taste of the final dish.
Unsweetened Cocoa Powder. Unsweetened cocoa powder is made from cocoa beans and is used to add the rich, chocolatey flavor we love.
Puffed Quinoa. Crispy puffed quinoa is crunchy and nutritious! I love the texture it adds to recipes. If you don’t have crispy puffed quinoa, you can use other crispy grains such as crispy rice cereal.
How to Make these Easy Banana Bites
Make the Banana Layer
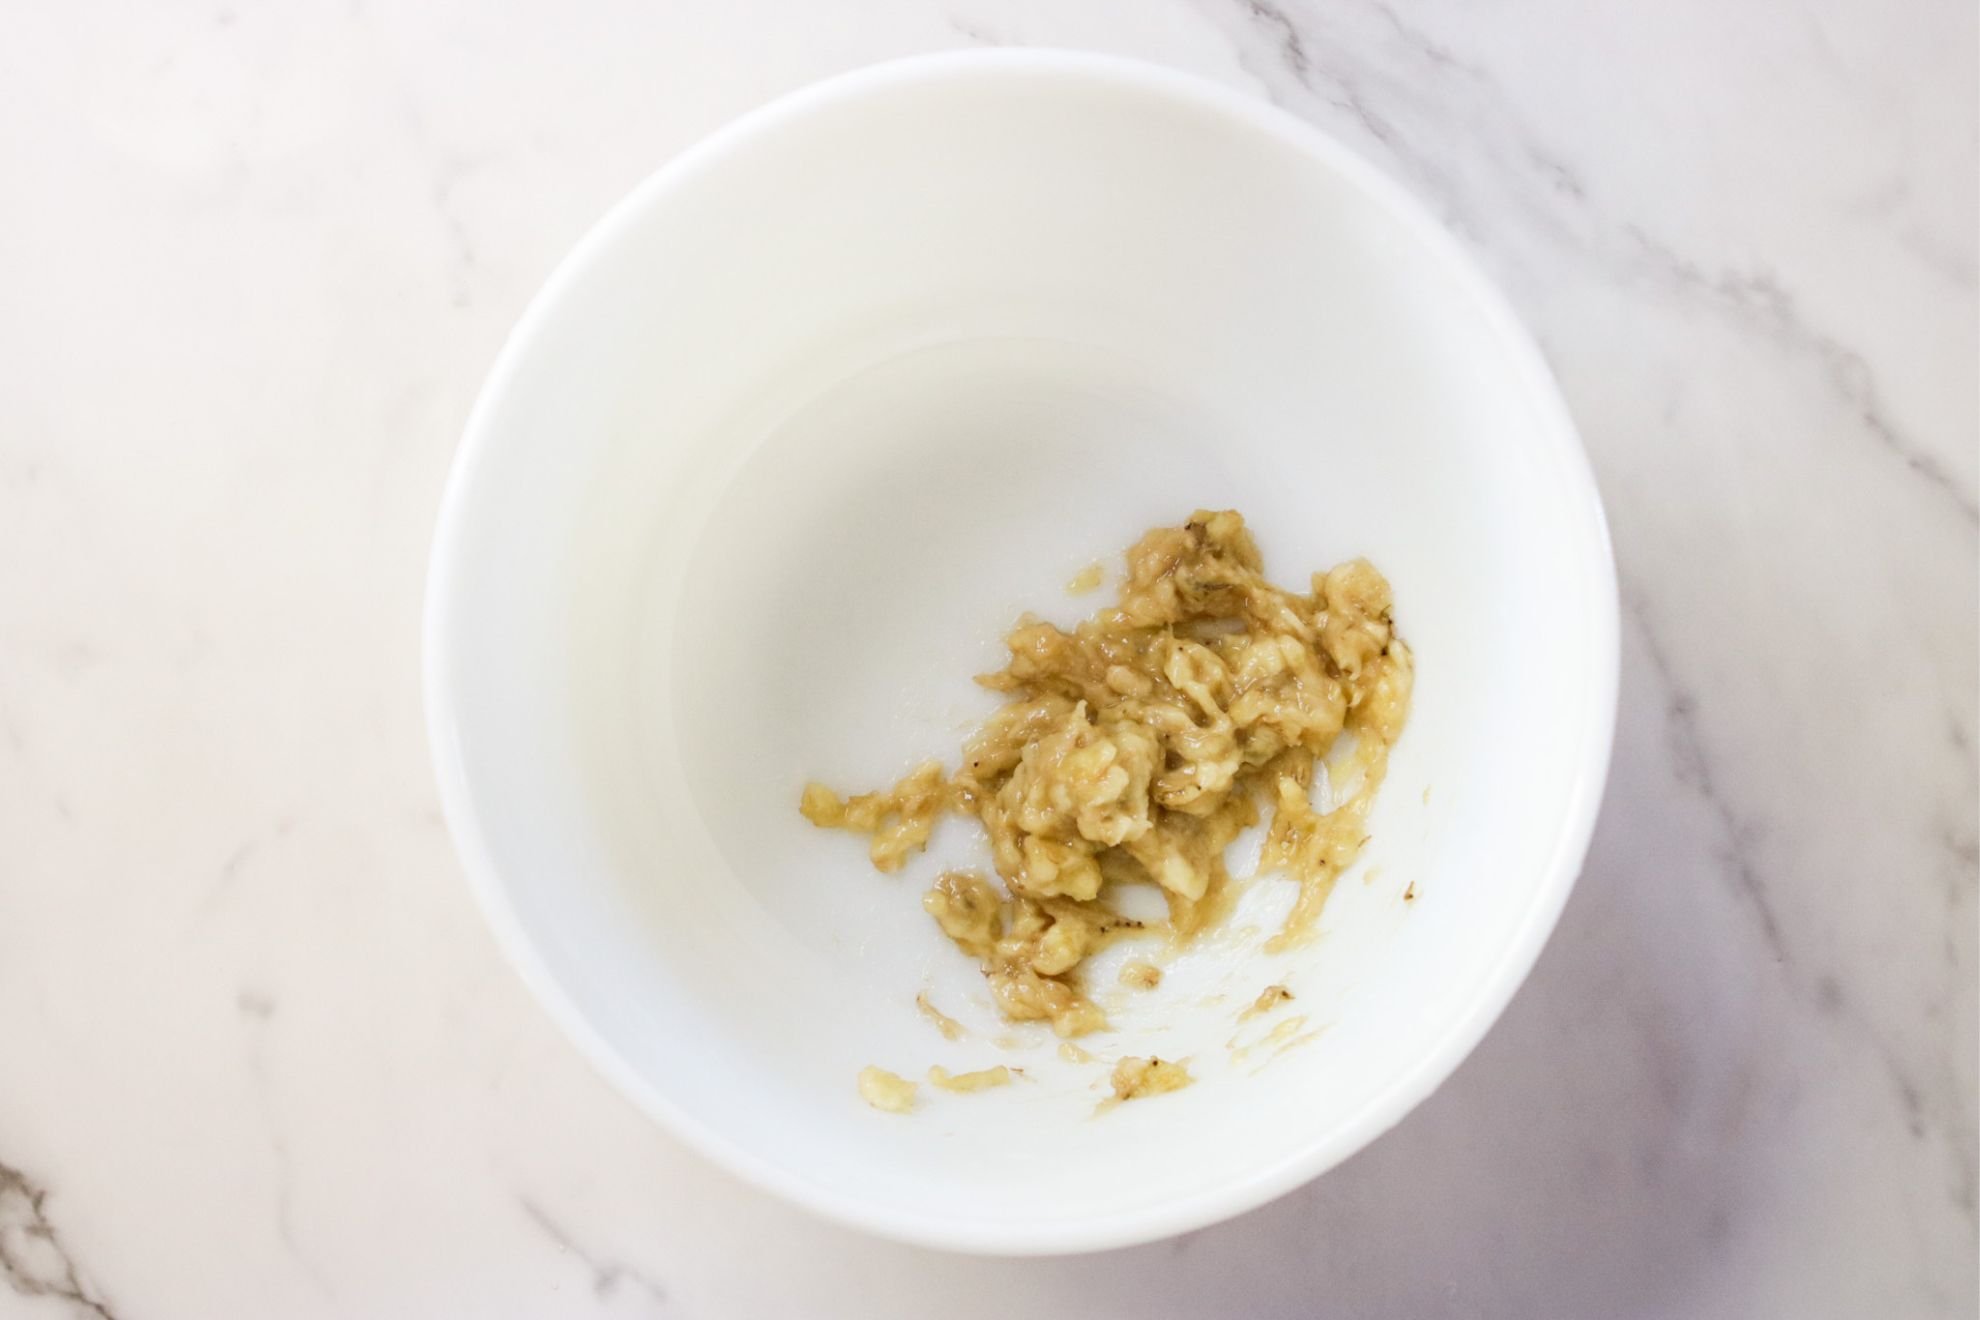
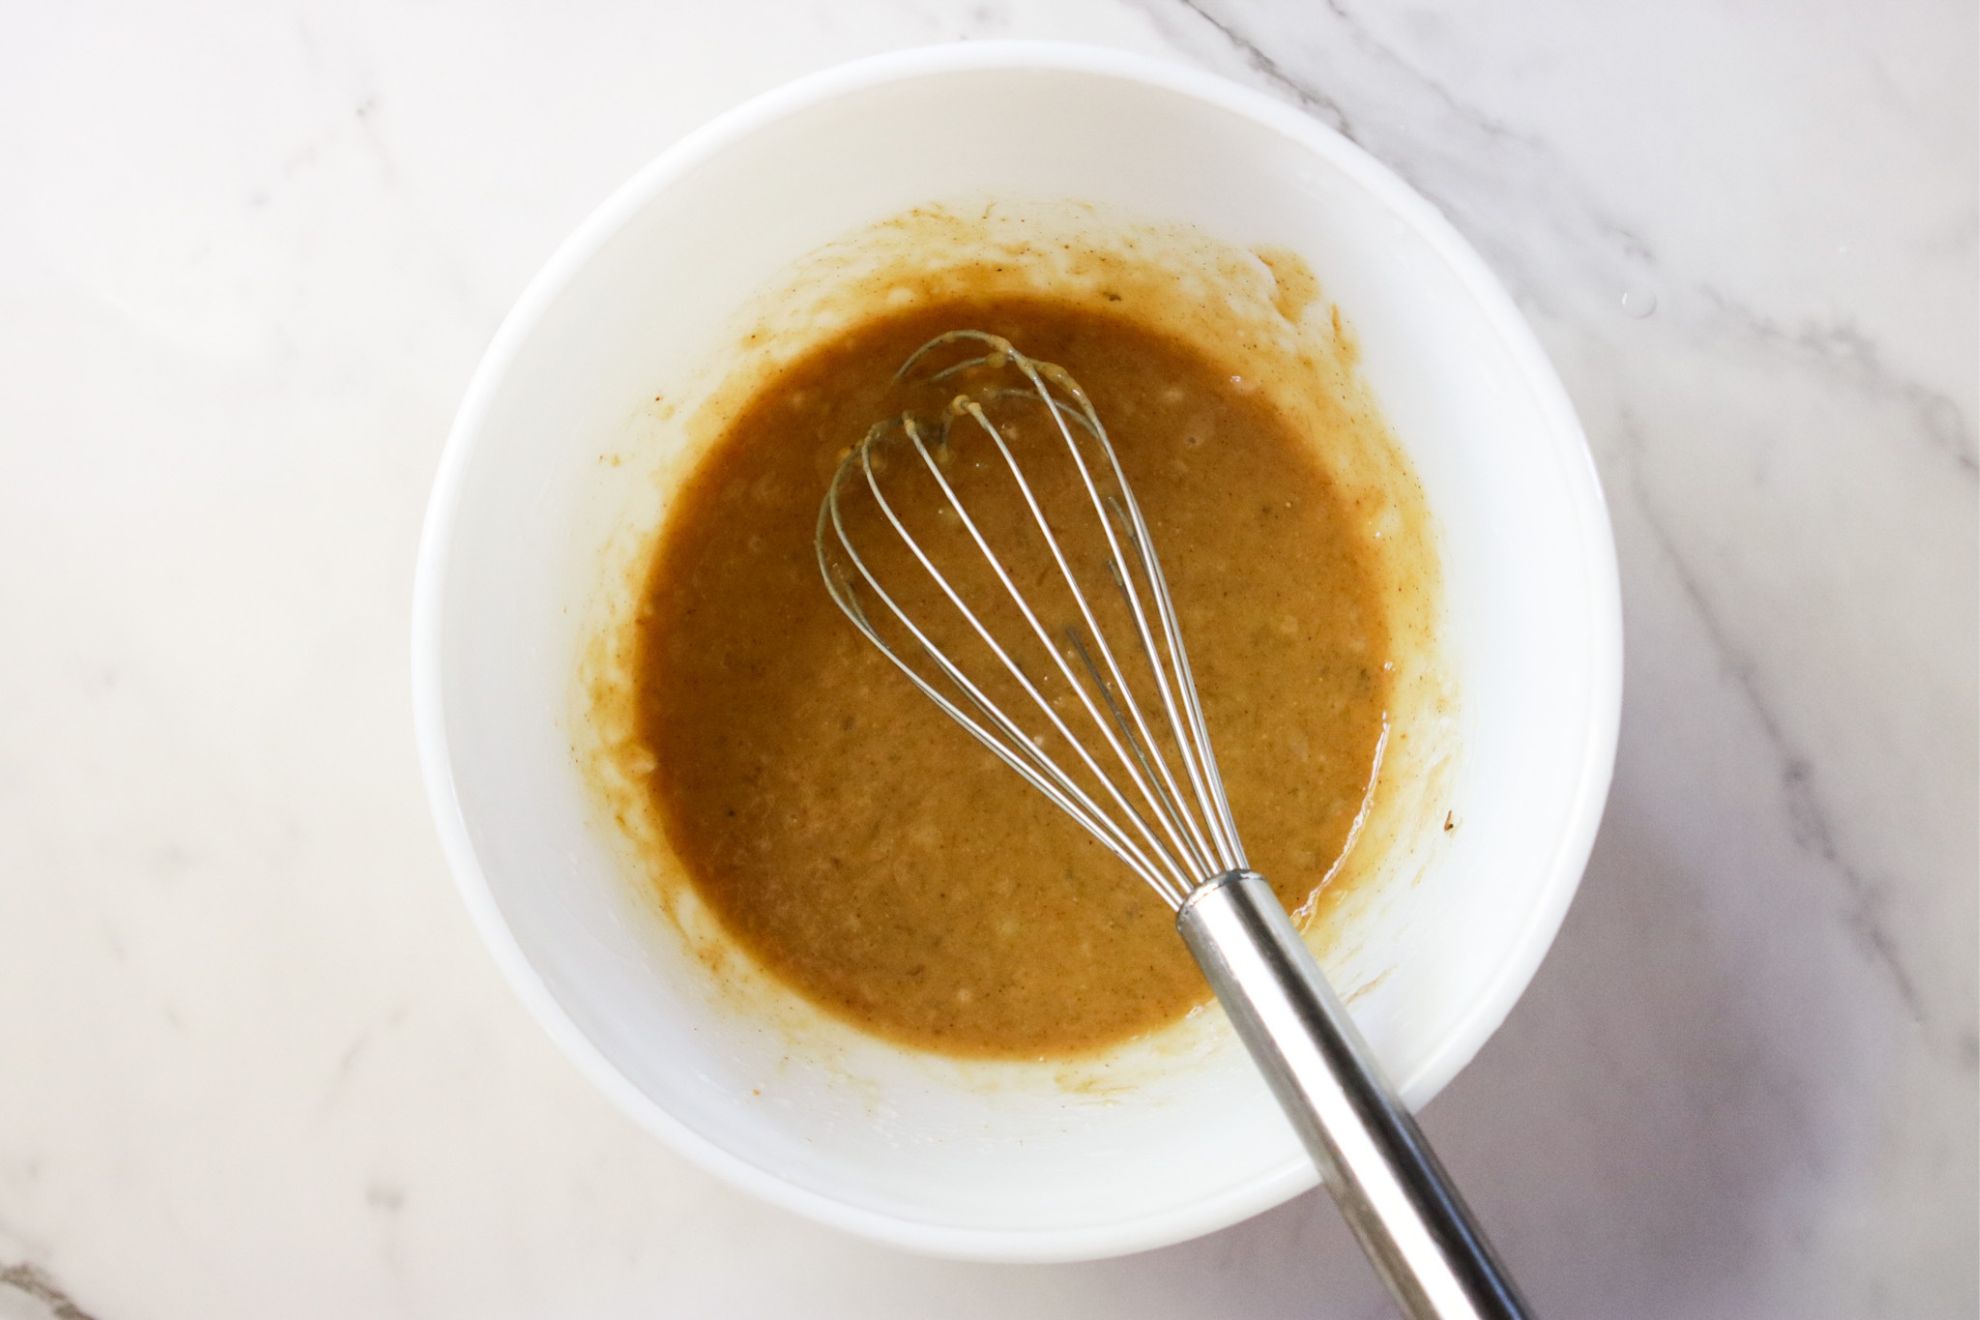
- Peel a ripe banana and place it in a bowl. Use a fork or a potato masher to mash the banana until it reaches a smooth consistency. This will serve as the base layer of the banana bites, providing natural sweetness and creaminess.
- To the mashed banana, add agave nectar (honey or maple syrup works as a substitution), melted coconut oil, and natural peanut butter. The agave nectar will add sweetness without refined sugars, the melted coconut oil will help bind the mixture together, and the peanut butter will provide flavor and creaminess. Use a spoon or a whisk to thoroughly mix all the ingredients together until well combined.
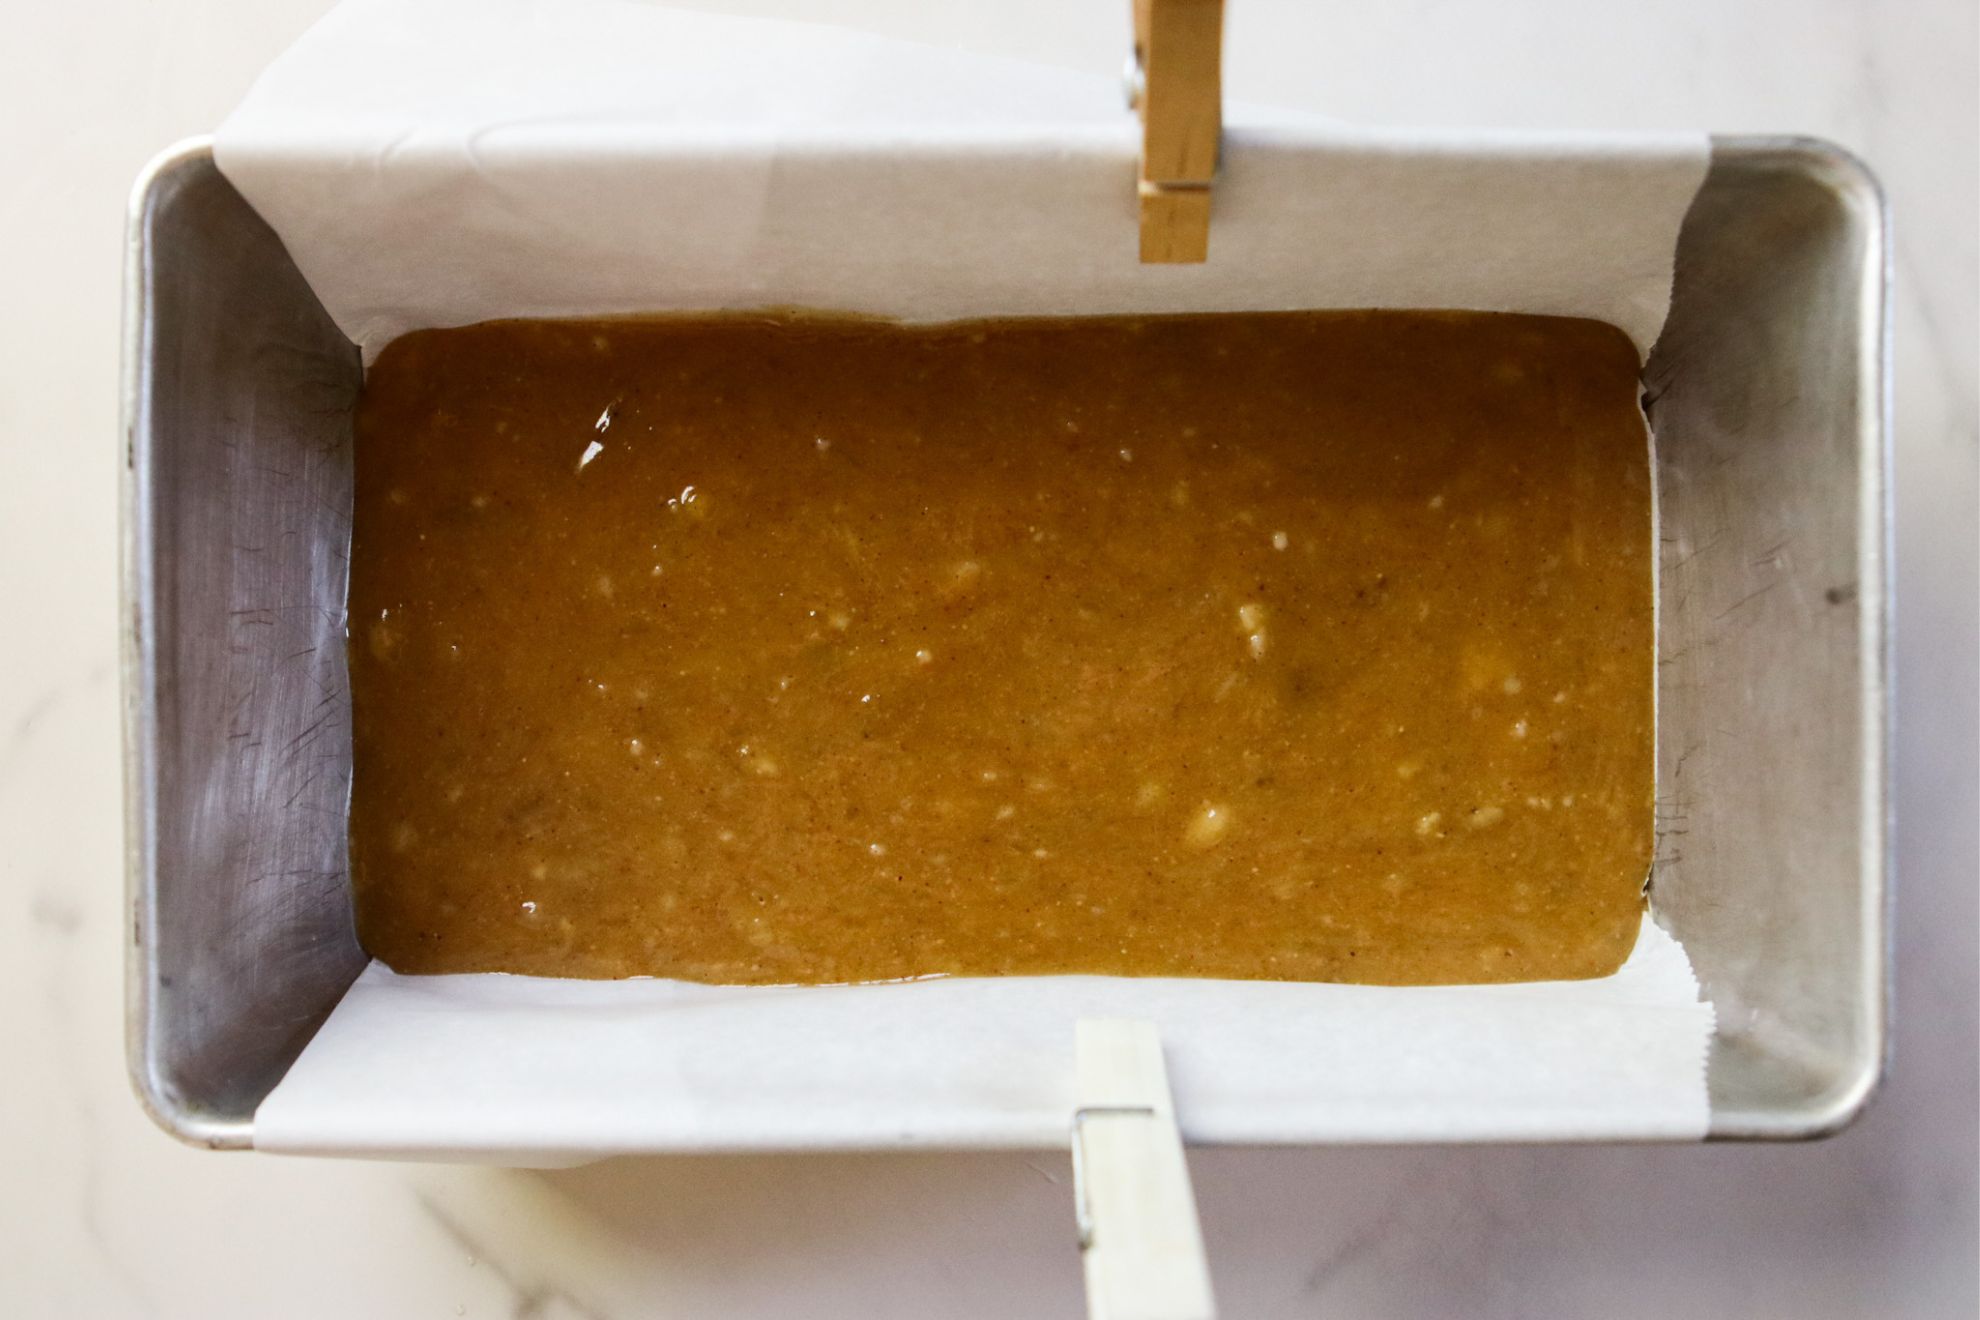
- Prepare a bread pan by lining it with parchment paper. The parchment paper will make it easy to remove the frozen banana bites from the pan later. You can use clothespins or chip clips to secure the parchment paper in place, ensuring that it covers the entire bottom and long sides of the pan.
- Carefully transfer the banana mixture to the prepared bread pan, spreading it evenly with a spatula or the back of a spoon. Make sure the mixture fills the pan evenly. Place the bread pan on a flat surface in the freezer to set for about 10-15 minutes, or until it firms up slightly.
Make the Chocolate Layer
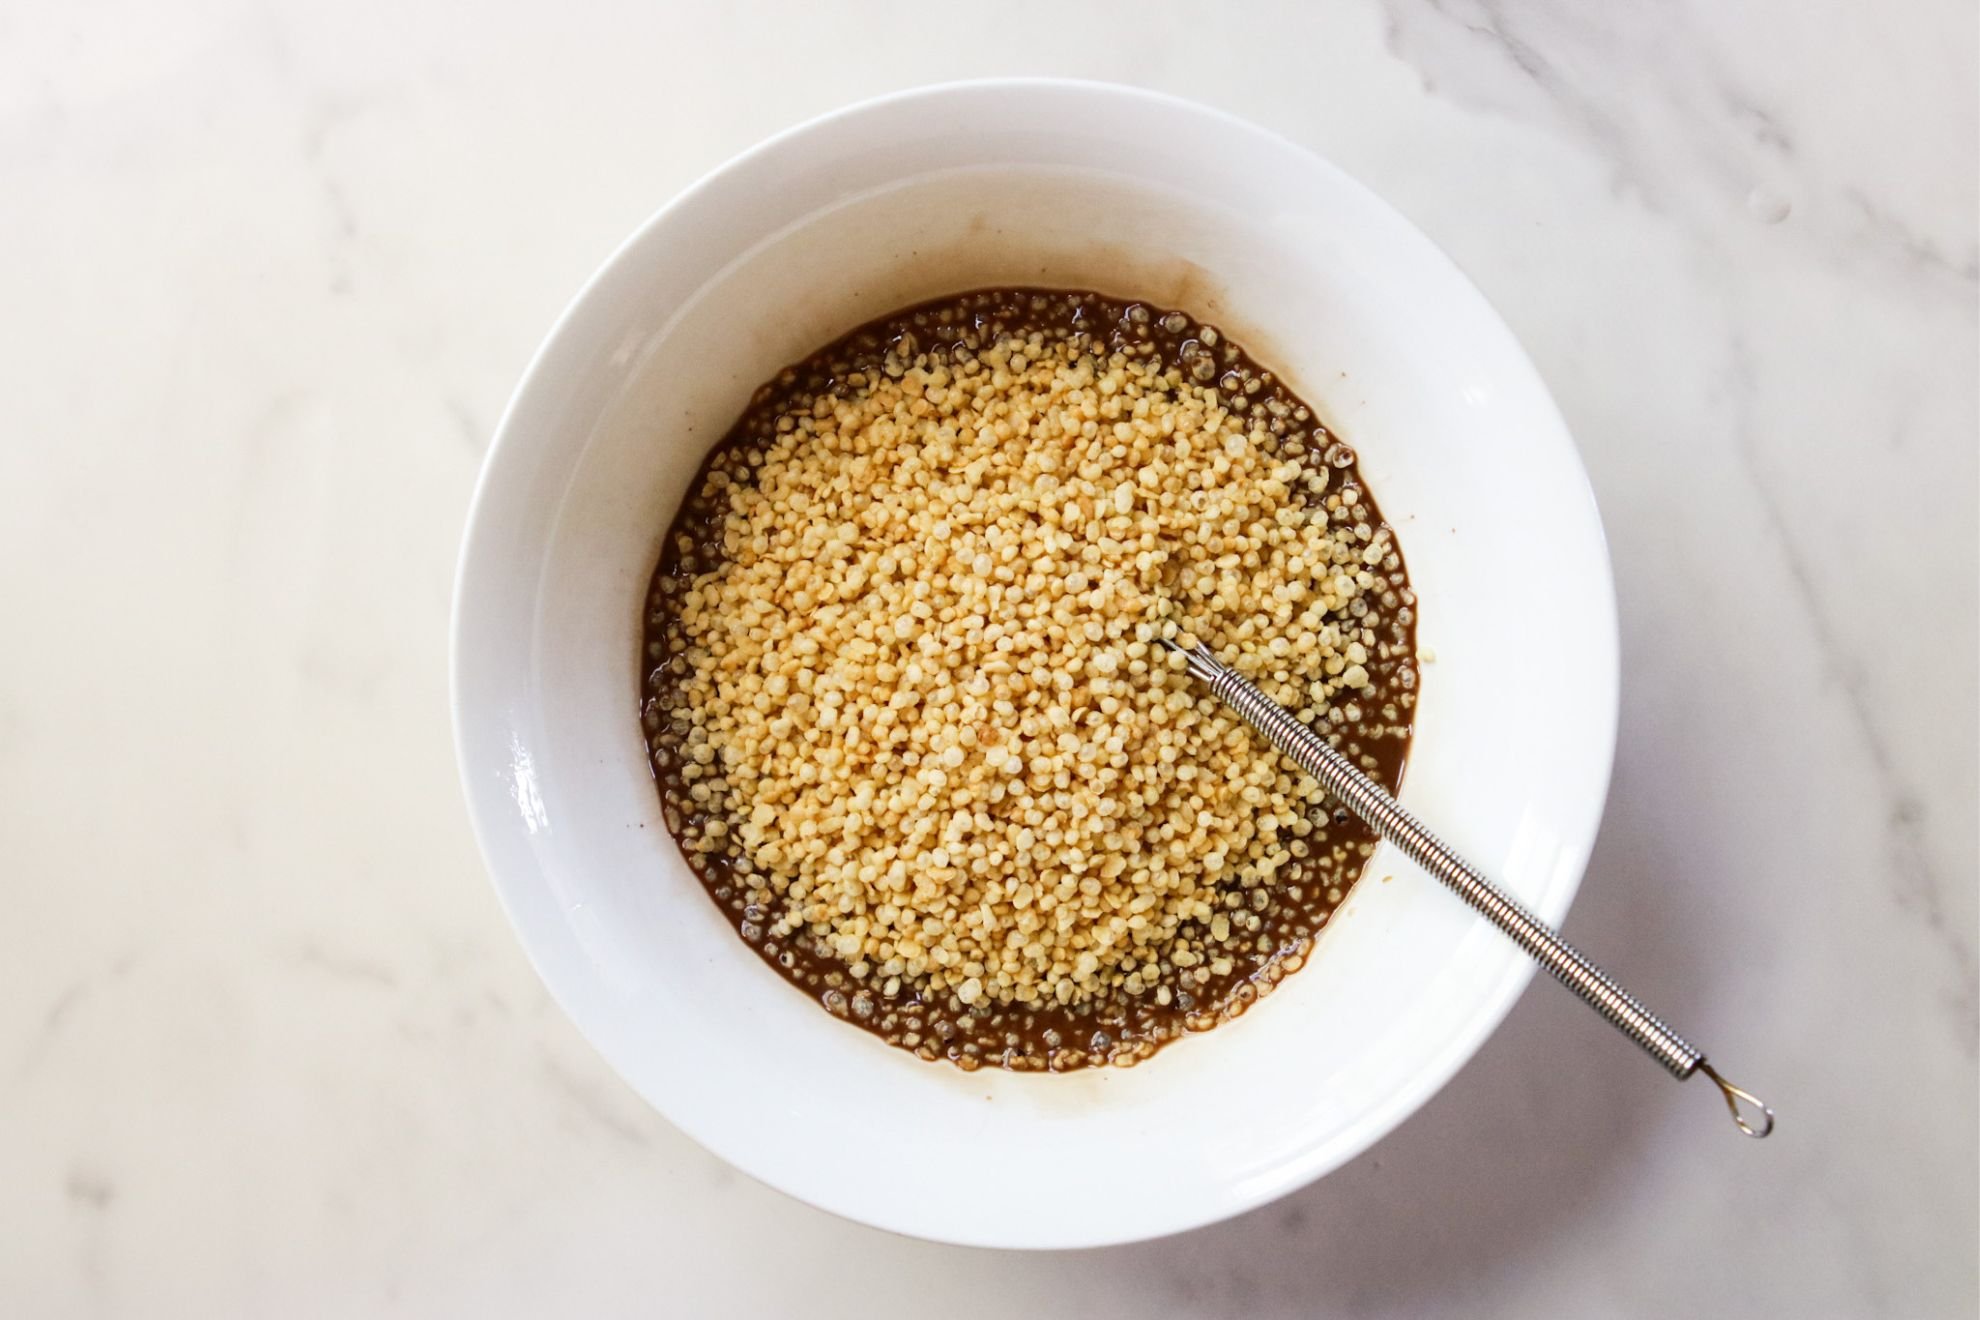
- In a medium bowl, combine the peanut butter, melted coconut oil, agave nectar (honey or maple syrup as a substitution), and unsweetened cocoa powder. Whisk the ingredients together until they are well combined. The peanut butter will provide richness and flavor, the coconut oil will help bind the mixture together, the agave nectar will add sweetness without refined sugars, and the cocoa powder will give the mixture its chocolate flavor.
- Once the peanut butter, coconut oil, agave, and cocoa powder are fully combined, gently fold in the crispy puffed quinoa. Gently incorporate the puffed quinoa into the mixture without over-mixing or crushing the quinoa. The puffed quinoa will add a crunchy texture to the chocolate layer, providing a delightful contrast to the creamy banana layer.
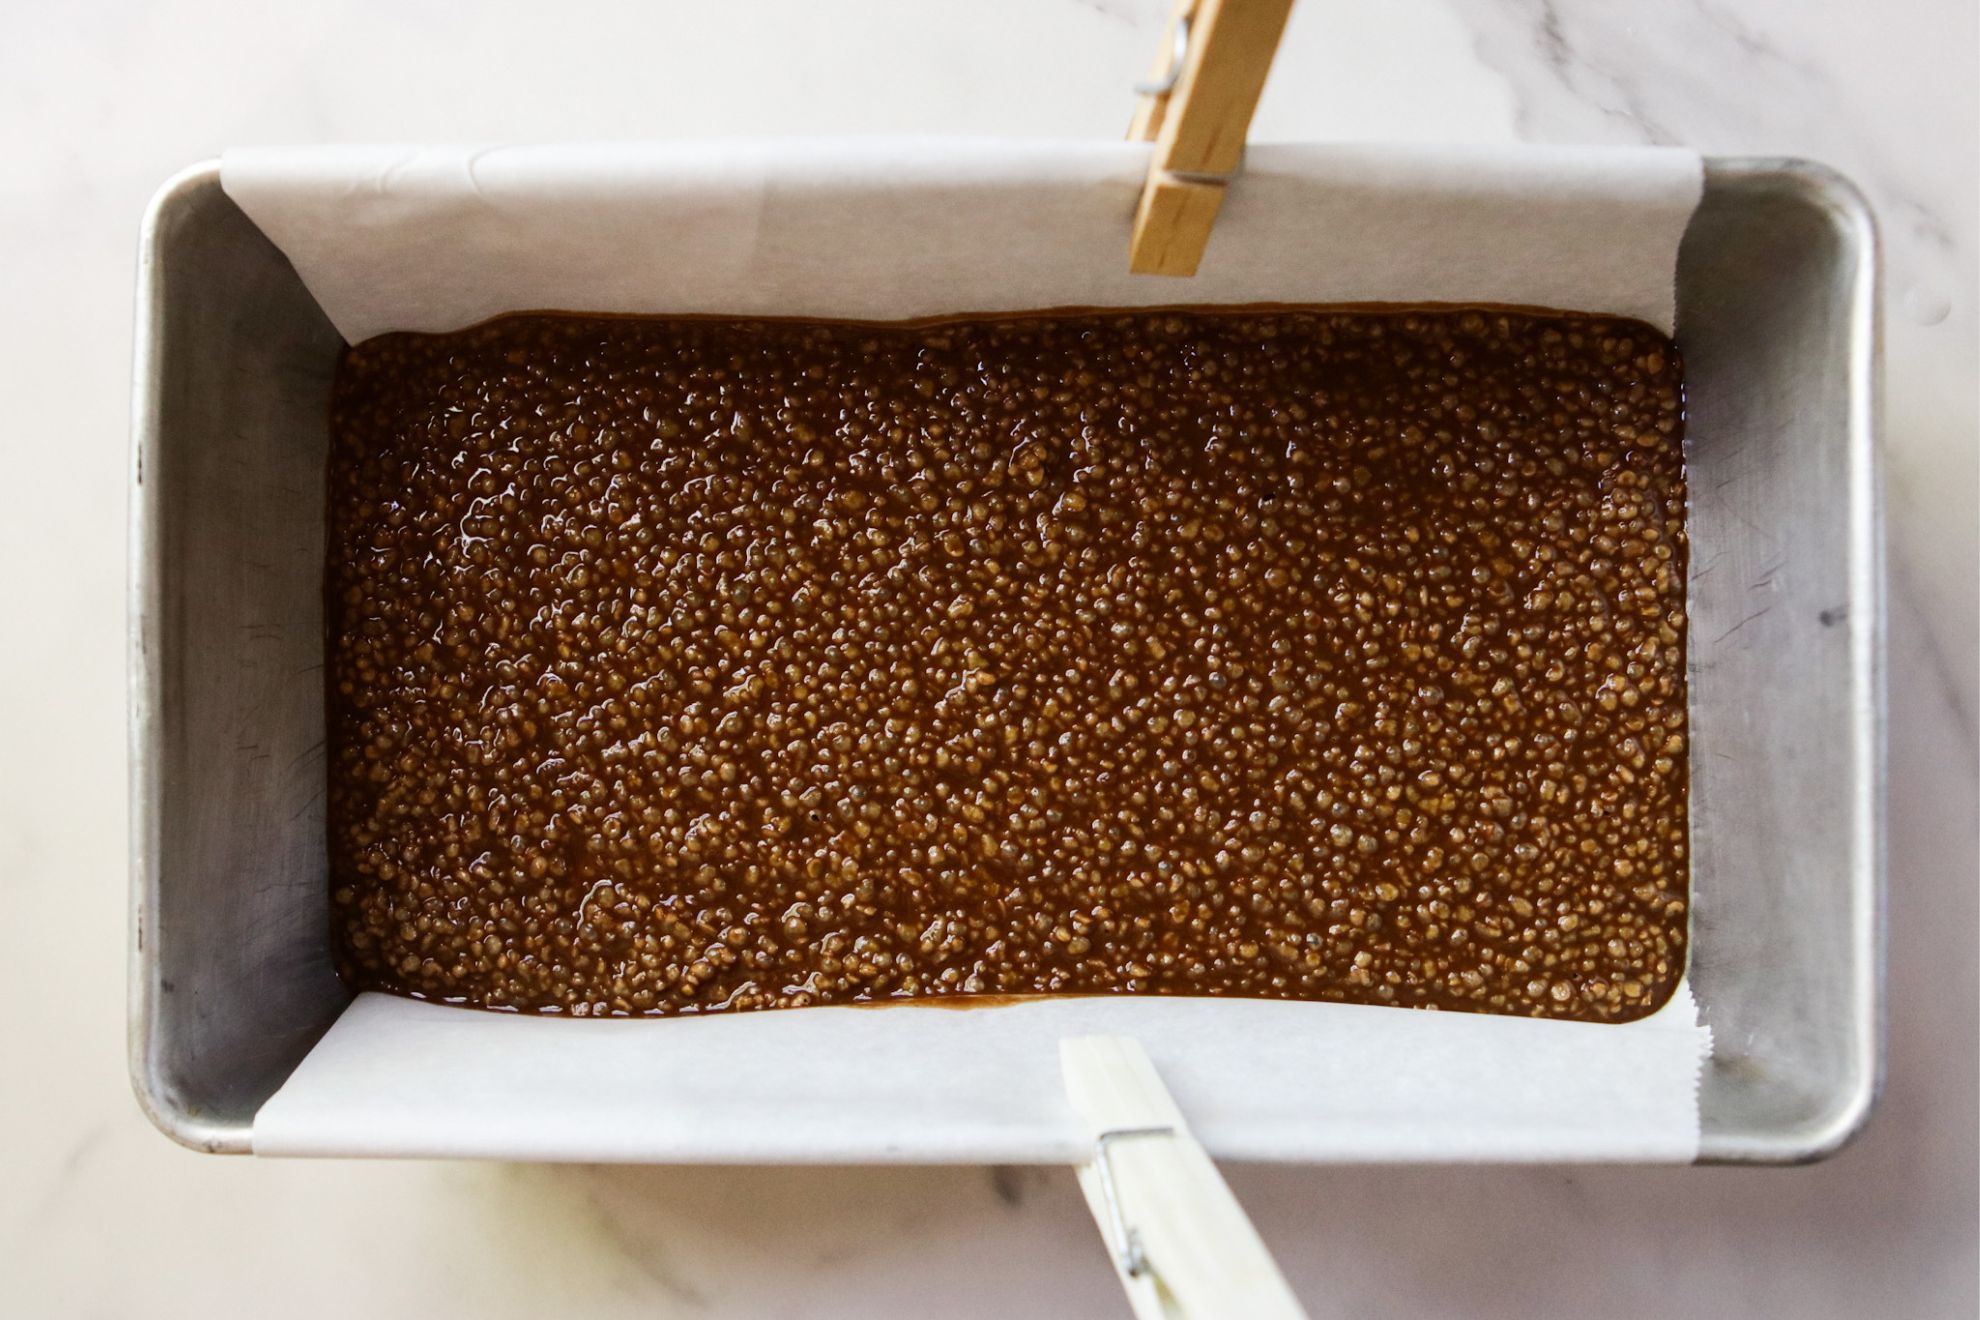
- After the banana layer has chilled in the freezer for about 10-15 minutes and has firmed up slightly, take the bread pan out of the freezer and pour the chocolate mixture on top of the chilled banana layer. Use a spatula or the back of a spoon to spread the chocolate layer evenly over the banana layer, making sure it reaches the edges and corners of the pan.
- Once the chocolate layer is evenly spread over the banana layer, place the bread pan back in the freezer to chill for at least 1 hour, but preferably overnight. This will allow the chocolate layer to fully set.
Cut & Enjoy Each Bite!!
- Once the banana bites have fully set in the freezer, you can take the bread pan out and pull on the edges of the parchment paper to carefully lift the entire block of banana bites out of the pan in one piece. The parchment paper will make it easy to handle and transfer the frozen banana bites to a cutting board.
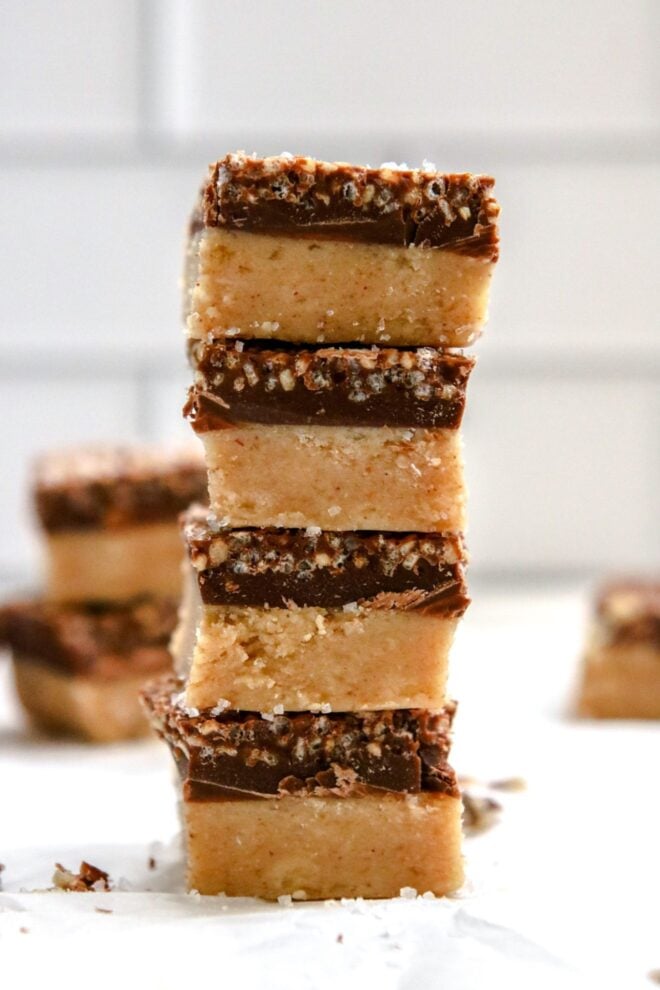
- After removing the frozen banana bites from the pan, let them sit on the counter for a few minutes to slightly soften before cutting into them. This will make them easier to slice without cracking or crumbling. You can use a sharp knife to cut the frozen treat into bite-sized pieces or bars, depending on your preference. I cut mine into 18 small squares.
- For an extra burst of flavor, you can sprinkle the banana bites with a pinch of flaky salt. The salt will compliment the sweetness of the banana and the richness of the chocolate, adding a delightful sweet and salty vibe.
- Use a sharp knife to slice it into bite-sized pieces. The banana bites are now ready to be enjoyed as a delicious frozen treat!
Tips for Success
Use ripe bananas. Make sure to use ripe bananas for the banana layer. Ripe bananas are sweeter and softer, which will make it easier to mash and incorporate into the mixture. Overly ripe bananas with brown spots on the skin will work best for this recipe, as they will have a stronger natural sweetness.
Melt the coconut oil. I always melt coconut oil before measuring it. Plus, it allows the oil to be incorporated throughout the mixture so that it hardens evenly when placed in the freezer.
Chill the banana layer. Chilling the banana layer in the freezer for about 10-15 minutes before adding the chocolate layer will help it firm up slightly and prevent the layers from mixing together. This will result in a cleaner separation between the banana and chocolate layers in the final frozen bites.
Let the bites soften before cutting. Before cutting into the frozen banana bites, let them sit on the counter for a few minutes to slightly soften. This will make it easier to slice through them without cracking or crumbling, and will result in cleaner cuts.
Sprinkle with flaky salt. If desired, sprinkle the banana bites with flaky salt just before serving to add a burst of flavor. Avoid adding salt too early because you want it to sit on top of the banana bite.
Variations to Try
Nut-Free Version. If you have a nut allergy or prefer not to use peanut butter, you can use alternative nut or seed butters such as almond butter, sunflower seed butter, cashew butter or tahini.
Seed Toppings. Instead of using crispy puffed quinoa, you can try other seeds or grains for a crunchy topping. Chia seeds, hemp seeds, or crushed rice cakes can all be used as a substitute for the puffed quinoa. Just be sure to adjust the quantities accordingly to maintain the desired texture and consistency.
Flavor Additions. You can add in additional flavors to the banana layer or the chocolate layer to switch things up. For example, you can mix in some cinnamon, vanilla extract, or almond extract into the banana layer for added warmth and depth of flavor. Similarly, you can add in some instant coffee powder or orange zest into the chocolate layer for different flavor profiles.
Toppings. After pouring the chocolate layer, you can sprinkle the top with various toppings to add visual appeal and extra crunch. Chopped nuts, shredded coconut, crushed cookies, or dried fruit can all be used as toppings to add texture and flavor to the banana bites.
Size and Shape Variations. While the recipe suggests using a bread pan to create a rectangular shape, you can also use other molds or shapes. Silicone molds, mini muffin tins, or even an ice cube tray can be used to create smaller, bite-sized portions or different shapes for a fun twist.

 Recipe
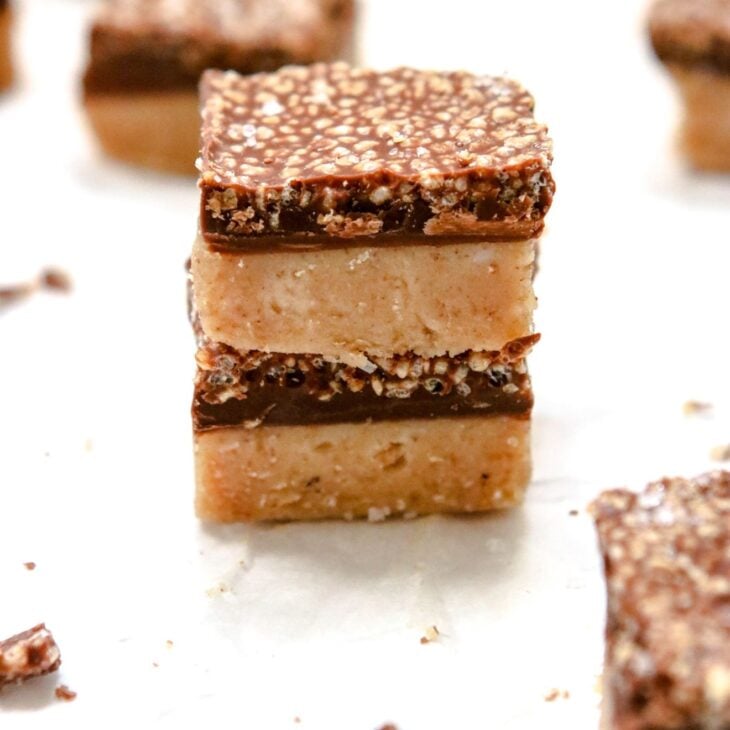
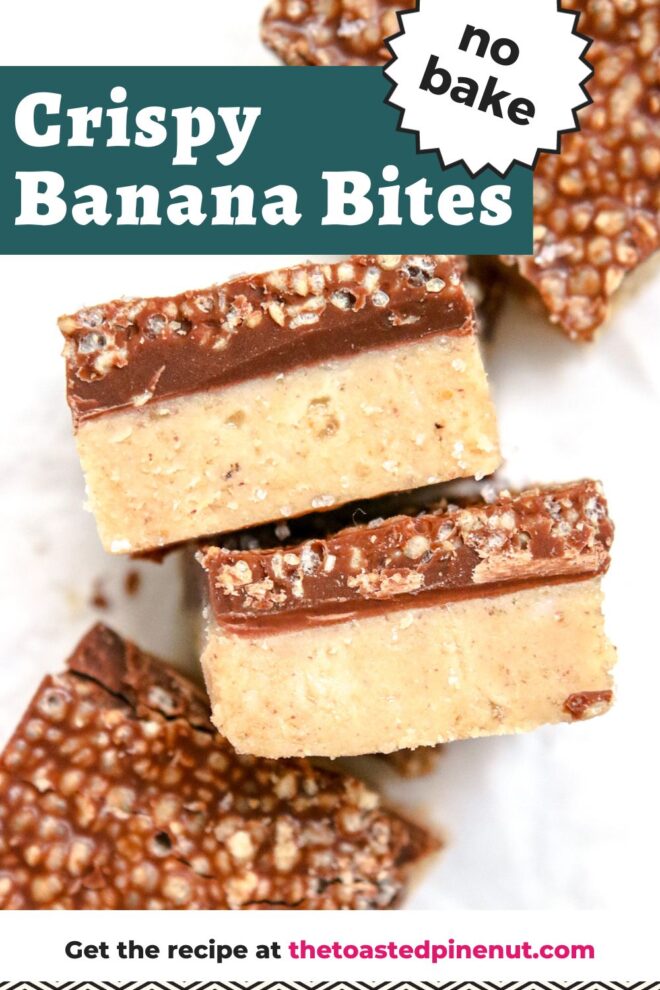
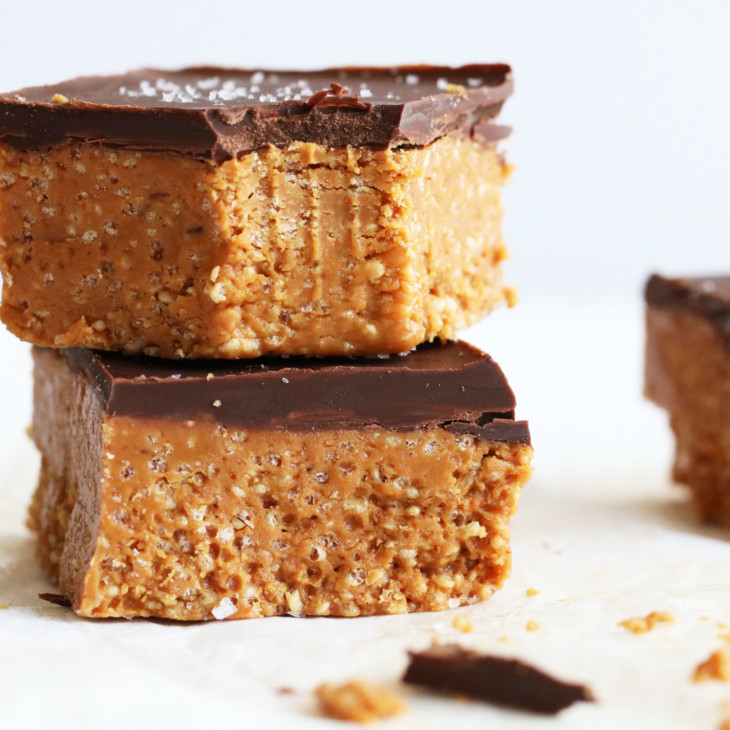
Two-Bite Crispy Chocolate Peanut Butter Banana Bites
Banana bites have a creamy peanut butter and banana base layer and topped with a fun crispy chocolate layer. Such an easy no bake dessert!
Ingredients
Banana Layer
- 1 ripe banana
- 1/4 cup agave nectar, honey or maple syrup
- 1/4 cup melted refined coconut oil
- 1/4 cup natural peanut butter
Chocolate Layer
- 1/2 cup natural peanut butter
- 1/4 cup melted refined coconut oil
- 2 tablespoons agave nectar, honey or maple syrup
- 1 1/2 tablespoon unsweetened cocoa powder
- 1/2 cup crispy puffed quinoa
- flakey salt for sprinkling on top (optional)
Instructions
Make the Banana Layer
- Peel a ripe banana and place it in a bowl. Use a fork or a potato masher to mash the banana until it reaches a smooth consistency.

- To the mashed banana, add agave nectar (honey or maple syrup works as a sub), melted coconut oil, and natural peanut butter.
- Use a spoon or a whisk to thoroughly mix all the ingredients together until well combined.
- Prepare a bread pan by lining it with parchment paper. You can use clothespins or chip clips to secure the parchment paper in place. Transfer the banana mixture to the prepared bread pan, spreading it evenly with a spatula or the back of a spoon. Place the bread pan on a flat surface in the freezer to set for about 10-15 minutes, or until it firms up slightly.

Make the Chocolate Layer
- In a medium bowl, combine the peanut butter, melted coconut oil, agave nectar (honey or maple syrup as a substitution), and unsweetened cocoa powder. Whisk the ingredients together until they are well combined. Once the peanut butter, coconut oil, agave, and cocoa powder are fully combined, gently fold in the crispy puffed quinoa.
- After the banana layer has chilled in the freezer for about 10-15 minutes and has firmed up slightly, take the bread pan out of the freezer and pour the chocolate mixture on top of the chilled banana layer. Use a spatula or the back of a spoon to spread the chocolate layer evenly over the banana layer, making sure it reaches the edges and corners of the pan.
- Once the chocolate layer is evenly spread over the banana layer, place the bread pan back in the freezer to chill for at least 1 hour, but preferably overnight. This will allow the chocolate layer to fully set.
Cut & Enjoy!
- Once the banana bites have fully set in the freezer, pull on the edges of the parchment paper to carefully lift the entire block of banana bites out of the pan in one piece.
- After removing the frozen banana bites from the pan, let them sit on the counter for a few minutes to slightly soften before cutting into them. Cut into 18 small squares and sprinkle with flakey salt (if desired).
Nutrition Info:
- Serving Size: 1 bite
- Calories: 101
- Sugar: 6.8g
- Sodium: 2mg
- Fat: 5.9g
- Saturated Fat: 1.5g
- Unsaturated Fat: 0g
- Trans Fat: 0g
- Carbohydrates: 9.7g
- Fiber: 1.1g
- Protein: 3.6g
- Cholesterol: 0mg
Leave a Comment & Rate this Recipe