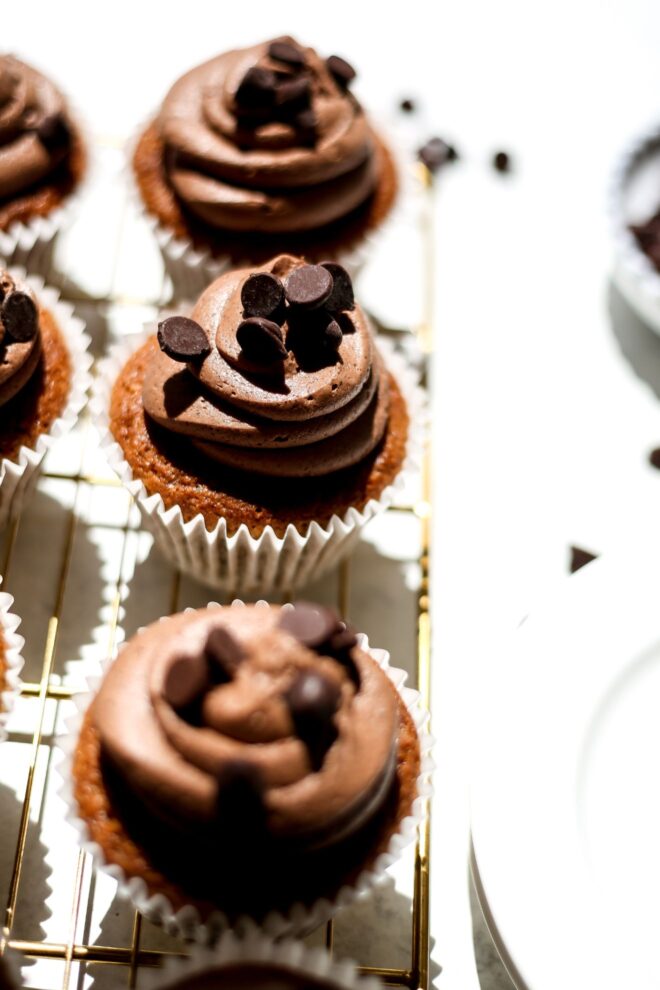
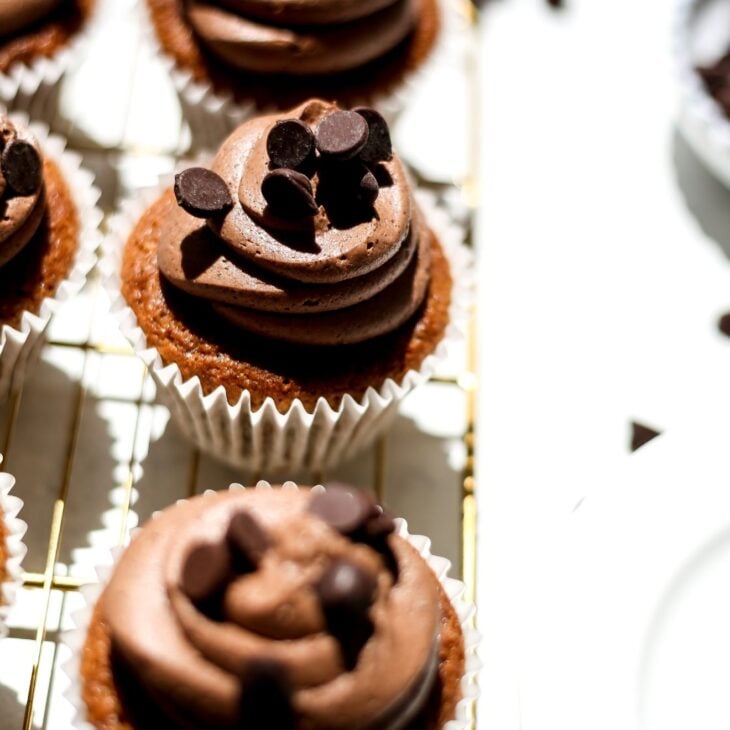
Chocolate chip cupcakes are irresistibly delightful. Every bite is a blissful dance of melted mini chocolate chips with a sweet vanilla cake with a hint of caramel from the coconut sugar.
These chocolate chips cupcakes are adorned with a crown of your favorite chocolate frosting adding a luscious layer of decadence.
If you love desserts you have to check out my roundup of 50+ Gluten Free Dessert Recipes! These Homemade Gluten Free Oreos and these Mini Apple Pies in a Muffin Tin are some of my faves!!
Why You’ll Love these Chocolate Chip Cupcakes
So chocolatey! Chocolate chip cupcakes are a rich, indulgent, and satisfying dessert! Topped with chocolate frosting you’ll get a double dose of chocolate goodness everyone will love.
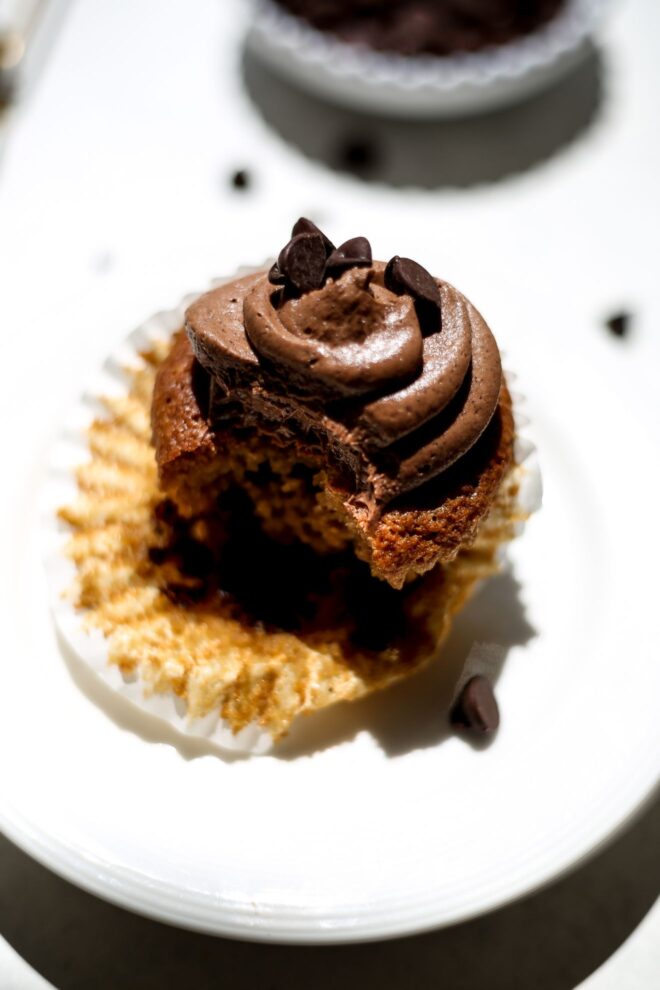
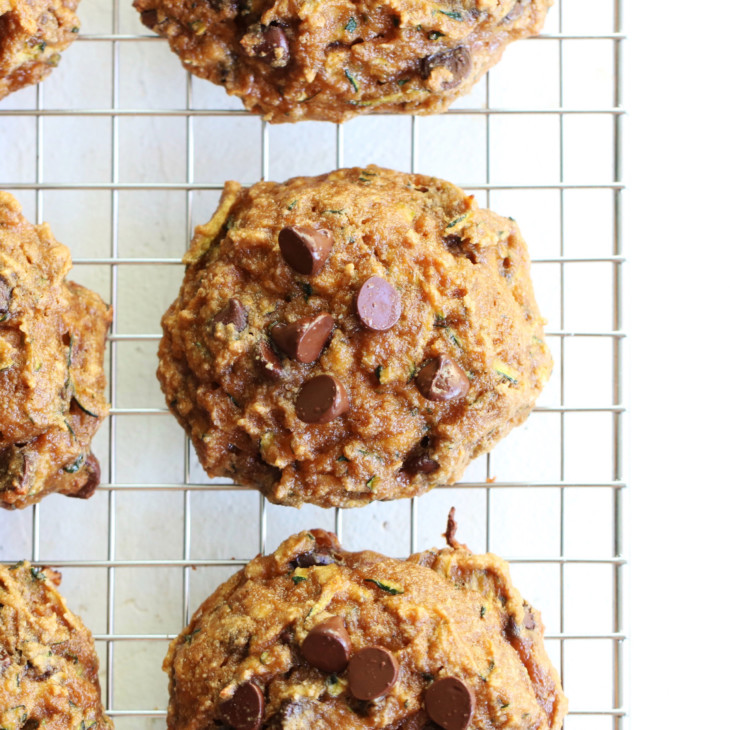
Melty chippers! The addition of mini chocolate chips provides a delightful texture contrast to the cupcakes. As you bite into the soft and tender cupcake, you encounter small bursts of delightfully melted chocolate chips scattered throughout each bite.
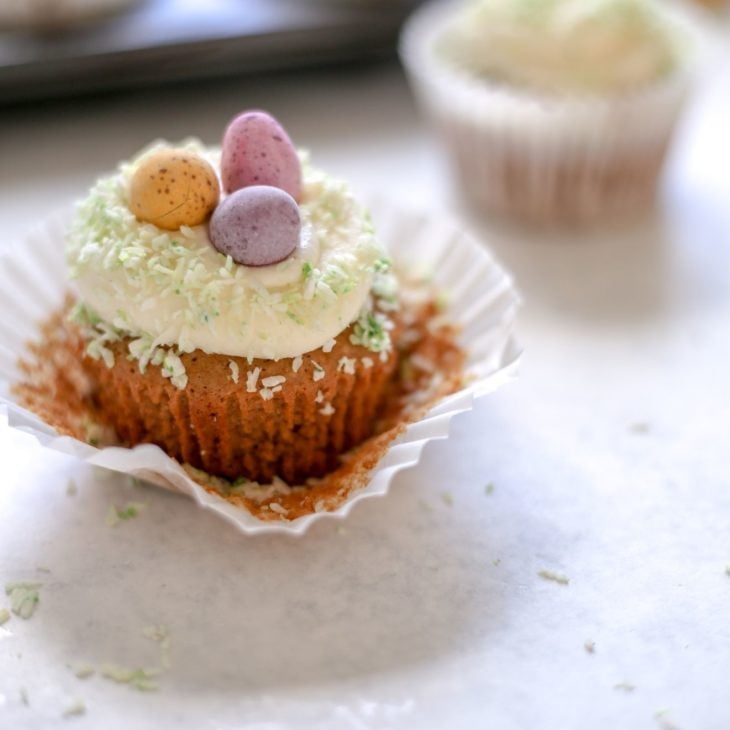
So Versatile! Chocolate chip cupcakes with chocolate frosting can be customized and decorated in various ways. From adding sprinkles, toppers, or drizzles, these cupcakes provide a versatile canvas for any occasion.
Crowd-pleaser! What’s not to love? Chocolate chip cupcakes with chocolate frosting a favorite choice for parties, gatherings, or special occasions.
What to Expect
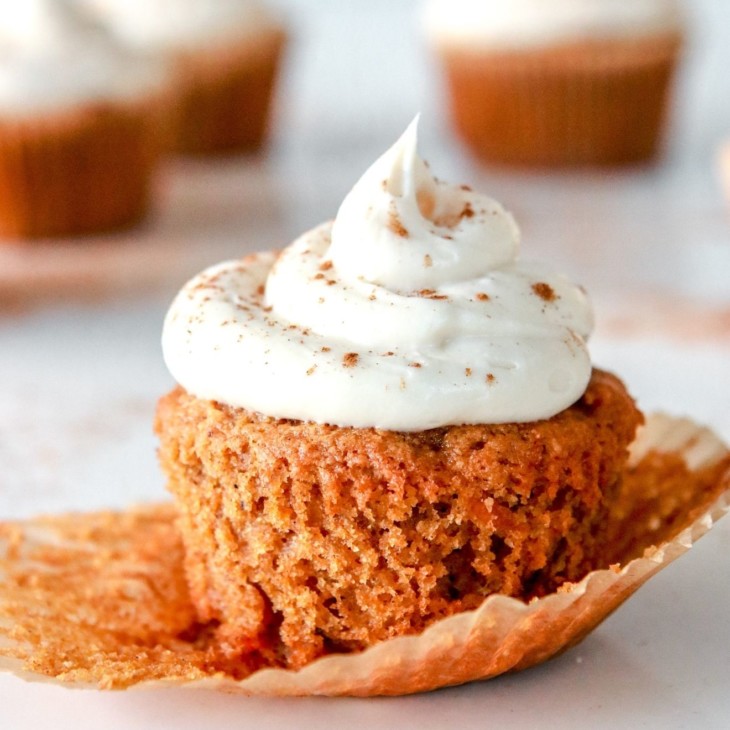
These cupcakes are made with coconut sugar instead of a traditional white granular sugar. Here are some differences to expect.
Coconut sugar has a distinct caramel-like flavor which can add depth and complexity to the cupcakes. While white sugar has a neutral sweetness, cupcakes made with coconut sugar may have a slightly richer and more complex flavor profile compared to those made with white sugar.
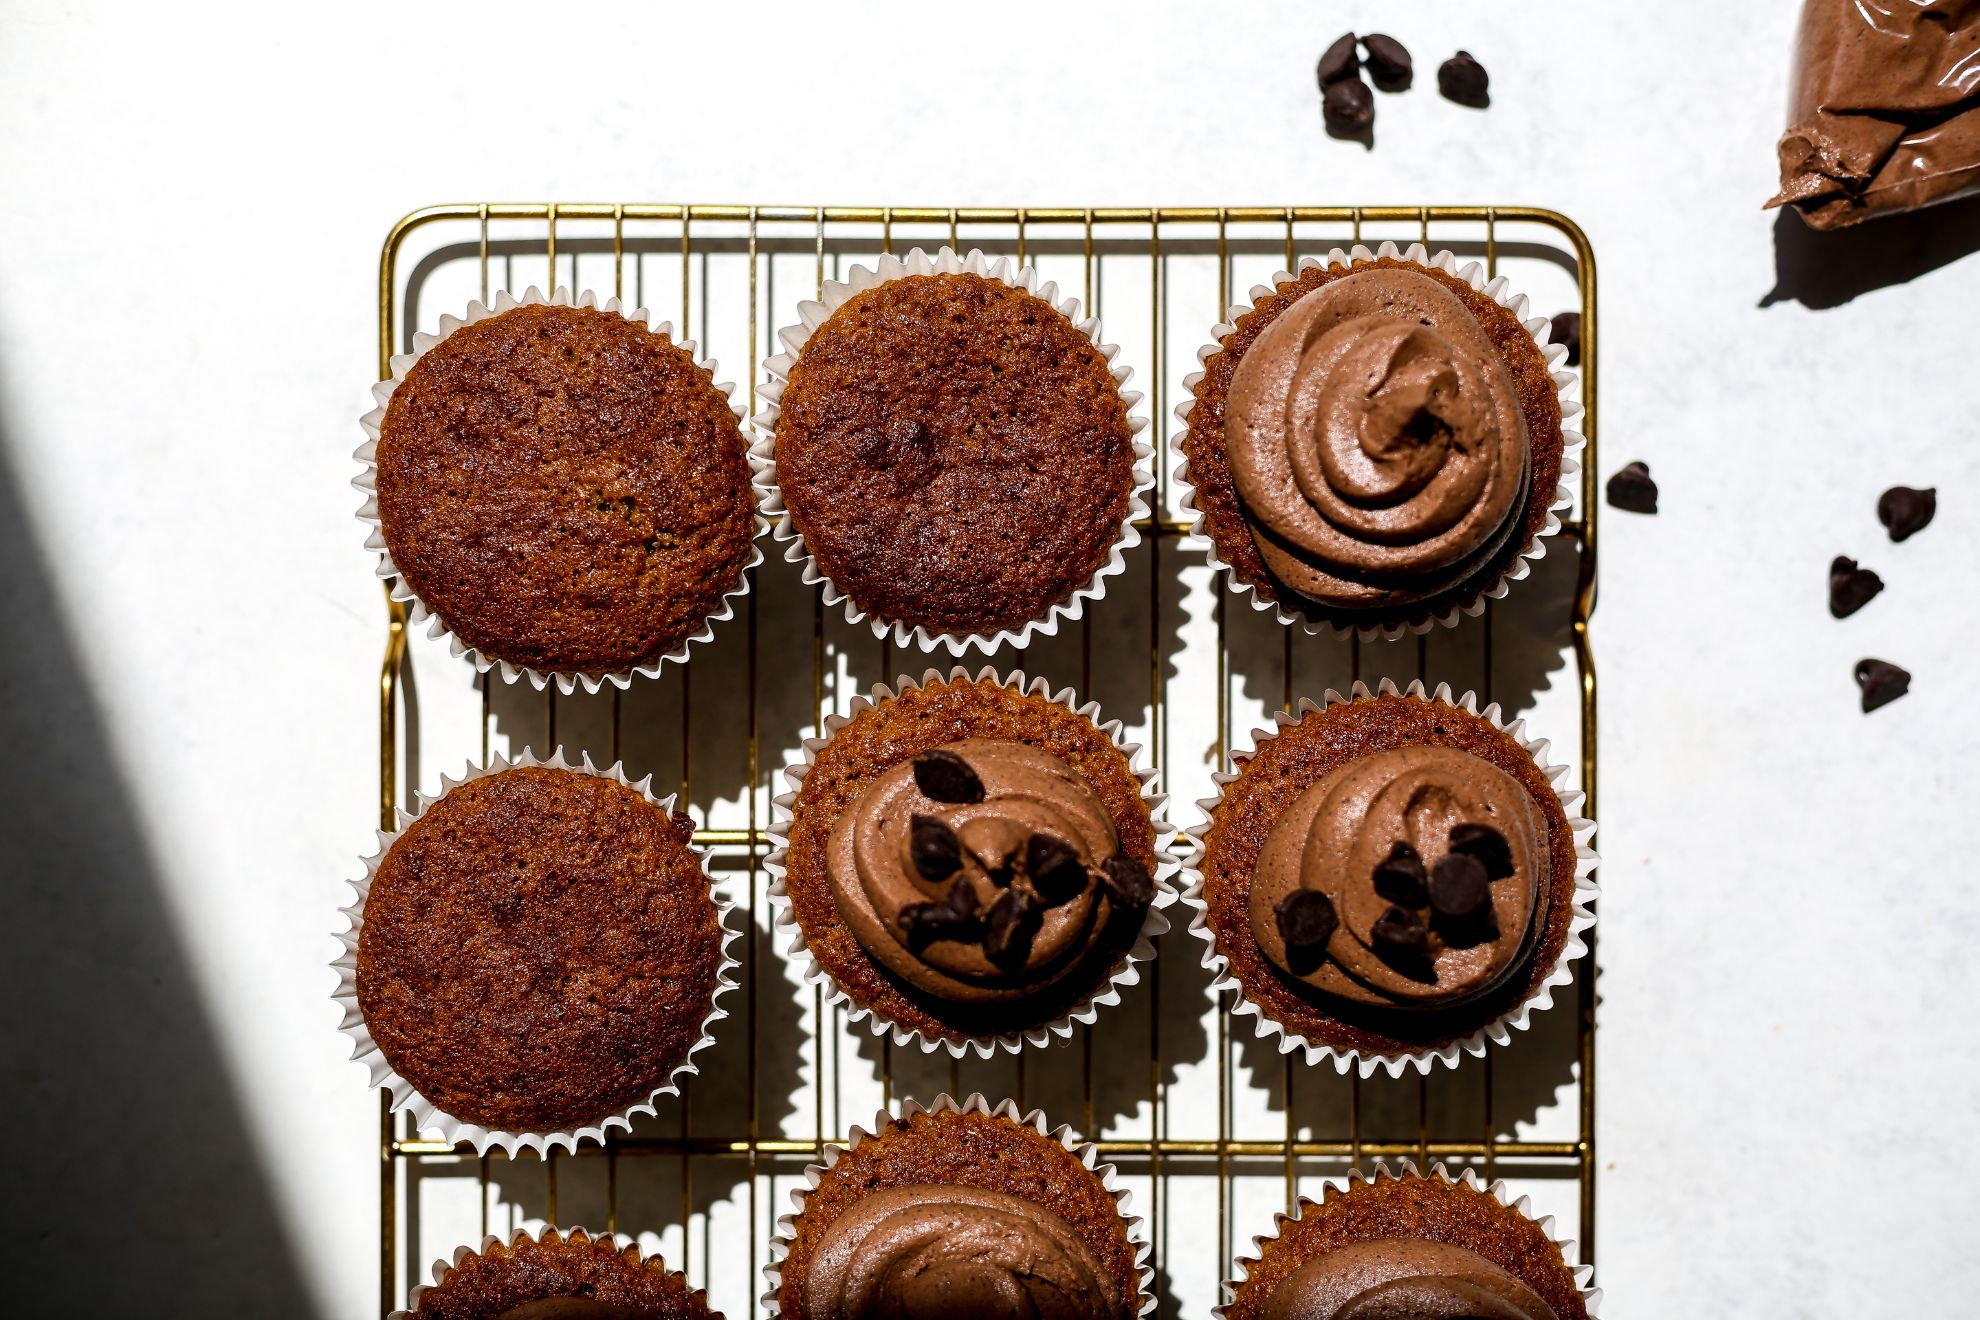
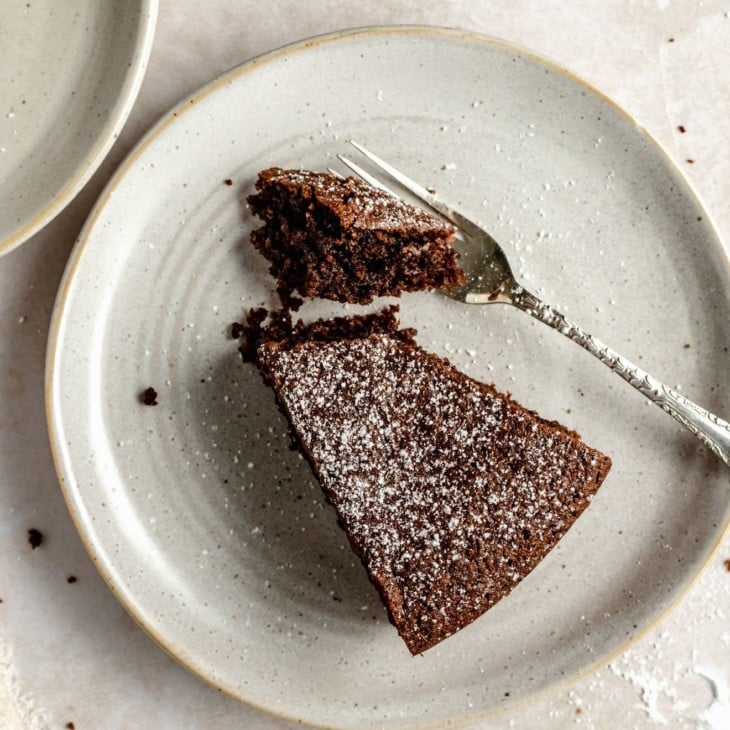
One thing to note is coconut sugar is naturally darker in color, ranging from light brown to deep amber. Cupcakes made with coconut sugar may have a darker, more rustic appearance compared to the lighter color of cupcakes made with white sugar.
Ingredients for Chocolate Chip Cupcakes
Eggs
Eggs will provide structure, moisture, and help bind the other ingredients together. They also contribute to the overall richness and texture of the cupcakes.
Butter
Butter adds flavor and moisture to cupcakes. When melted, it distributes evenly throughout the batter, resulting in a tender and moist texture.
Apple Cider Vinegar
Apple cider vinegar is often used in baking to react with baking soda, creating carbon dioxide gas that helps the cupcakes rise. It also adds a subtle tangy flavor to the cupcakes.
Vanilla
Vanilla extract enhances the overall flavor of cupcakes, providing a sweet and aromatic vanilla base for the chocolate chips to shine.
Maple Syrup
Maple syrup (you can also use agave nectar or honey) acts as a natural sweetener and contributes moisture to the batter.
Coconut Sugar
Coconut sugar is a natural alternative to refined white sugar. It has a lower glycemic index and adds a caramel-like flavor to the cupcakes.
Almond Flour
Almond flour is a gluten-free flour alternative that will be the base of these cupcakes.
Arrowroot starch
Arrowroot starch will bring a fluffy texture to these cupcakes. We’ll also mix some with the chocolate chips so they don’t sink to the bottom of the batter.
Baking Soda
Baking soda is a leavening agent that helps cupcakes rise by producing carbon dioxide when combined with acidic ingredients like apple cider vinegar. It also contributes to the overall tenderness of the cupcakes.
Salt
Salt enhances the flavors in cupcakes and helps balance the sweetness.
Mini Chocolate Chips
Mini chocolate chips add bursts of chocolate flavor and texture to the cupcakes. They provide small pockets of melted chocolate throughout the batter.
Chocolate Frosting
Chocolate frosting is a delicious topping that complements the flavor of chocolate cupcakes. It adds richness and sweetness, enhancing the decadence and delightfulness!
How to Make Chocolate Chip Cupcakes
Preheat the oven
Preheating the oven ensures that the cupcakes bake evenly and properly. Preheat your oven to 350°F (175°C) for cupcakes.
Prepare the cupcake batter
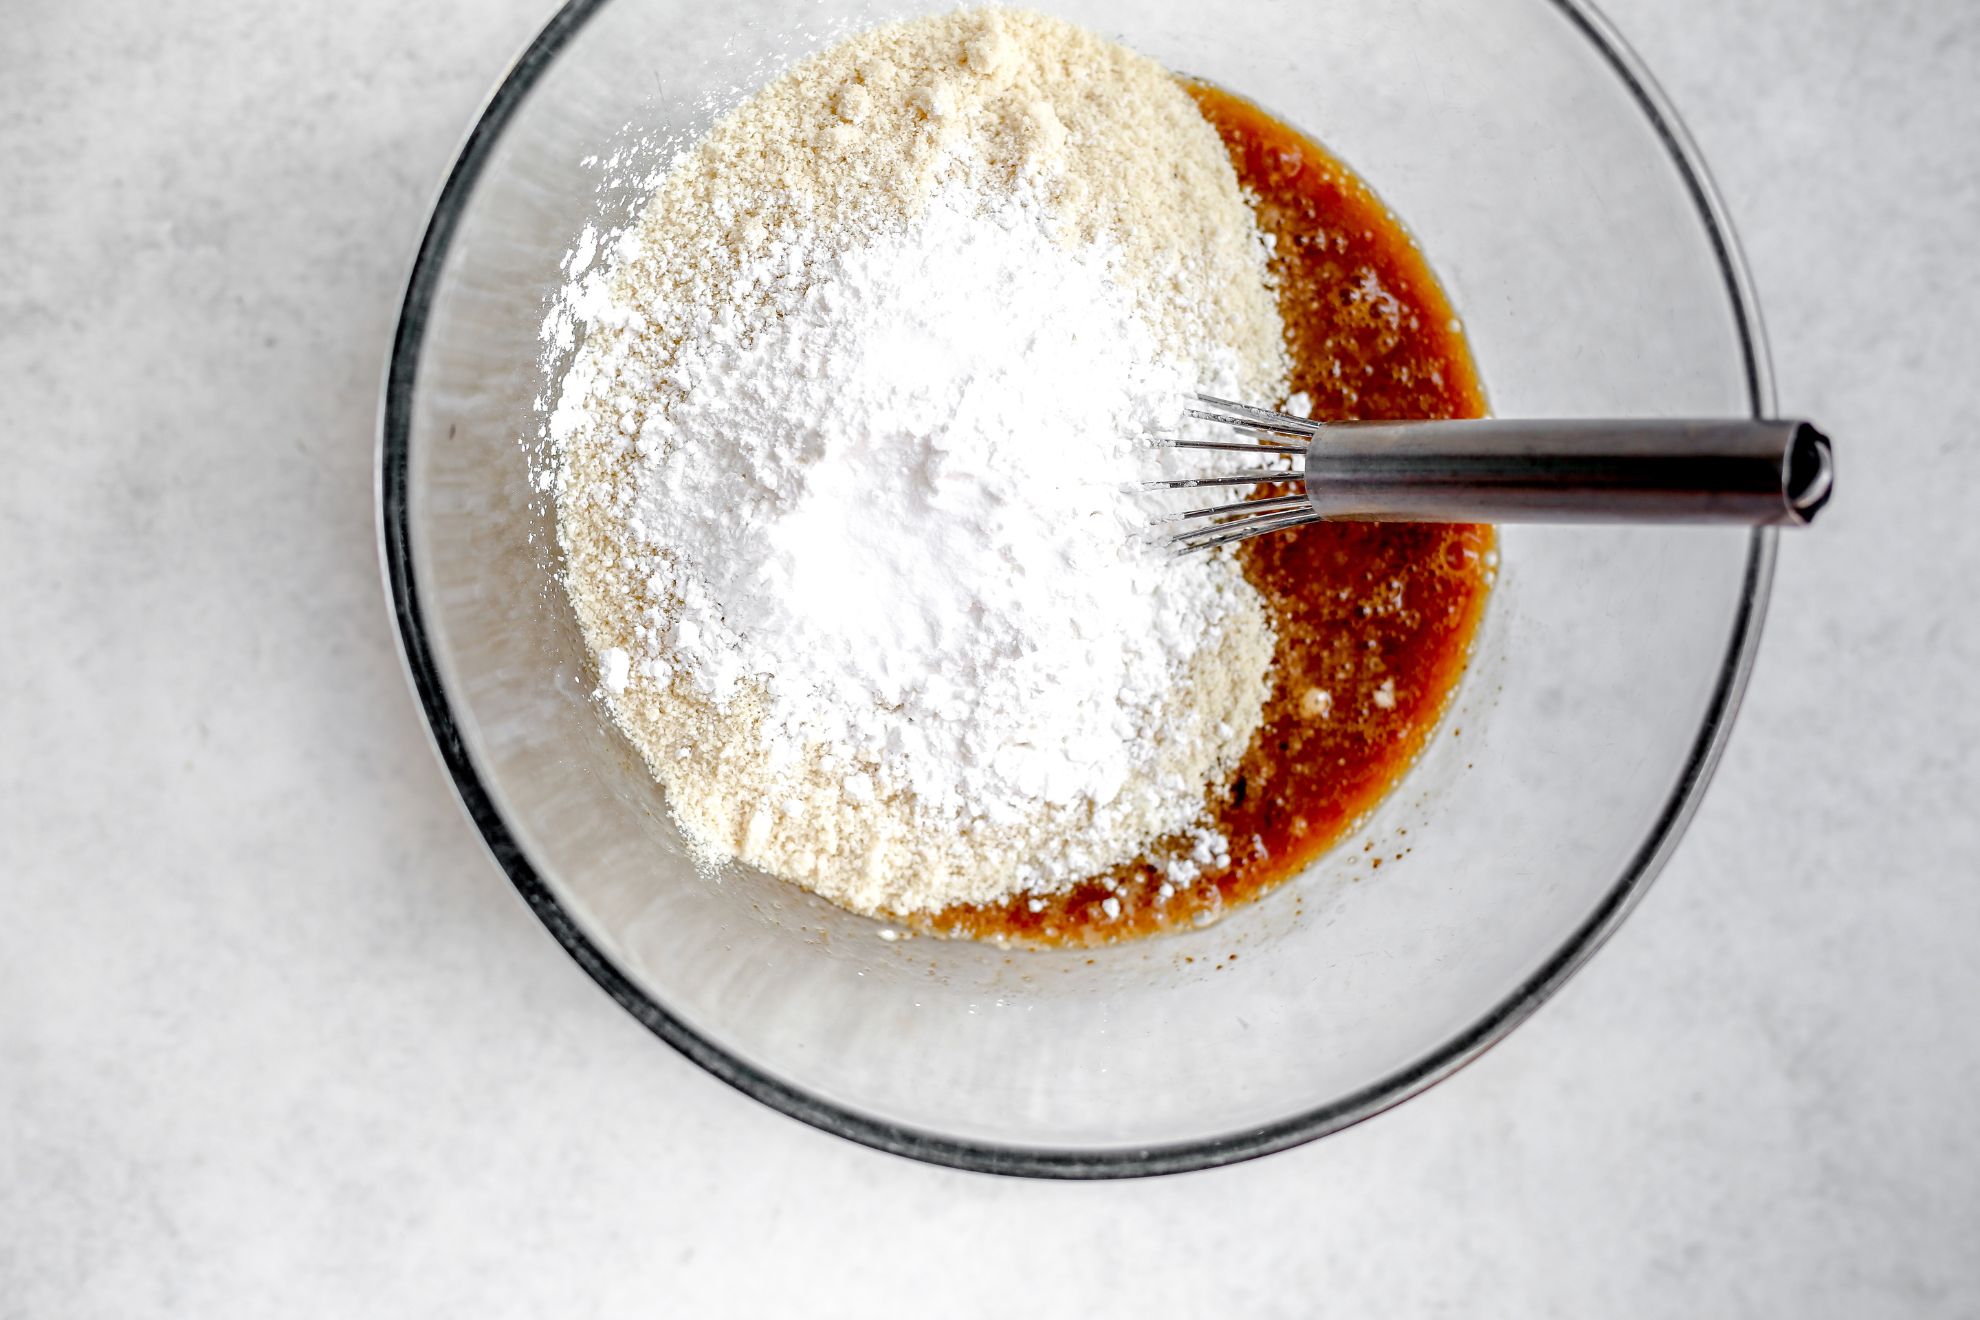
In a large bowl, combine the almond flour, arrowroot starch, baking soda and salt. Whisk and set aside.
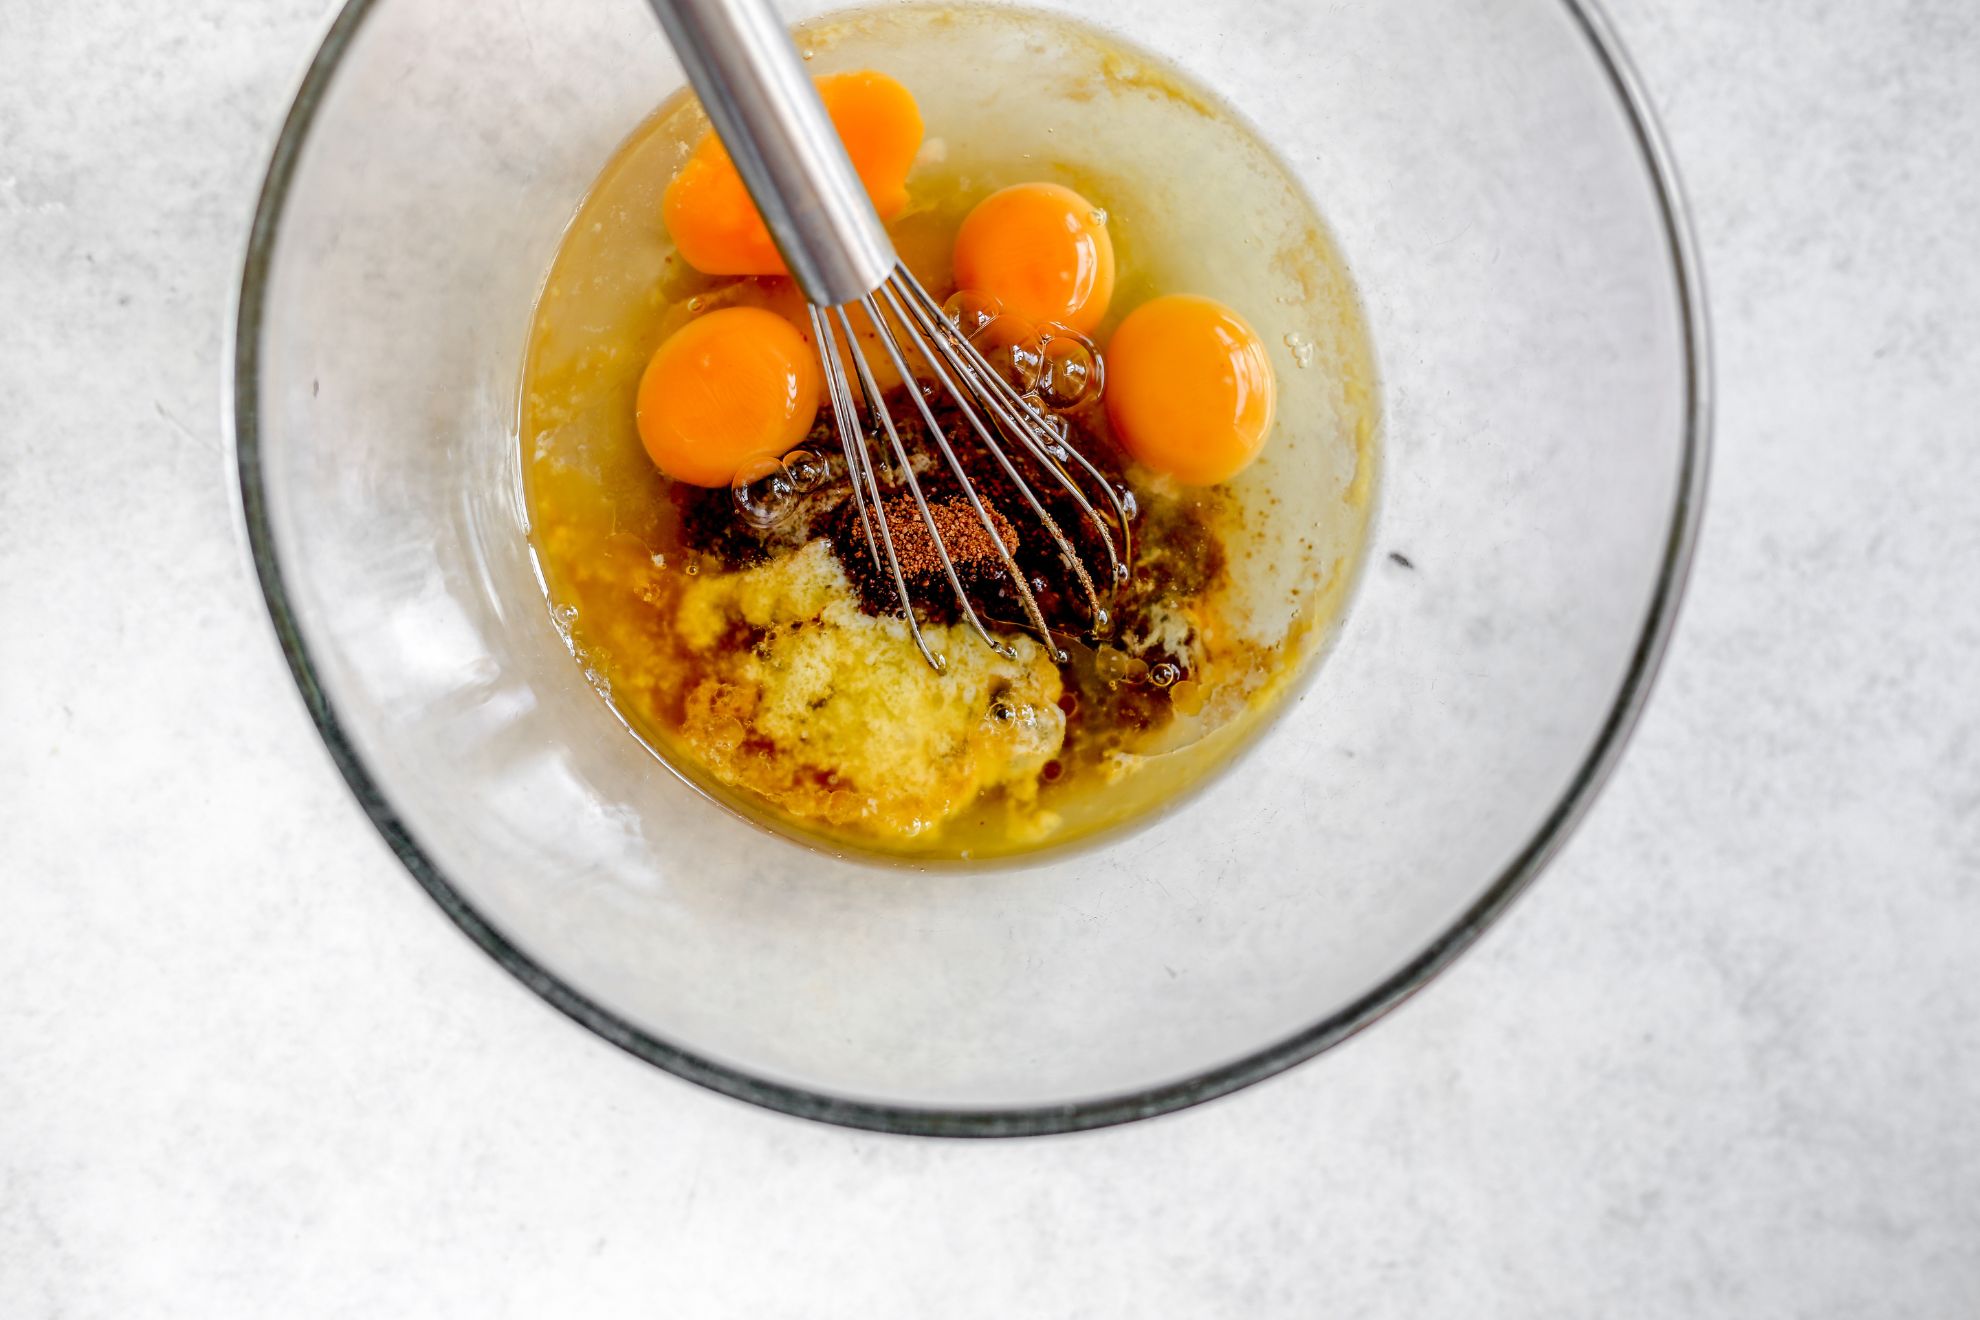
In another bowl, add the eggs, melted butter, apple cider vinegar and maple syrup or honey. Whisk until thoroughly mixed and add to the dry ingredients!
Mix together the wet and dry ingredients until a cupcake batter forms.
Prep & Mix the Chocolate Chips
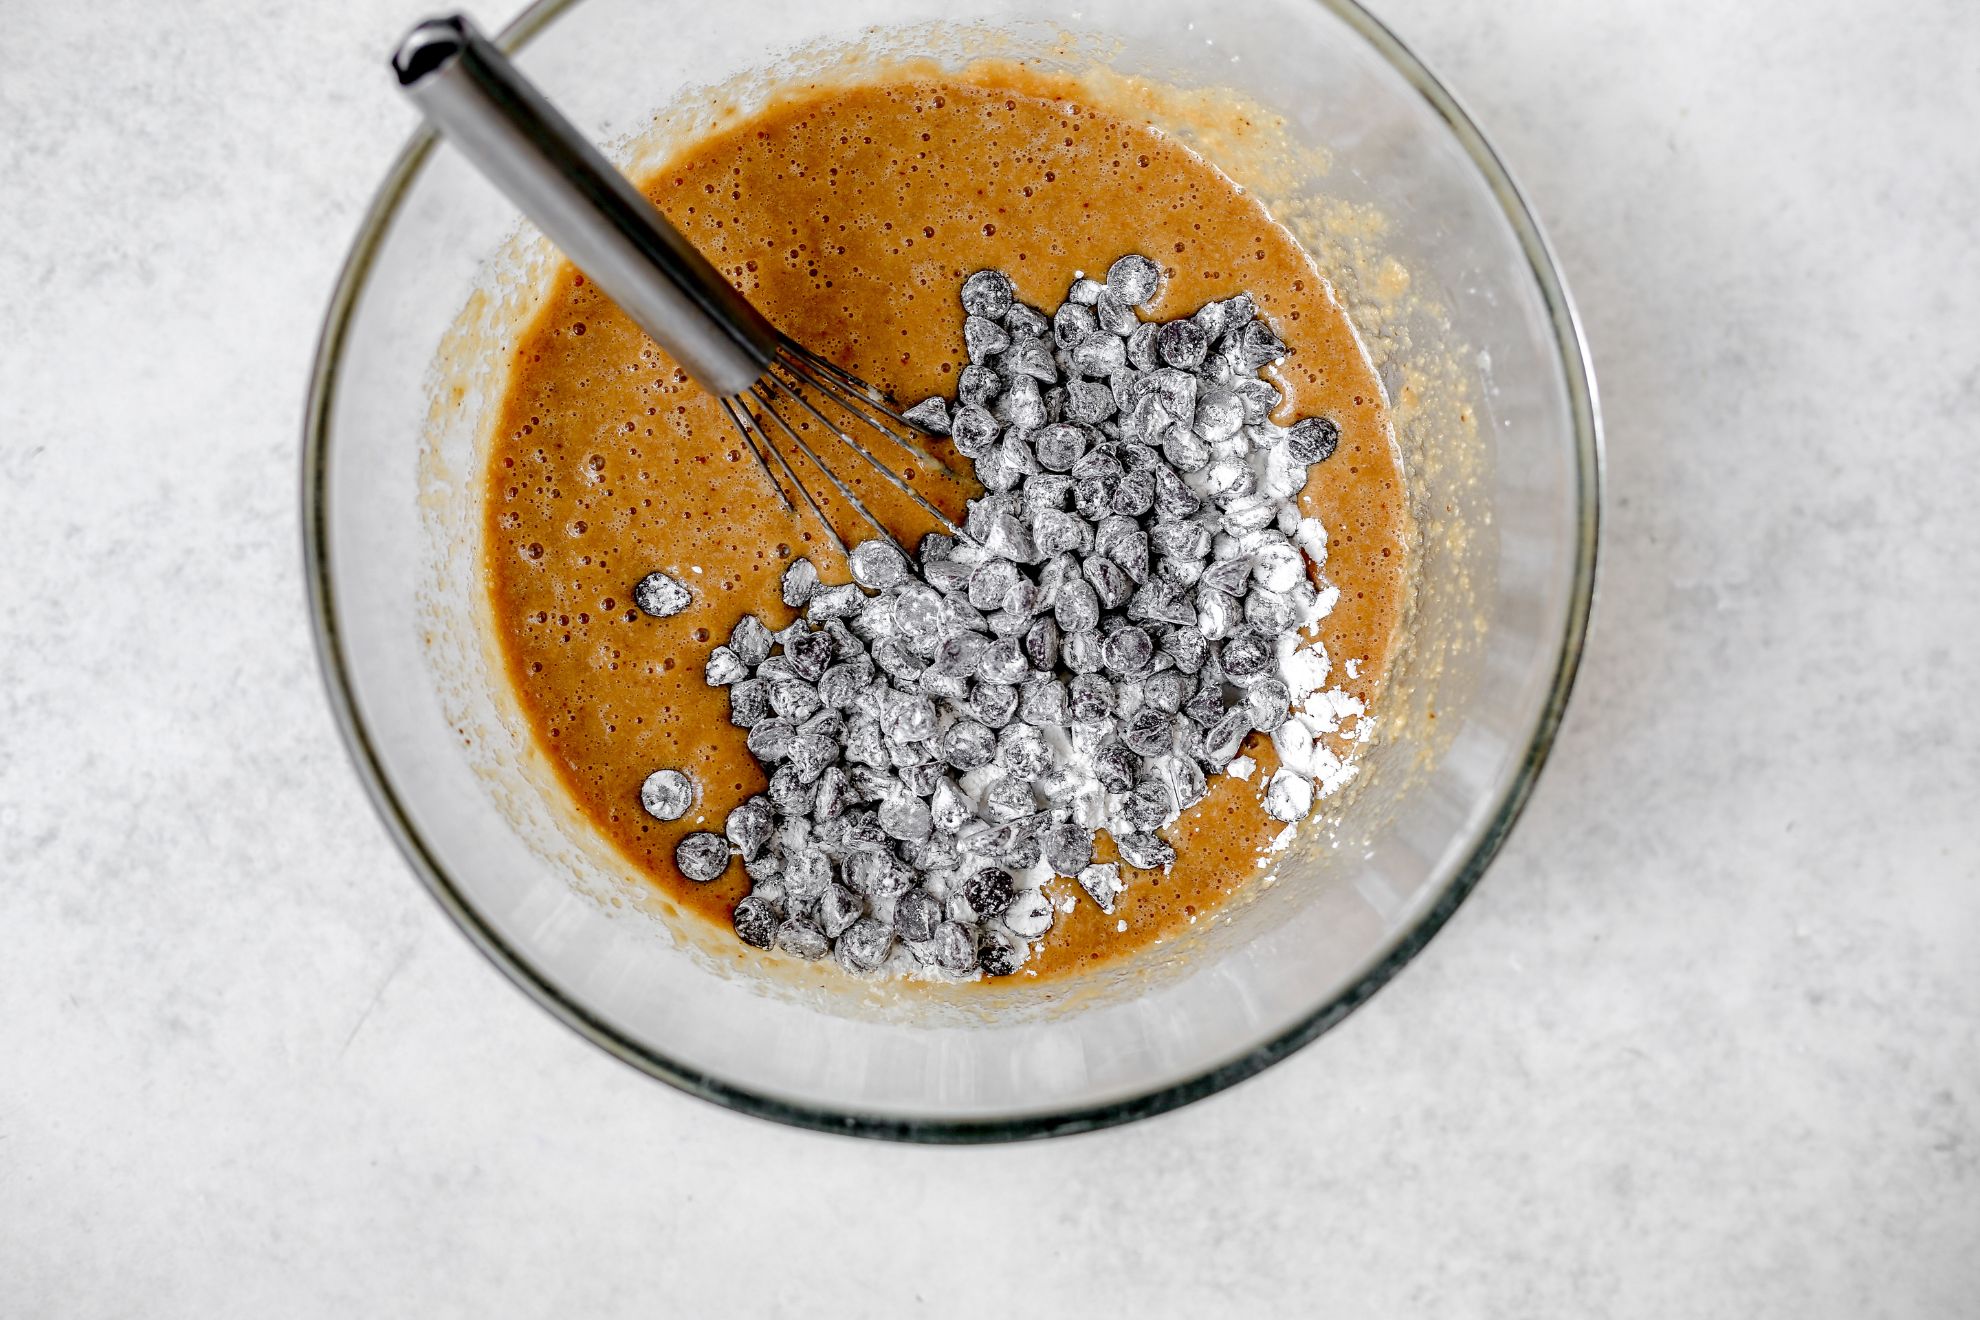
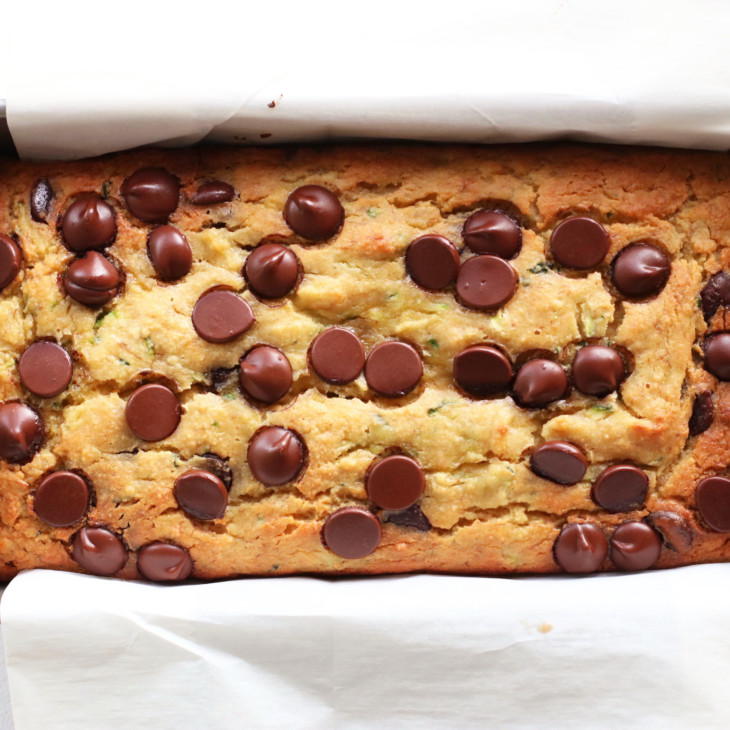
Take the MINI chocolate chips or finely chopped chocolate and toss with 2 tbsp of arrowroot powder to coat the chocolate. This will ensure the chocolate is scattered throughout the batter and doesn’t sink to the bottom.
Add the chocolate (coated with arrowroot) to the batter + stir!
Fill the cupcake liners
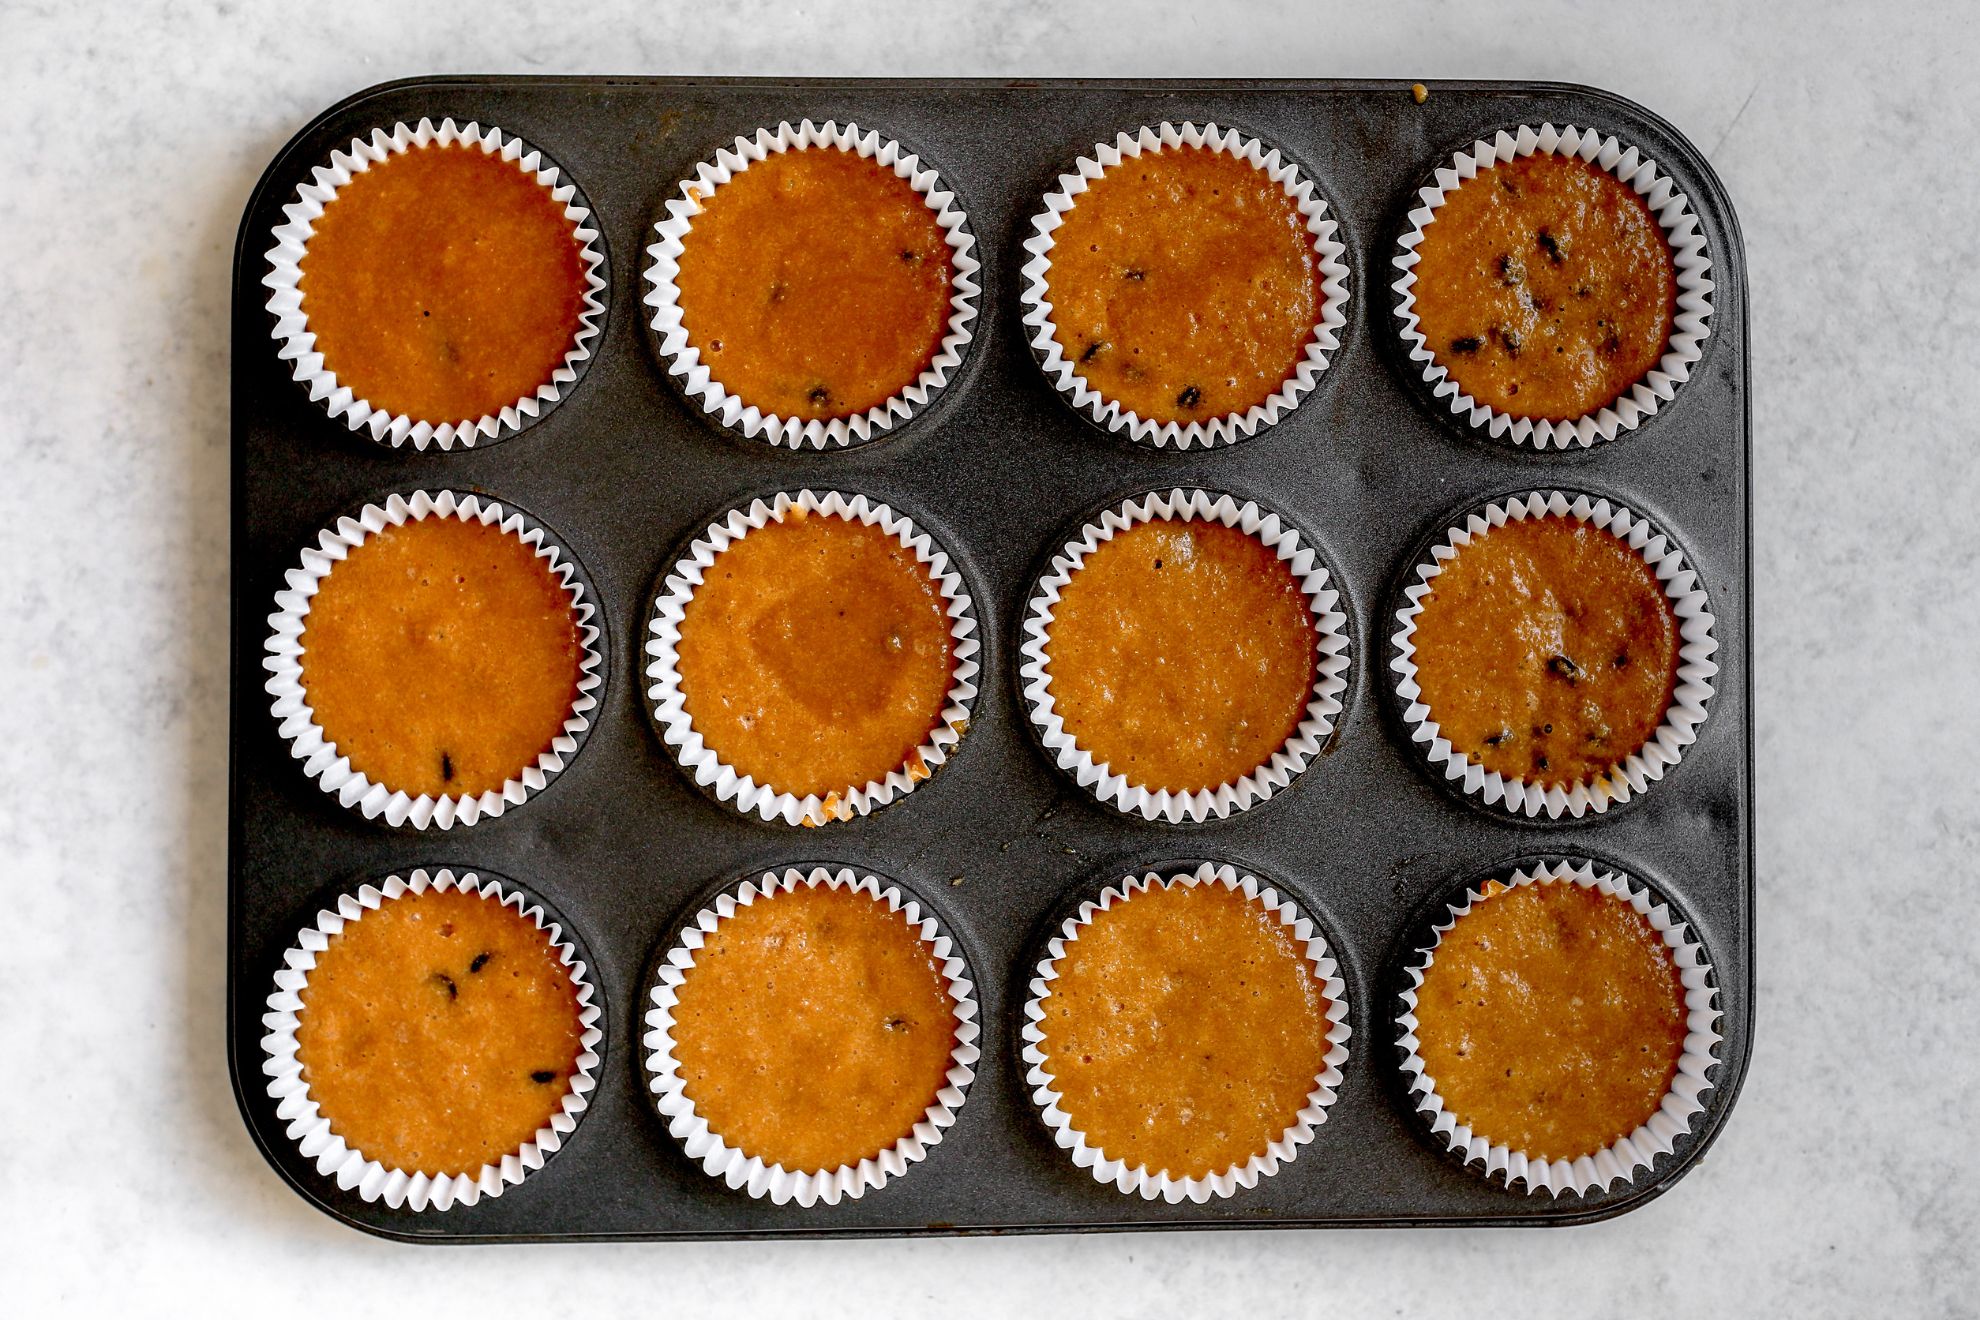
Line a cupcake tray with paper liners. Using a spoon or an ice cream scoop, divide the cupcake batter evenly among the cups. Filling each liner about two-thirds full allows room for the cupcakes to rise during baking without overflowing.
Bake the cupcakes
Place the cupcake tray in the preheated oven and bake for 15 – 17 minutes. As the cupcakes bake, keep an eye on them to prevent overcooking. Near the end of the baking time, you can perform a toothpick test to check for doneness. Insert a toothpick into the center of a cupcake; if it comes out clean or with a few crumbs clinging to it, the cupcakes are done.
Cool
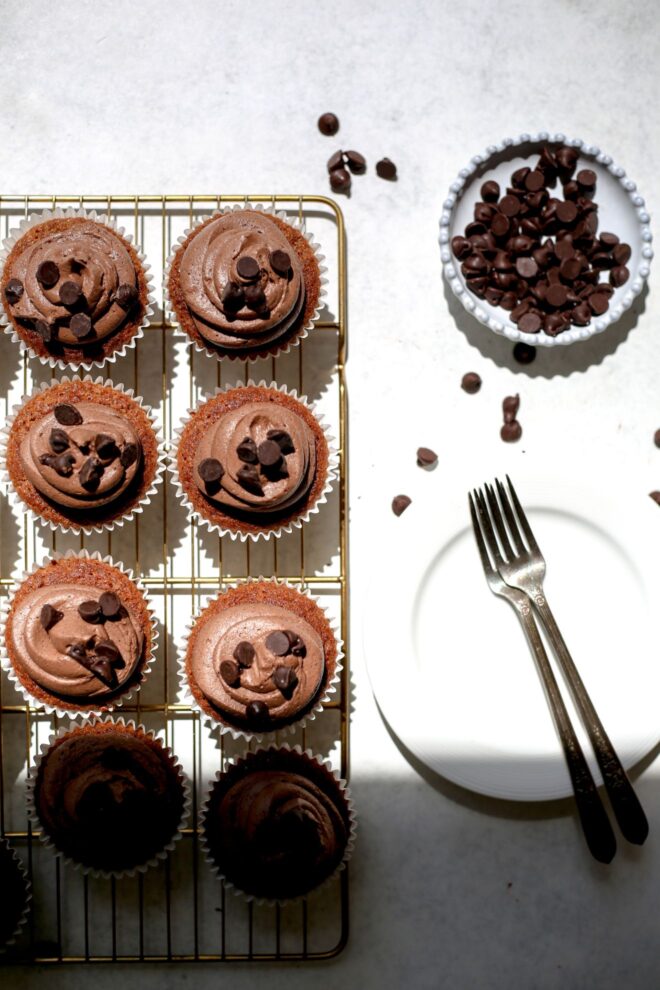
Remove the cupcakes from the oven and let them cool in the tray for a few minutes. Then, transfer them to a wire rack to cool completely before frosting. Cooling on a wire rack helps air circulate around the cupcakes, preventing them from becoming soggy.
Prepare the chocolate frosting
While the cupcakes are cooling, it’s time to prepare the chocolate frosting. Use this Vegan Chocolate Frosting or this Easy Vanilla Buttercream with 1/4 cup cocoas powder mixed in.
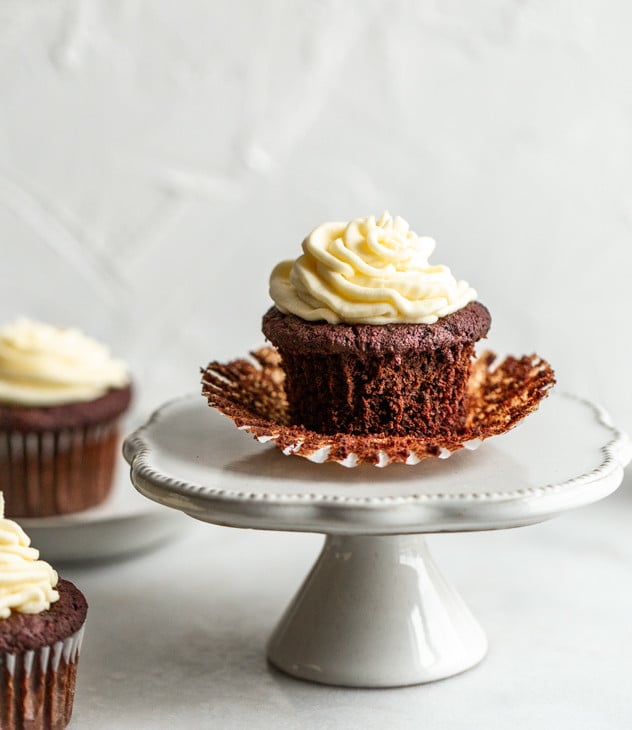
Frost the cupcakes
Once the cupcakes have cooled completely, they are ready to be frosted. Fill a piping bag with the prepared chocolate frosting and attach a decorating tip of your choice. Alternatively, you can use a spatula to spread the frosting over the cupcakes.
Decorate the cupcakes (optional)
To add extra flair, you can decorate the cupcakes with additional mini chocolate chips, sprinkles, or other desired toppings. Sprinkle them over the frosted cupcakes to enhance their appearance and add a touch of fun. Feel free to get creative and let your imagination run wild with the decorations!
Variations to Try
Mint Chocolate Chip Cupcakes
Add a refreshing twist by incorporating mint flavor. Simply add a teaspoon of peppermint extract to the cupcake batter and fold in some chopped mint chocolate or mini chocolate chips. You can also top the cupcakes with mint-flavored buttercream frosting and garnish with a sprig of fresh mint.
Peanut Butter Chocolate Chip Cupcakes
Combine the classic pairing of peanut butter and chocolate by swirling peanut butter into the cupcake batter. Drop spoonfuls of peanut butter into the batter and use a toothpick or skewer to gently swirl it around. Sprinkle additional mini chocolate chips on top before baking. For the frosting, whip up a creamy peanut butter frosting and pipe it onto the cooled cupcakes.
Salted Caramel Chocolate Chip Cupcakes
Add a touch of indulgence with salted caramel. Fill the cupcake liners with the chocolate chip batter, then spoon a dollop of salted caramel sauce in the center of each cupcake. As they bake, the caramel will sink into the cupcakes, creating a delicious surprise. Once cooled, frost the cupcakes with chocolate frosting and drizzle with additional salted caramel sauce.
S’mores Chocolate Chip Cupcakes
Capture the nostalgic campfire treat in cupcake form. Mix crushed graham crackers into the cupcake batter along with the mini chocolate chips. After baking, frost the cupcakes with marshmallow-flavored frosting and lightly toast the frosting using a kitchen torch. Finish off with a sprinkle of graham cracker crumbs and a small piece of chocolate on top.
How to Store these Cupcakes
Allow cupcakes to cool completely
Before storing cupcakes, make sure they have cooled completely. Placing warm cupcakes in an airtight container can create condensation, leading to a loss of texture and potential sogginess.
Choose an airtight container
Place the cooled cupcakes in an airtight container to maintain their freshness. A container with a tight-fitting lid helps prevent air and moisture from entering, which can dry out the cupcakes or make them stale.
Layering and spacing
When storing multiple cupcakes, it’s important to avoid any potential damage to the frosting or decorations. If stacking the cupcakes, consider using parchment paper or cupcake liners between the layers to prevent them from sticking together. Leave some space between the cupcakes to ensure they don’t get squished or deform each other.
Store at room temperature
Cupcakes are best stored at room temperature. Avoid placing them in the refrigerator unless the frosting contains perishable ingredients, such as cream cheese or whipped cream. Refrigeration can cause the cupcakes to dry out.
Freezing cupcakes
If you want to store cupcakes for an extended period, freezing is an excellent option. Wrap each cupcake individually in plastic wrap, place them in an airtight container or freezer bag, and freeze. Cupcakes can typically be frozen for up to 2 to 3 months. When ready to enjoy, thaw them in the refrigerator overnight and bring them to room temperature before serving.
 Recipe
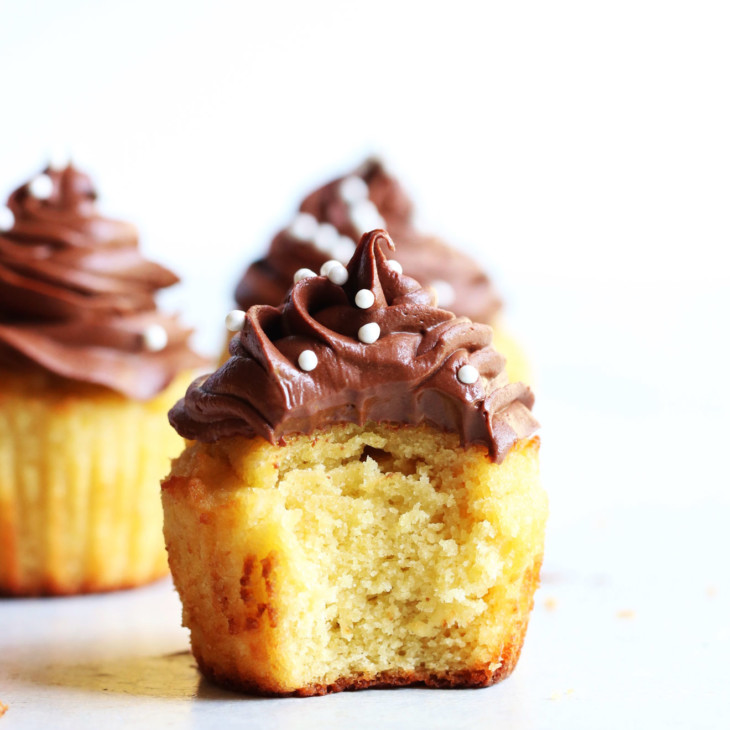
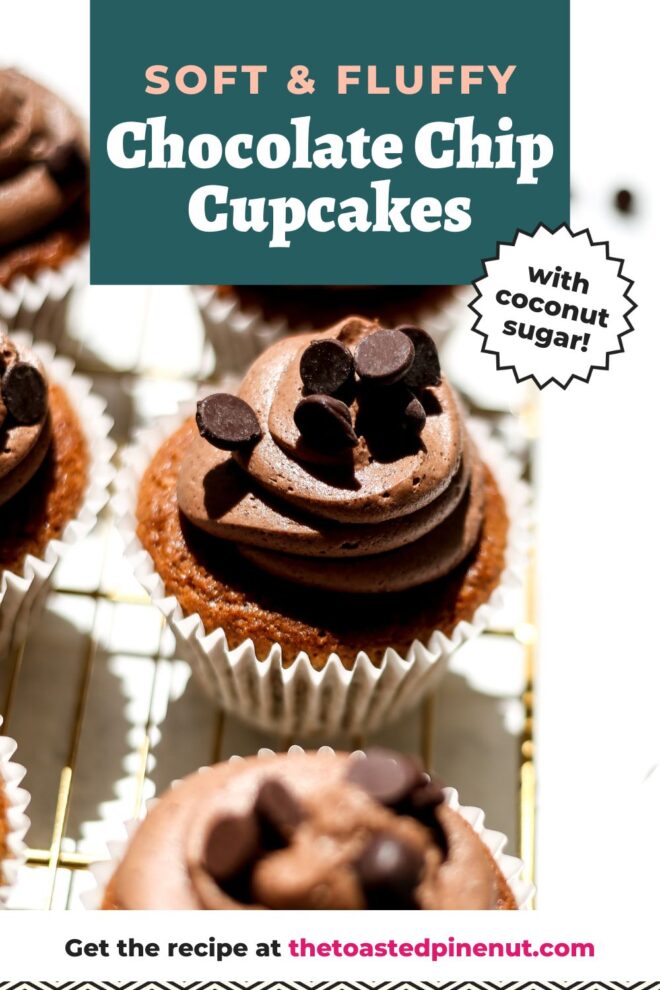
Soft & Fluffy Chocolate Chip Cupcakes
Chocolate chip cupcakes are loaded with pocked of melty chocolate and have a sweet caramel flavor. Top with your favorite chocolate frosting!
Ingredients
- 4 eggs
- 1/4 cup melted butter
- 1 tbsp apple cider vinegar
- 1 tsp vanilla
- 1/4 cup maple syrup or honey
- 1/3 cup coconut sugar
- 2 cups almond flour
- 1/3 cup arrowroot starch (+ 2 tbsp to mix with chocolate chips!)
- 1 tsp baking soda
- 1/4 tsp salt
- 1 cup mini chocolate chips
- Chocolate frosting of choice – you can use store-bought or use this Vegan Chocolate Frosting or this Easy Vanilla Buttercream with 1/4 cup cocoa powder mixed in.
Instructions
- Preheat the oven: Preheating the oven ensures that the cupcakes bake evenly and properly. Preheat your oven to 350°F (175°C) for cupcakes.
-
Prepare the cupcake batter: In a large bowl, combine the almond flour, arrowroot starch, baking soda and salt. Whisk and set aside.
- In another bowl, add the eggs, melted butter, apple cider vinegar and maple syrup or honey.

- Whisk the wet ingredients until thoroughly mixed. Add to the dry ingredients to the bowl and whisk again until combined.
- Prep & Mix the Chocolate Chips: Take the MINI chocolate chips or finely chopped chocolate and toss with 2 tbsp of arrowroot powder to coat the chocolate. This will ensure the chocolate is scattered throughout the batter and doesn’t sink to the bottom.
- Add the chocolate (coated with arrowroot) to the batter + stir!
- Fill the cupcake liners: Line a cupcake tray with paper liners. Using a spoon or an ice cream scoop, divide the cupcake batter evenly among the cups. Filling each liner about two-thirds full allows room for the cupcakes to rise during baking without overflowing.
-
Bake the cupcakes: Place the cupcake tray in the preheated oven and bake for 15 – 17 minutes. As the cupcakes bake, keep an eye on them to prevent overcooking. Near the end of the baking time, you can perform a toothpick test to check for doneness. Insert a toothpick into the center of a cupcake; if it comes out clean or with a few crumbs clinging to it, the cupcakes are done.
-
Cool: Remove the cupcakes from the oven and let them cool in the tray for a few minutes. Then, transfer them to a wire rack to cool completely before frosting. Cooling on a wire rack helps air circulate around the cupcakes, preventing them from becoming soggy.
-
Prepare the chocolate frosting: While the cupcakes are cooling, it’s time to prepare the chocolate frosting. Use this Vegan Chocolate Frosting or this Easy Vanilla Buttercream with 1/4 cup cocoa powder mixed in.
-
Frost the cupcakes: Once the cupcakes have cooled completely, they are ready to be frosted. Fill a piping bag with the prepared chocolate frosting and attach a decorating tip of your choice. Alternatively, you can use a spatula to spread the frosting over the cupcakes.
-
Decorate the cupcakes (optional): To add extra flair, you can decorate the cupcakes with additional mini chocolate chips, sprinkles, or other desired toppings. Sprinkle them over the frosted cupcakes to enhance their appearance and add a touch of fun. Feel free to get creative and let your imagination run wild with the decorations!
Tips
Recipe Development + Food Photography by Jessica Reynolds-Corden
from Jessica Eats.
Nutrition Info:
- Serving Size: 1 cupcake
- Calories: 207
- Sugar: 20.7g
- Sodium: 204mg
- Fat: 12.9g
- Saturated Fat: 6.4g
- Unsaturated Fat: 0g
- Trans Fat: 0g
- Carbohydrates: 25.7g
- Fiber: 1.9g
- Protein: 4.2g
- Cholesterol: 65mg
Can you use coconut oil instead of butter?
Hi Karen, yes that should work! Use refined coconut oil so you don’t get a coconutty flavor and melt it before measuring. Let me know how it goes!! xo
Is there a substitute for almond flour, due to allergy
HI Barbara, I haven’t tested it with another flour. Maybe subbing in 1 – 1.25 cups of oat flour for the almond flour would work. Are you allergic to all nuts? I love using cashew flour if you can tolerate it. Let me know how you make out and if you do any testing!! xo
Allergic to almonds and peanuts. Can do cashew, 1.1?
Yes I typically do 1:1 for cashew flour and it works well. Let me know how you make out!