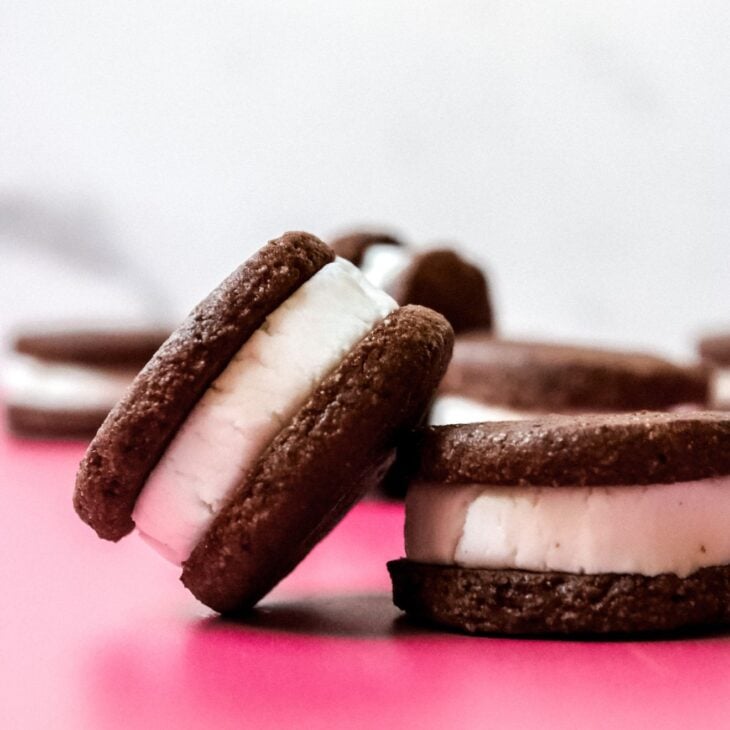
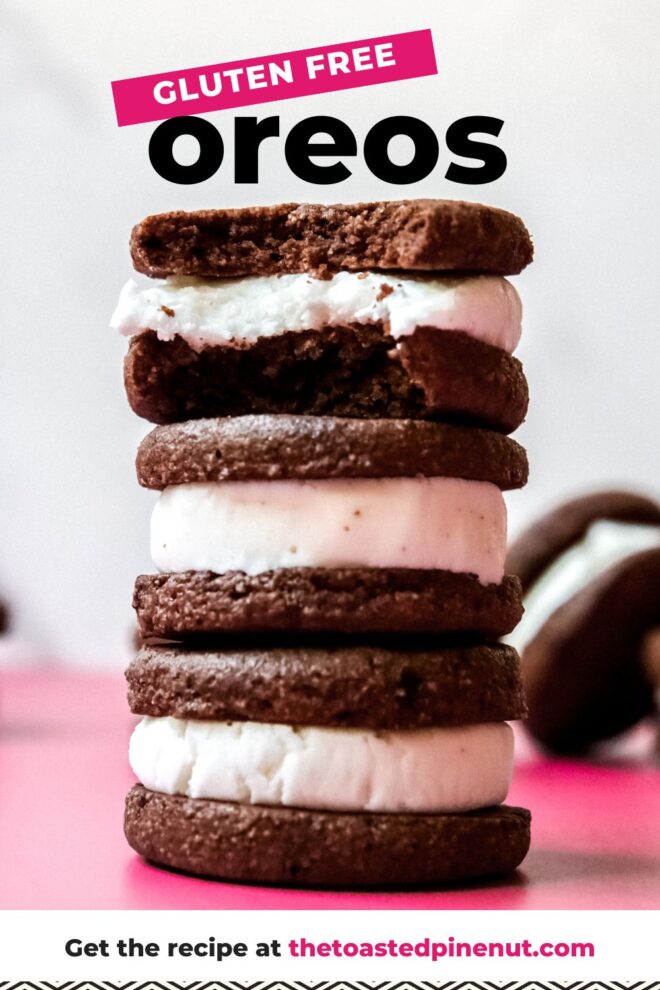
Gluten free oreos never looked so good. Get ready to embark on a delectable journey with homemade Oreos that will tantalize your taste buds and leave you craving for more… and more and more.
Whether you’re a fan of the classic Oreo or seeking a new adventure in homemade treats, these Oreos will transport you to a realm of pure bliss.
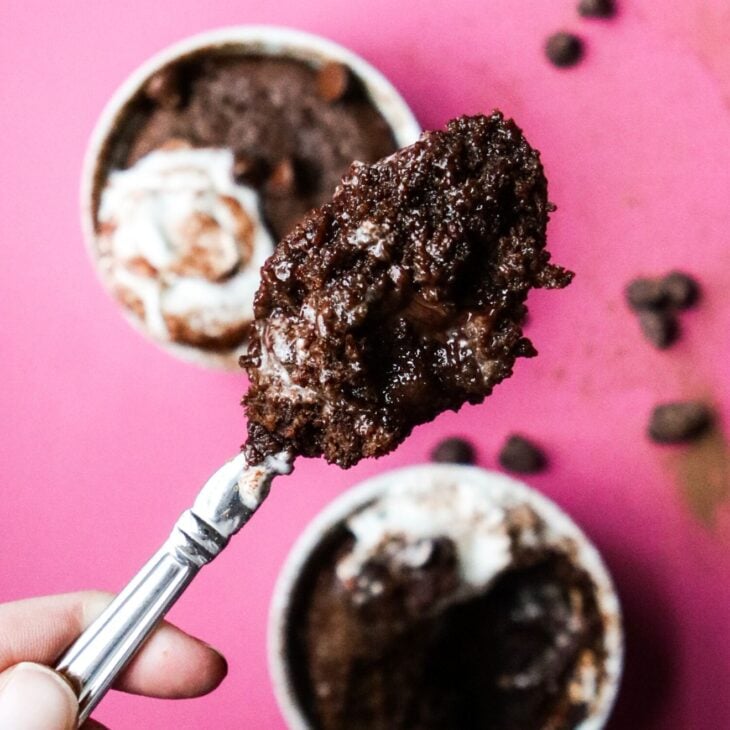
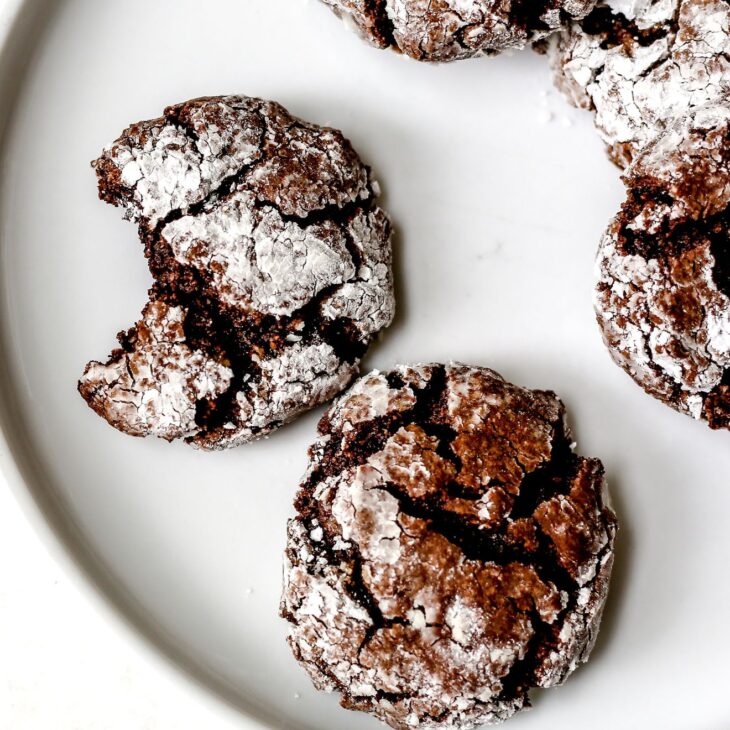
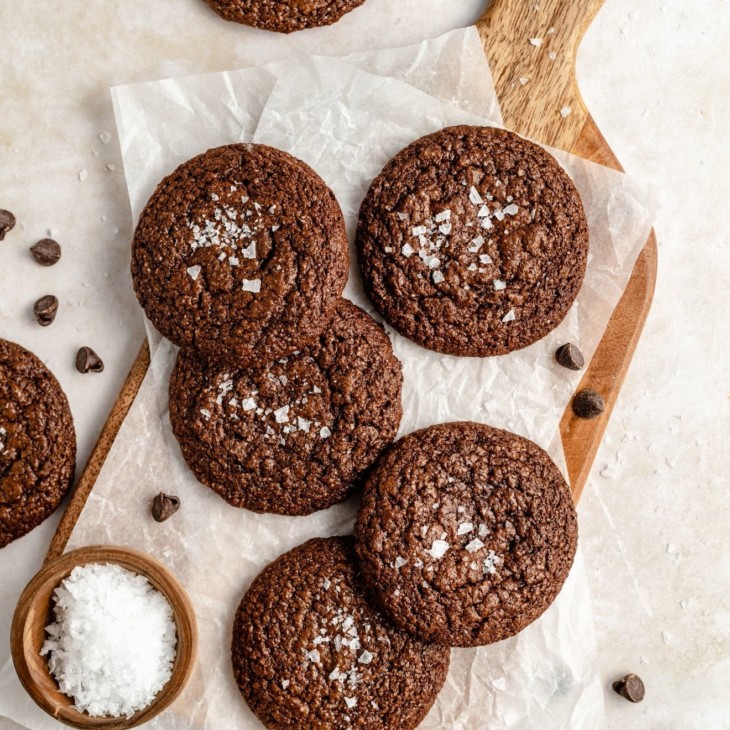
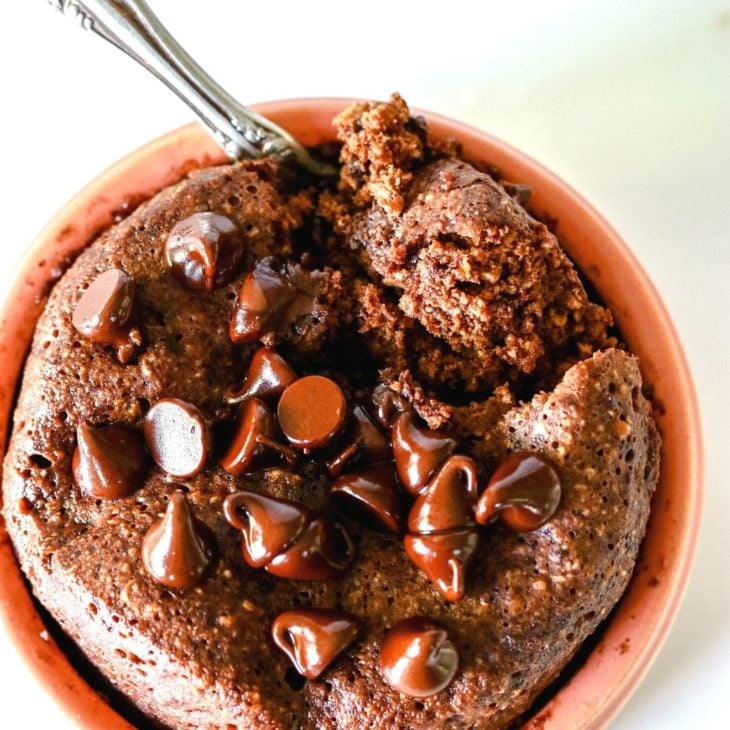
Love chocolatey treats? You have to try Fudgey Chocolate Brownie Crinkle Cookies, 1-Min Quickie Gooey Chocolate Mug Cake, and 20-Min Double Chocolate Oreo Muffins!
Why You’ll Love these Gluten Free Oreos
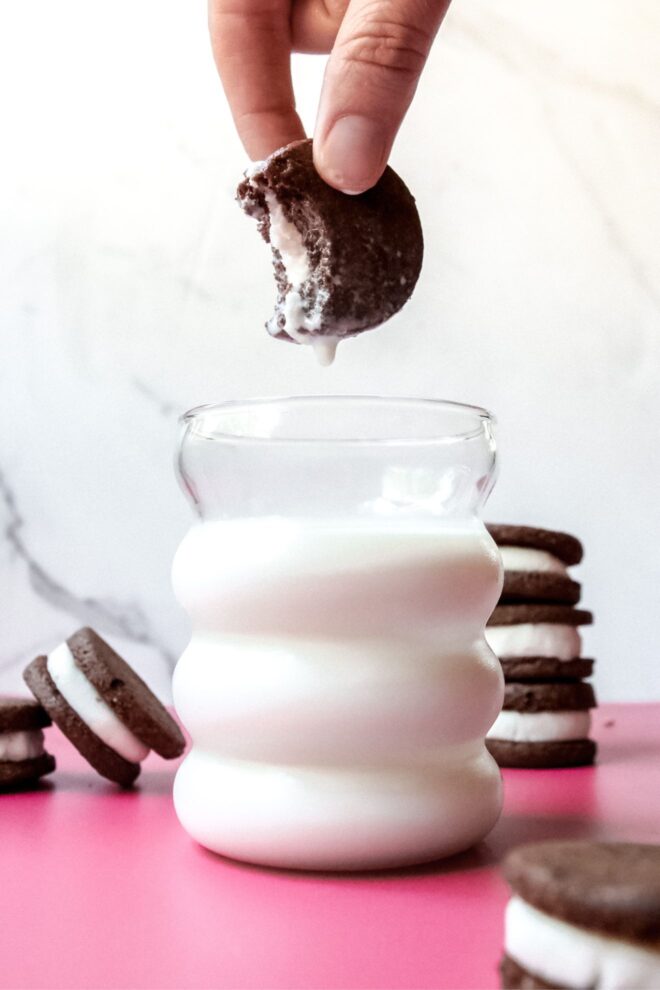
Fun! Oreos have a playful and iconic design with their round shape and creamy filling. Dipping them in milk is a timeless ritual perfect for everyone!
Chocolatey. The chocolate flavor is a hallmark of Oreos. The dark, cocoa-rich cookies provide a satisfyingly intense chocolate taste. Whether enjoyed on their own or dipped in milk, the chocolatey essence of Oreos is a major part of their appeal.
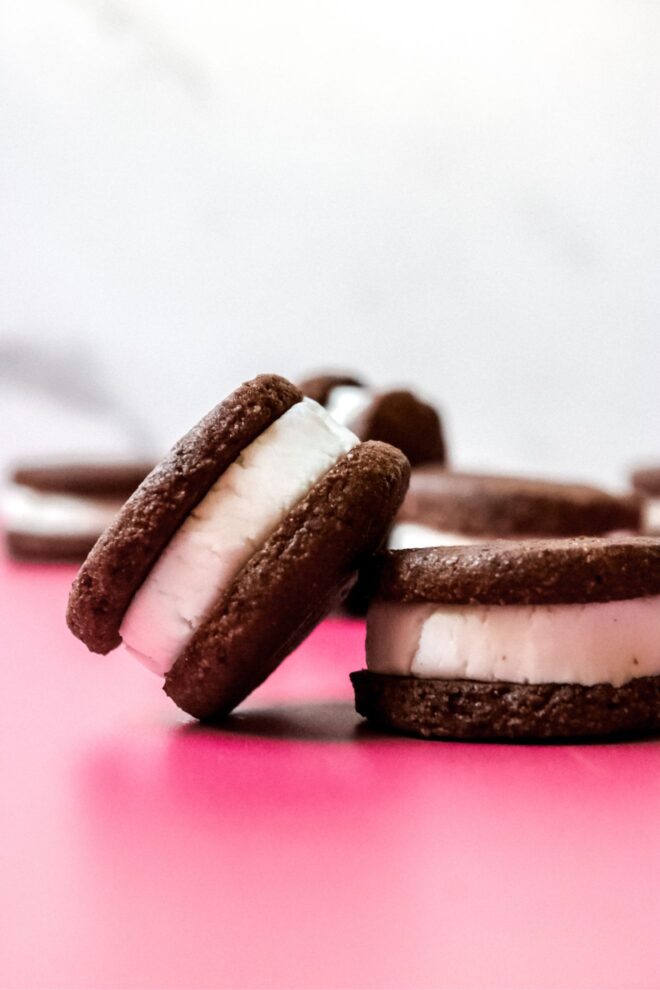
Extra Filling. The best part of making your own Oreos is you can customize how much filling to put inside. Add a generous amount of filling to complement the rich and decadent chocolate cookie.
Tender Texture. While store-bought Oreos can have a slightly crumbly texture, these homemade gluten free Oreos have a delicate bite and tender texture you’re sure to love!
Ingredients for Gluten Free Oreos
Blanched Almond Flour. Almond flour is made from finely ground blanched almonds, which results in a light and fluffy texture. Almond flour adds richness and density to the cookies while providing a gluten-free base.
Cocoa Powder. Cocoa powder is responsible for the chocolate flavor in the cookies. It adds a deep, rich taste and a dark color. Cocoa powder will help achieve the characteristic chocolatey flavor of Oreos.
Coconut Sugar. Coconut sugar is a natural sweetener derived from the sap of coconut palm trees. It has a caramel-like flavor and a lower glycemic index compared to refined white sugar. Using coconut sugar instead of regular sugar adds a touch of sweetness and balances the cocoa powder.
Salt. Salt is an essential ingredient that helps enhance the flavors in baked goods. It balances the sweetness and adds depth to the overall taste.
Butter. Butter provides moisture, richness, and a buttery flavor to the cookies. These fats contribute to the tender texture of the cookies and help bind the ingredients together.
Powdered Sugar. Powdered sugar is a good ingredient for the filling of homemade Oreos due to its smooth texture, sweetness, and binding capabilities that, when combined with the butter, help use achieve the classic vanilla filling of Oreos.
How to Make Gluten Free Oreos
Make the cookie dough:
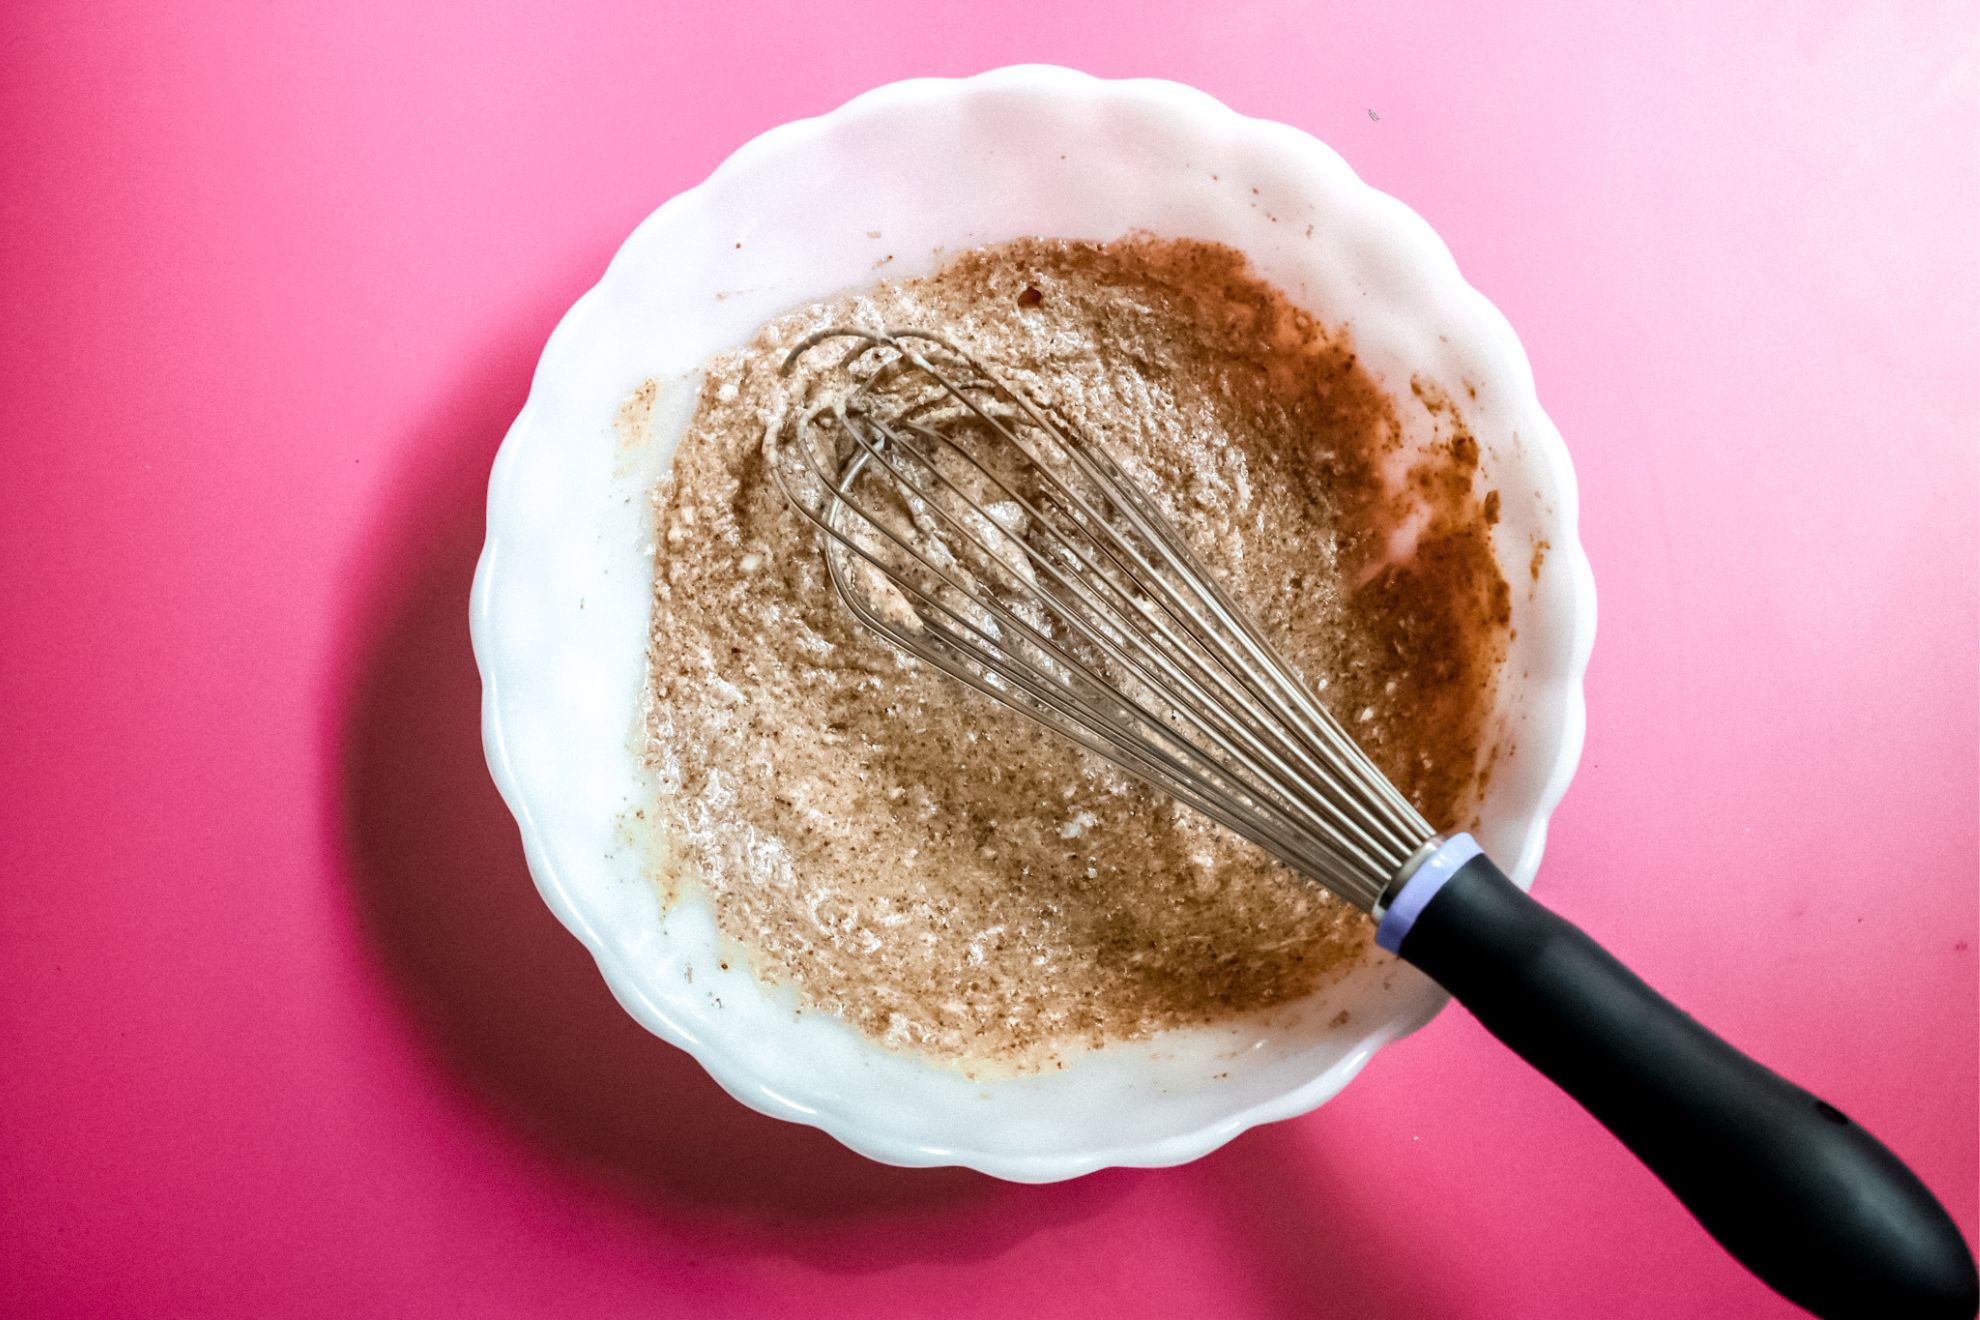
In a large bowl, beat the softened butter, egg, and coconut sugar together using an electric mixer or a whisk. Continue beating until the ingredients are well combined and creamy.
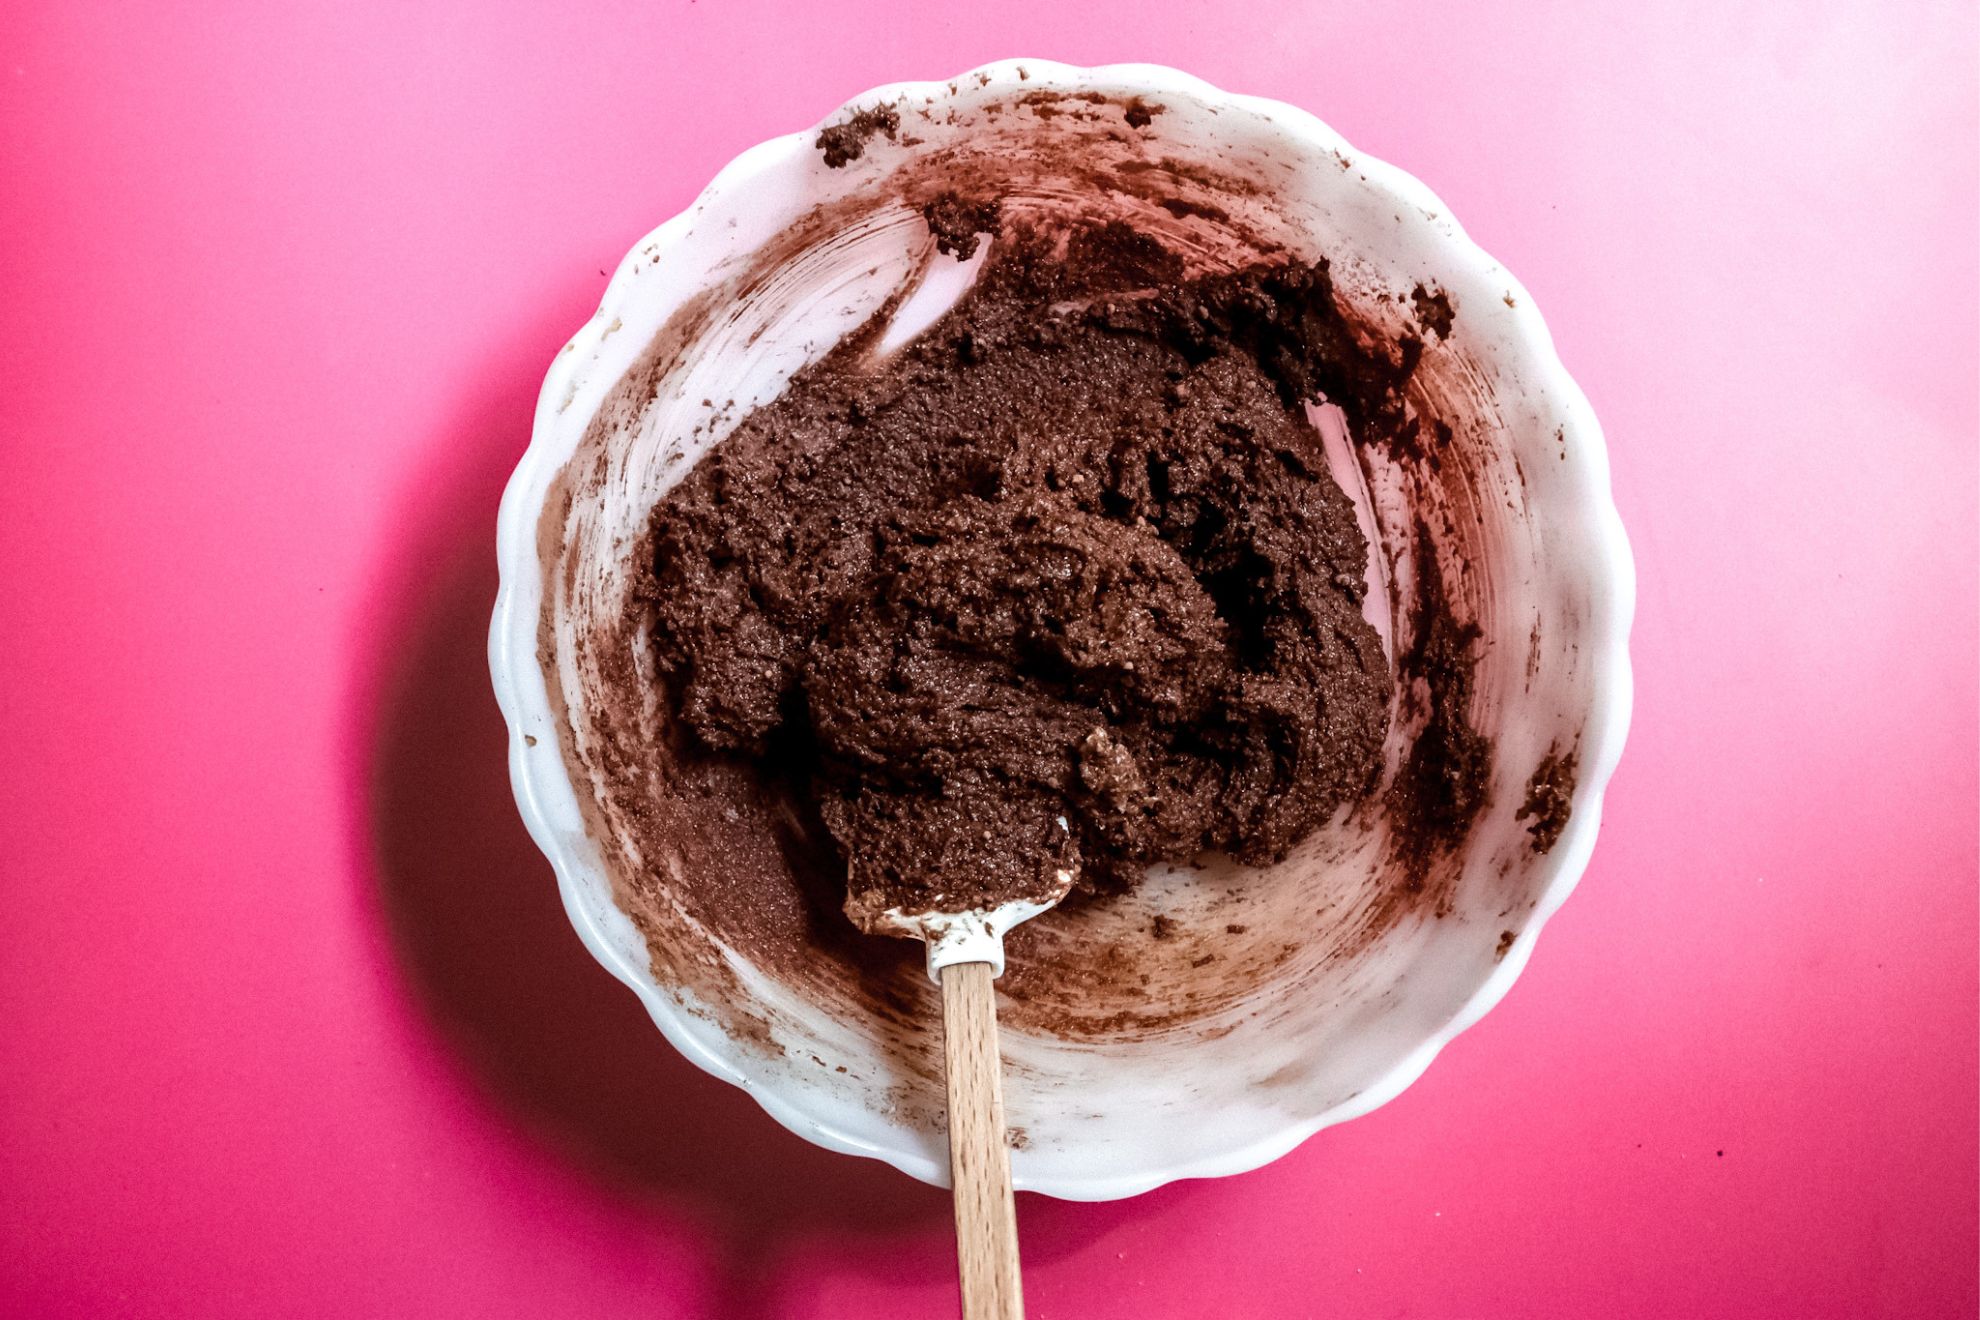
Add the almond flour, cocoa powder, and salt to the bowl. Using a rubber spatula or wooden spoon, gently fold the dry ingredients into the wet mixture. Continue folding until the ingredients are fully incorporated and a chocolate ball of dough forms.
Take the dough out of the bowl and place it between two pieces of parchment paper. This will make it easier to roll out the dough and prevent sticking. Using a rolling pin, roll the dough out into a 1/4 inch thick sheet. Make sure the dough is evenly rolled to maintain consistently thick sizes.
Chill the cookie dough
Slide a baking sheet or cutting board underneath the bottom parchment paper with the rolled dough. Transfer the dough, still sandwiched between the parchment paper, to the freezer. Allow it to chill for about 10 minutes. This will firm up the dough, making it easier to cut out the cookie shapes.
Cut the cookies
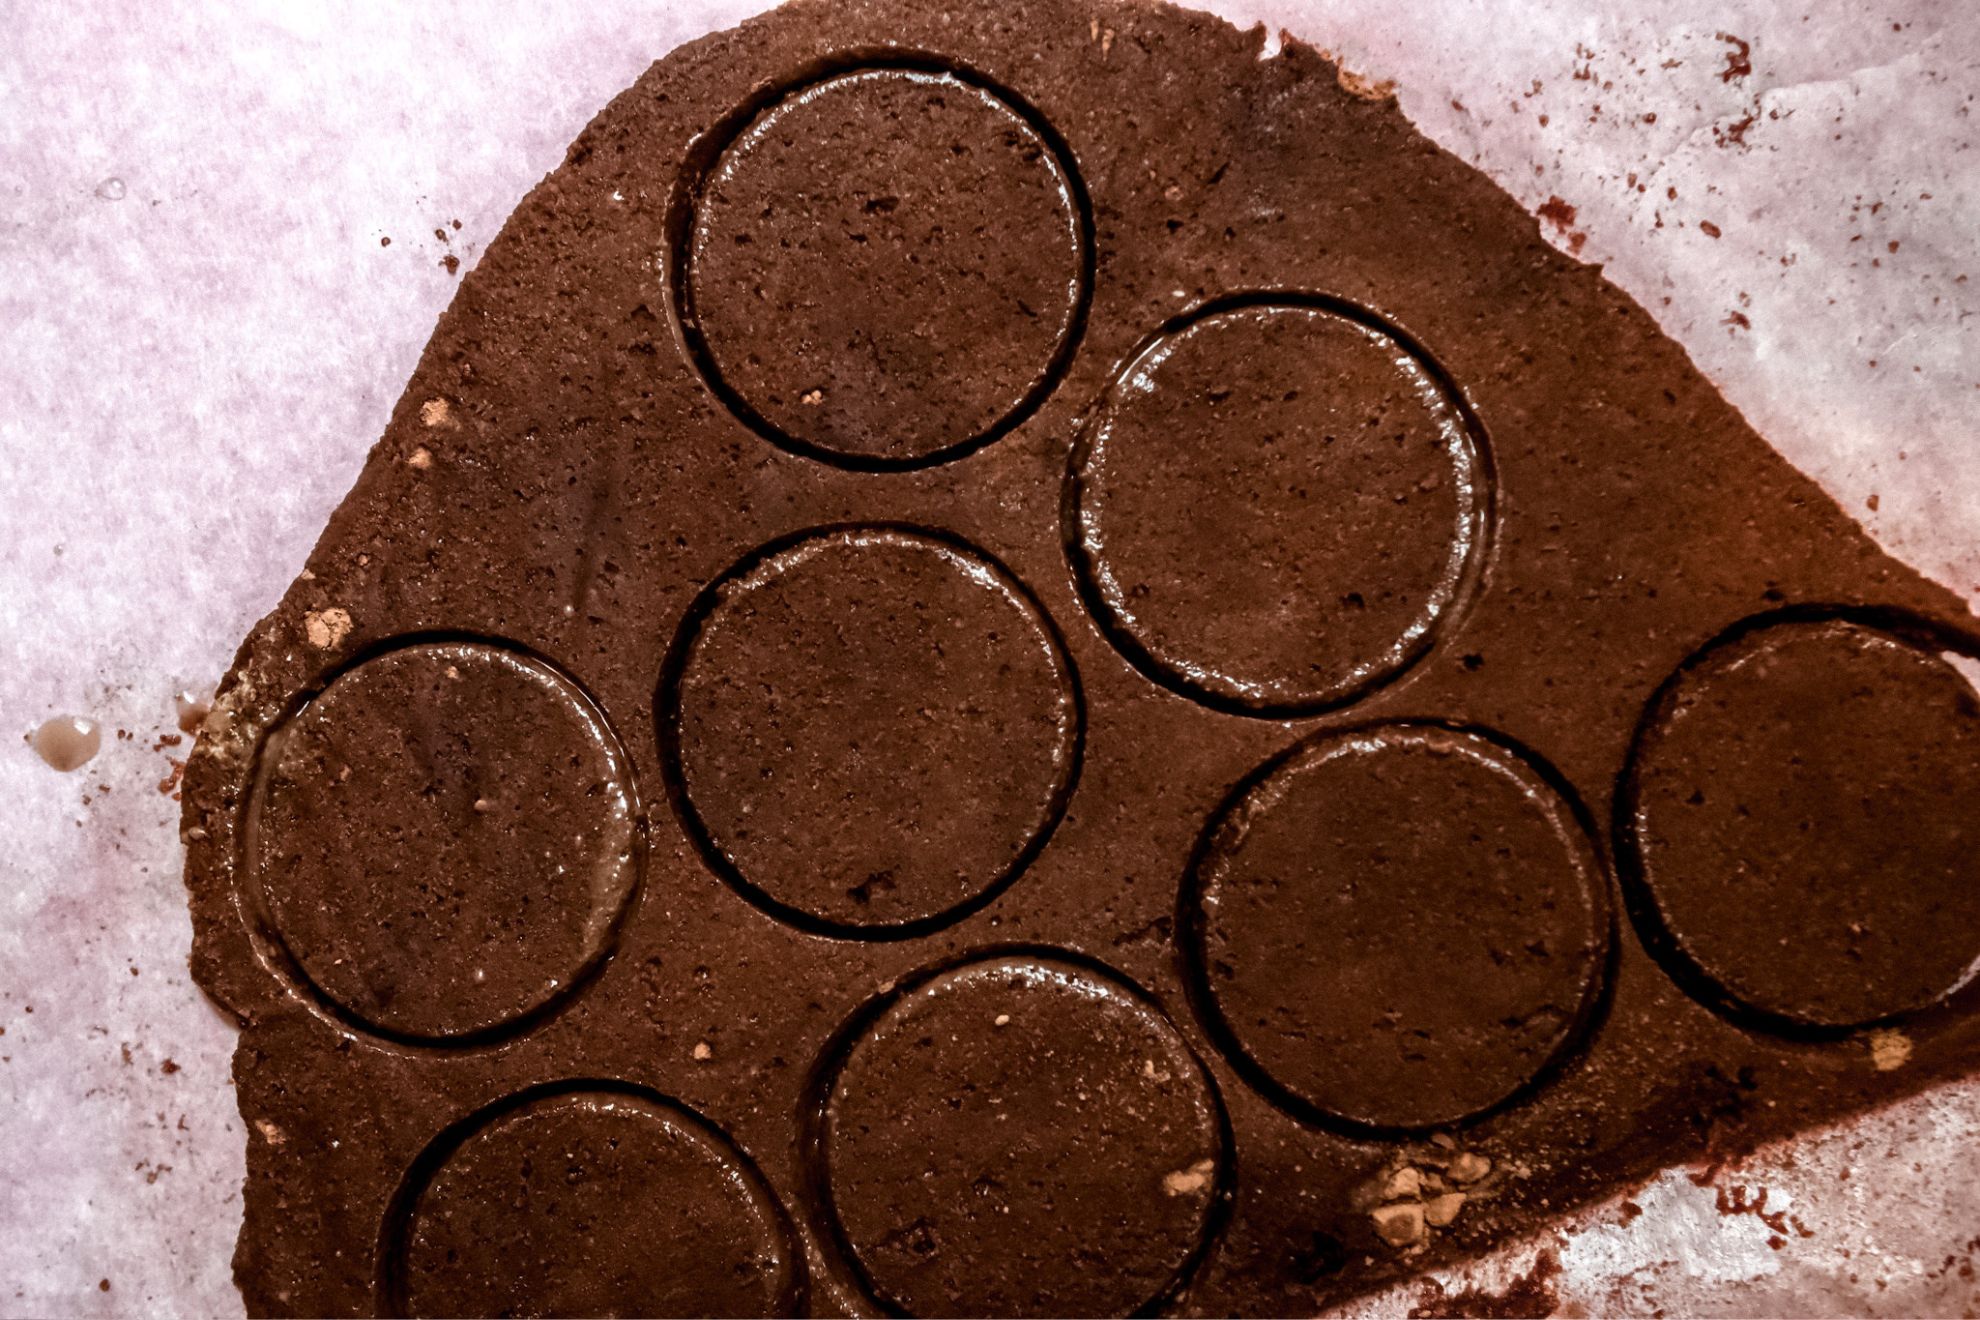
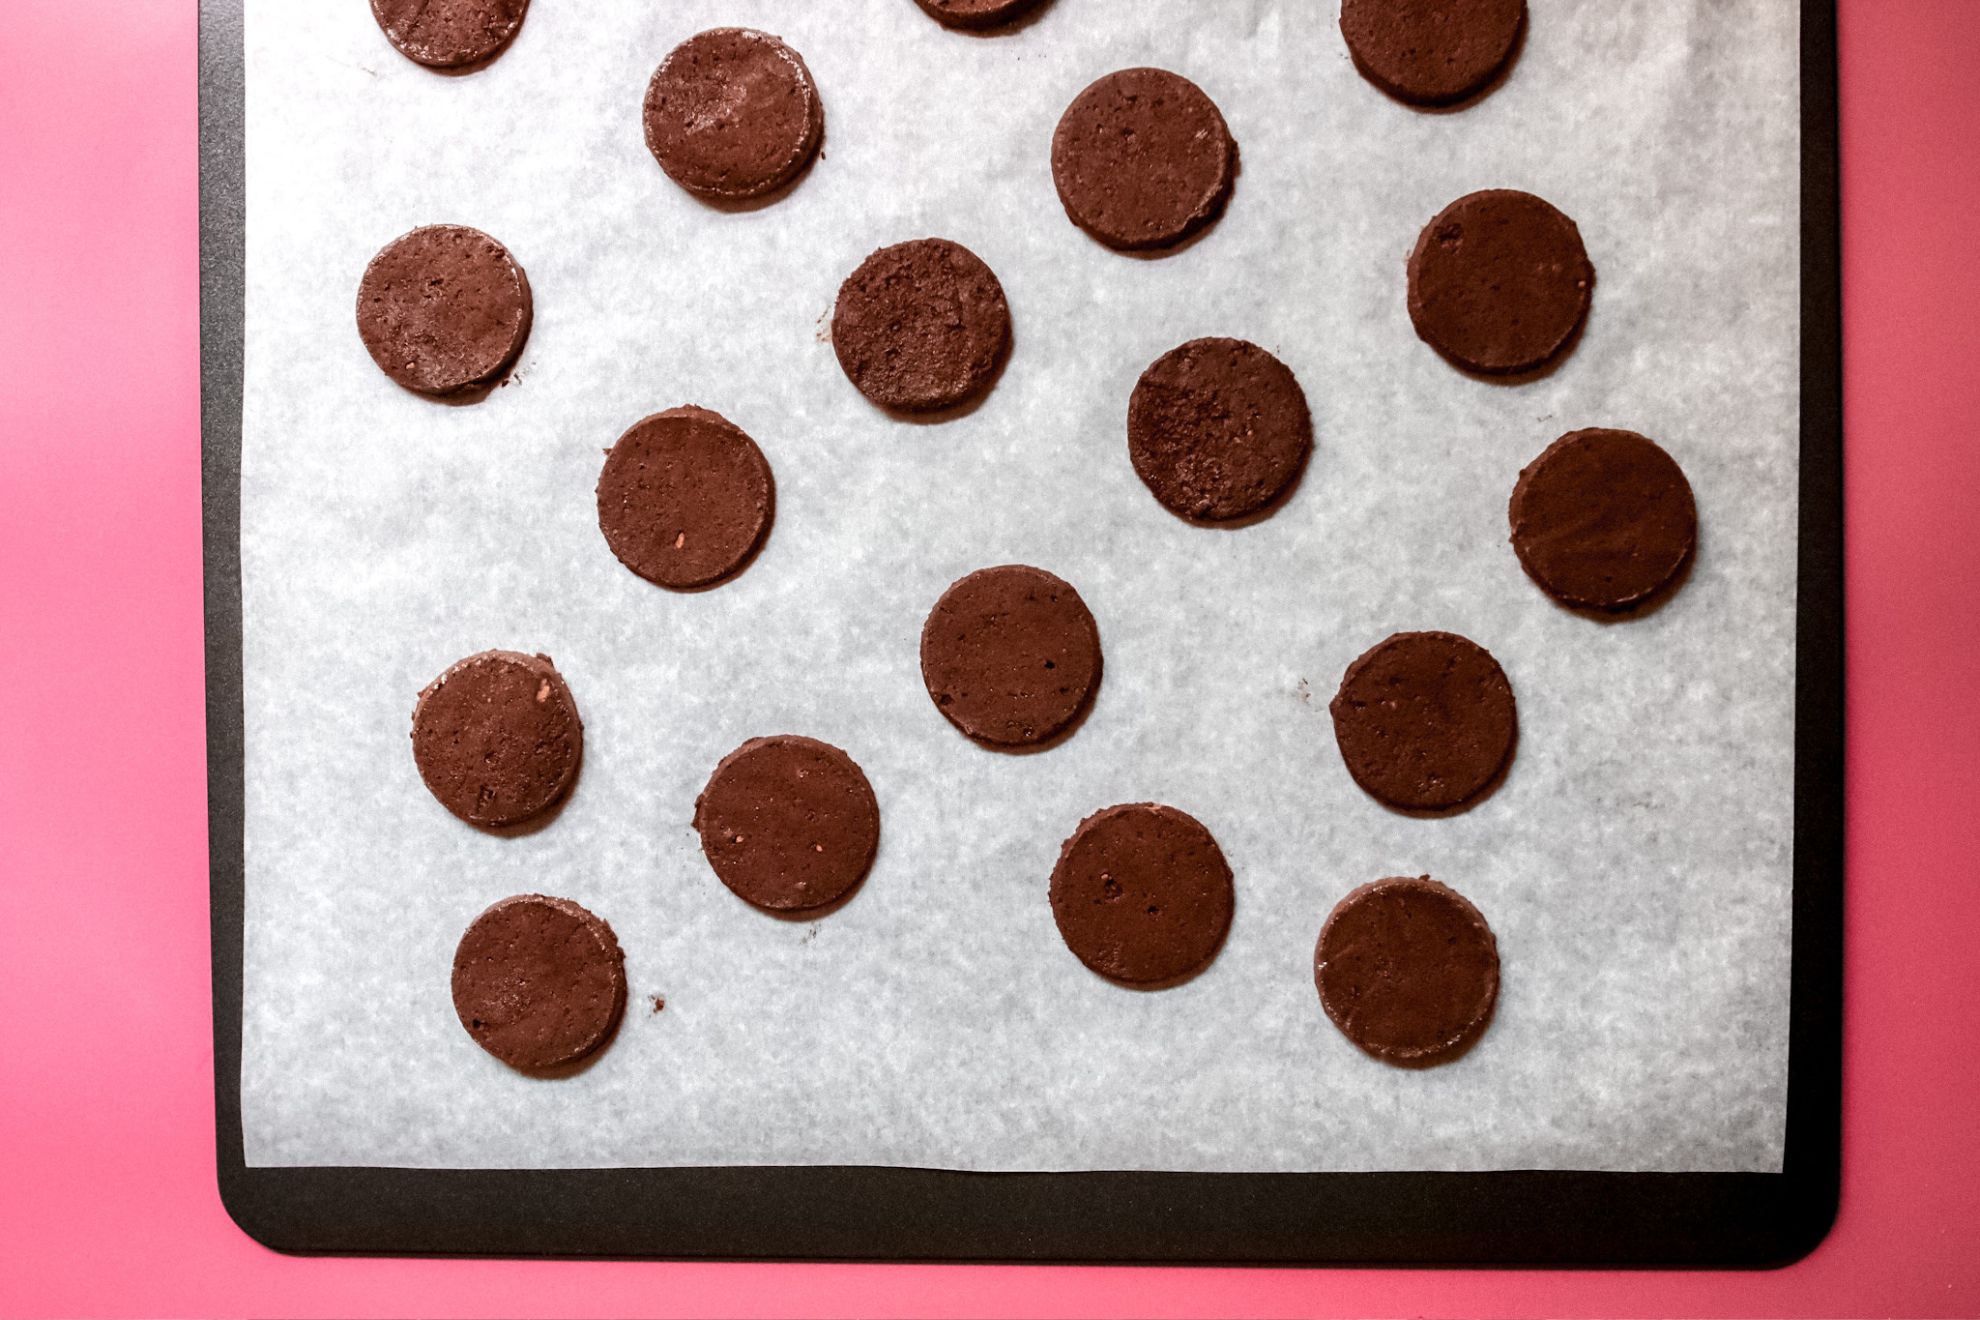
Remove the chilled dough from the freezer. Using a circular cookie cutter or a shot glass, cut out the desired size of cookies from the rolled dough. Place the cookies onto the prepared baking sheet, leaving a bit of space between each cookie.
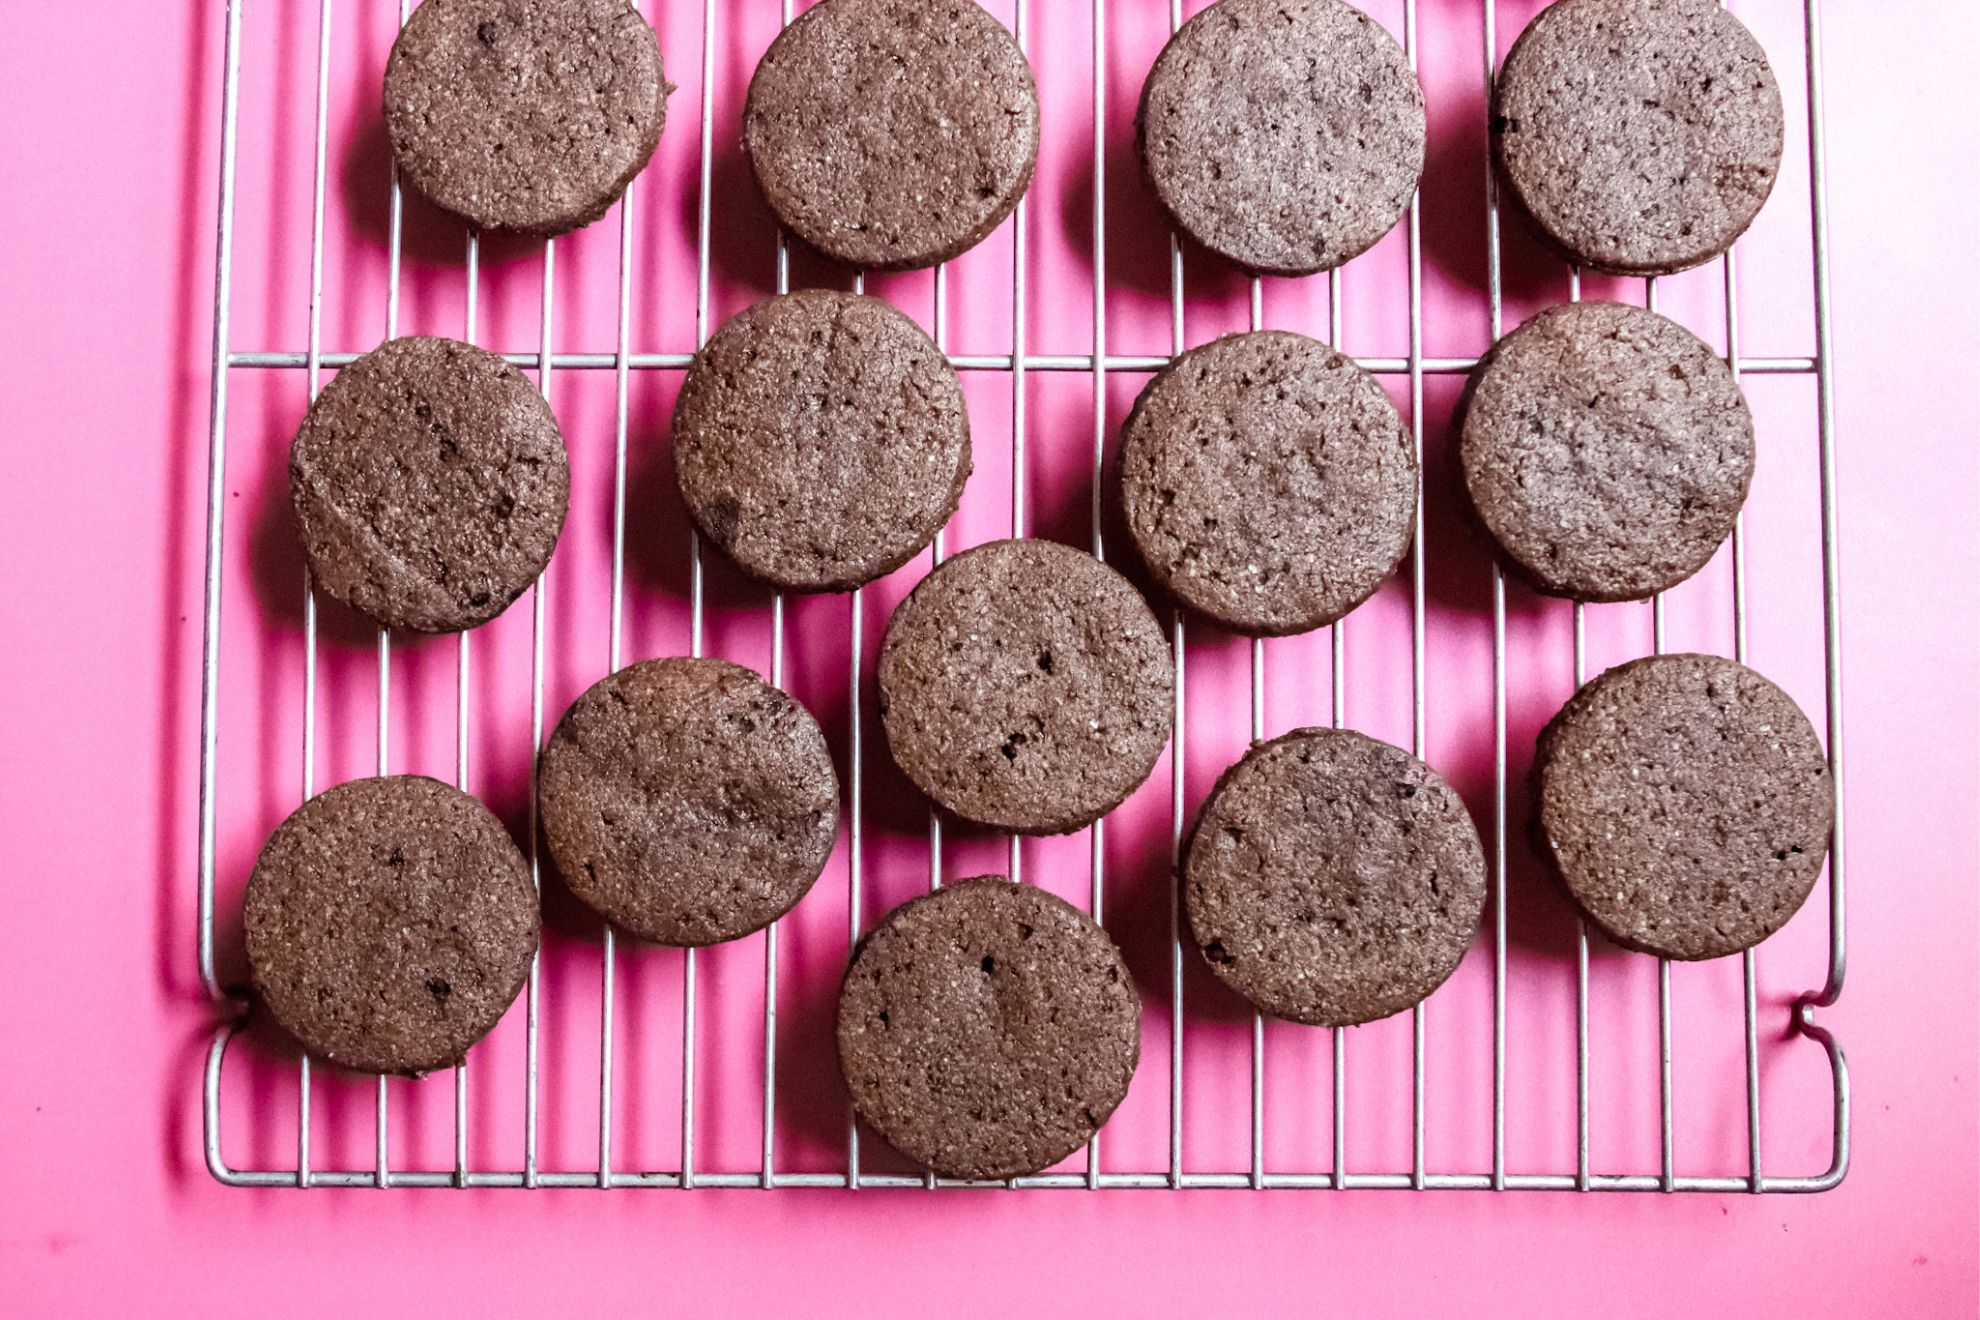
Bake the cookies
Bake the cookies in the preheated oven for approximately 10-12 minutes. Keep a close eye on them to prevent over-baking. The cookies should be slightly firm to the touch. Once baked, remove them from the oven and let them cool for a couple of minutes on the baking sheet.
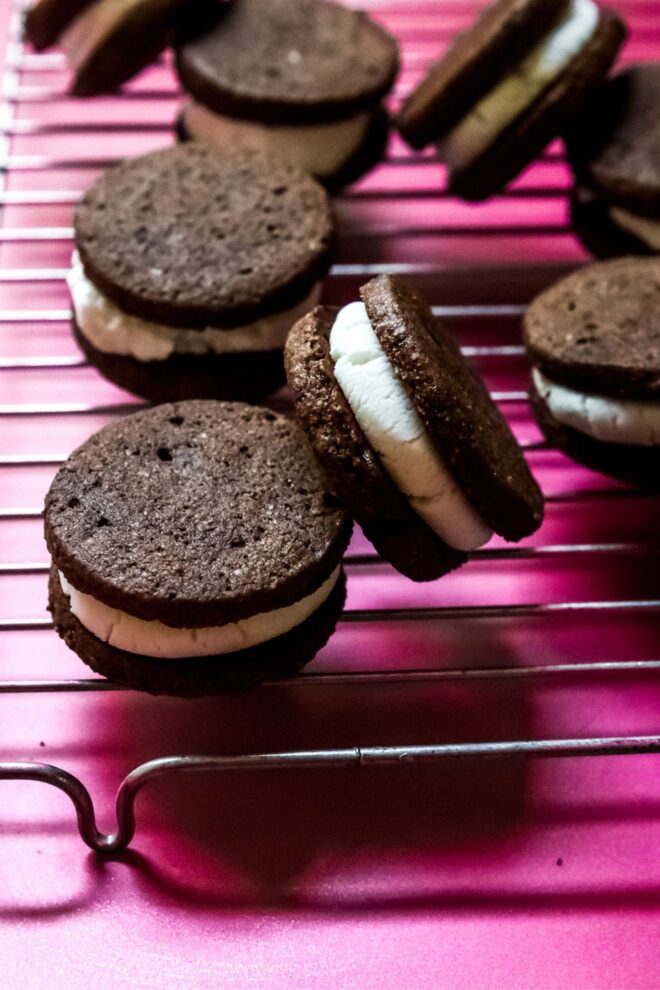
After a few minutes, transfer the cookies to a wire rack to cool completely. This will allow them to firm up and reach room temperature before assembling them with the filling.
Prep the filling
To prepare the filling, use a handheld electric mixer to combine the powdered sugar and softened butter in a bowl. Continue mixing until the butter lightens in color and the filling comes together into a smooth and creamy consistency.
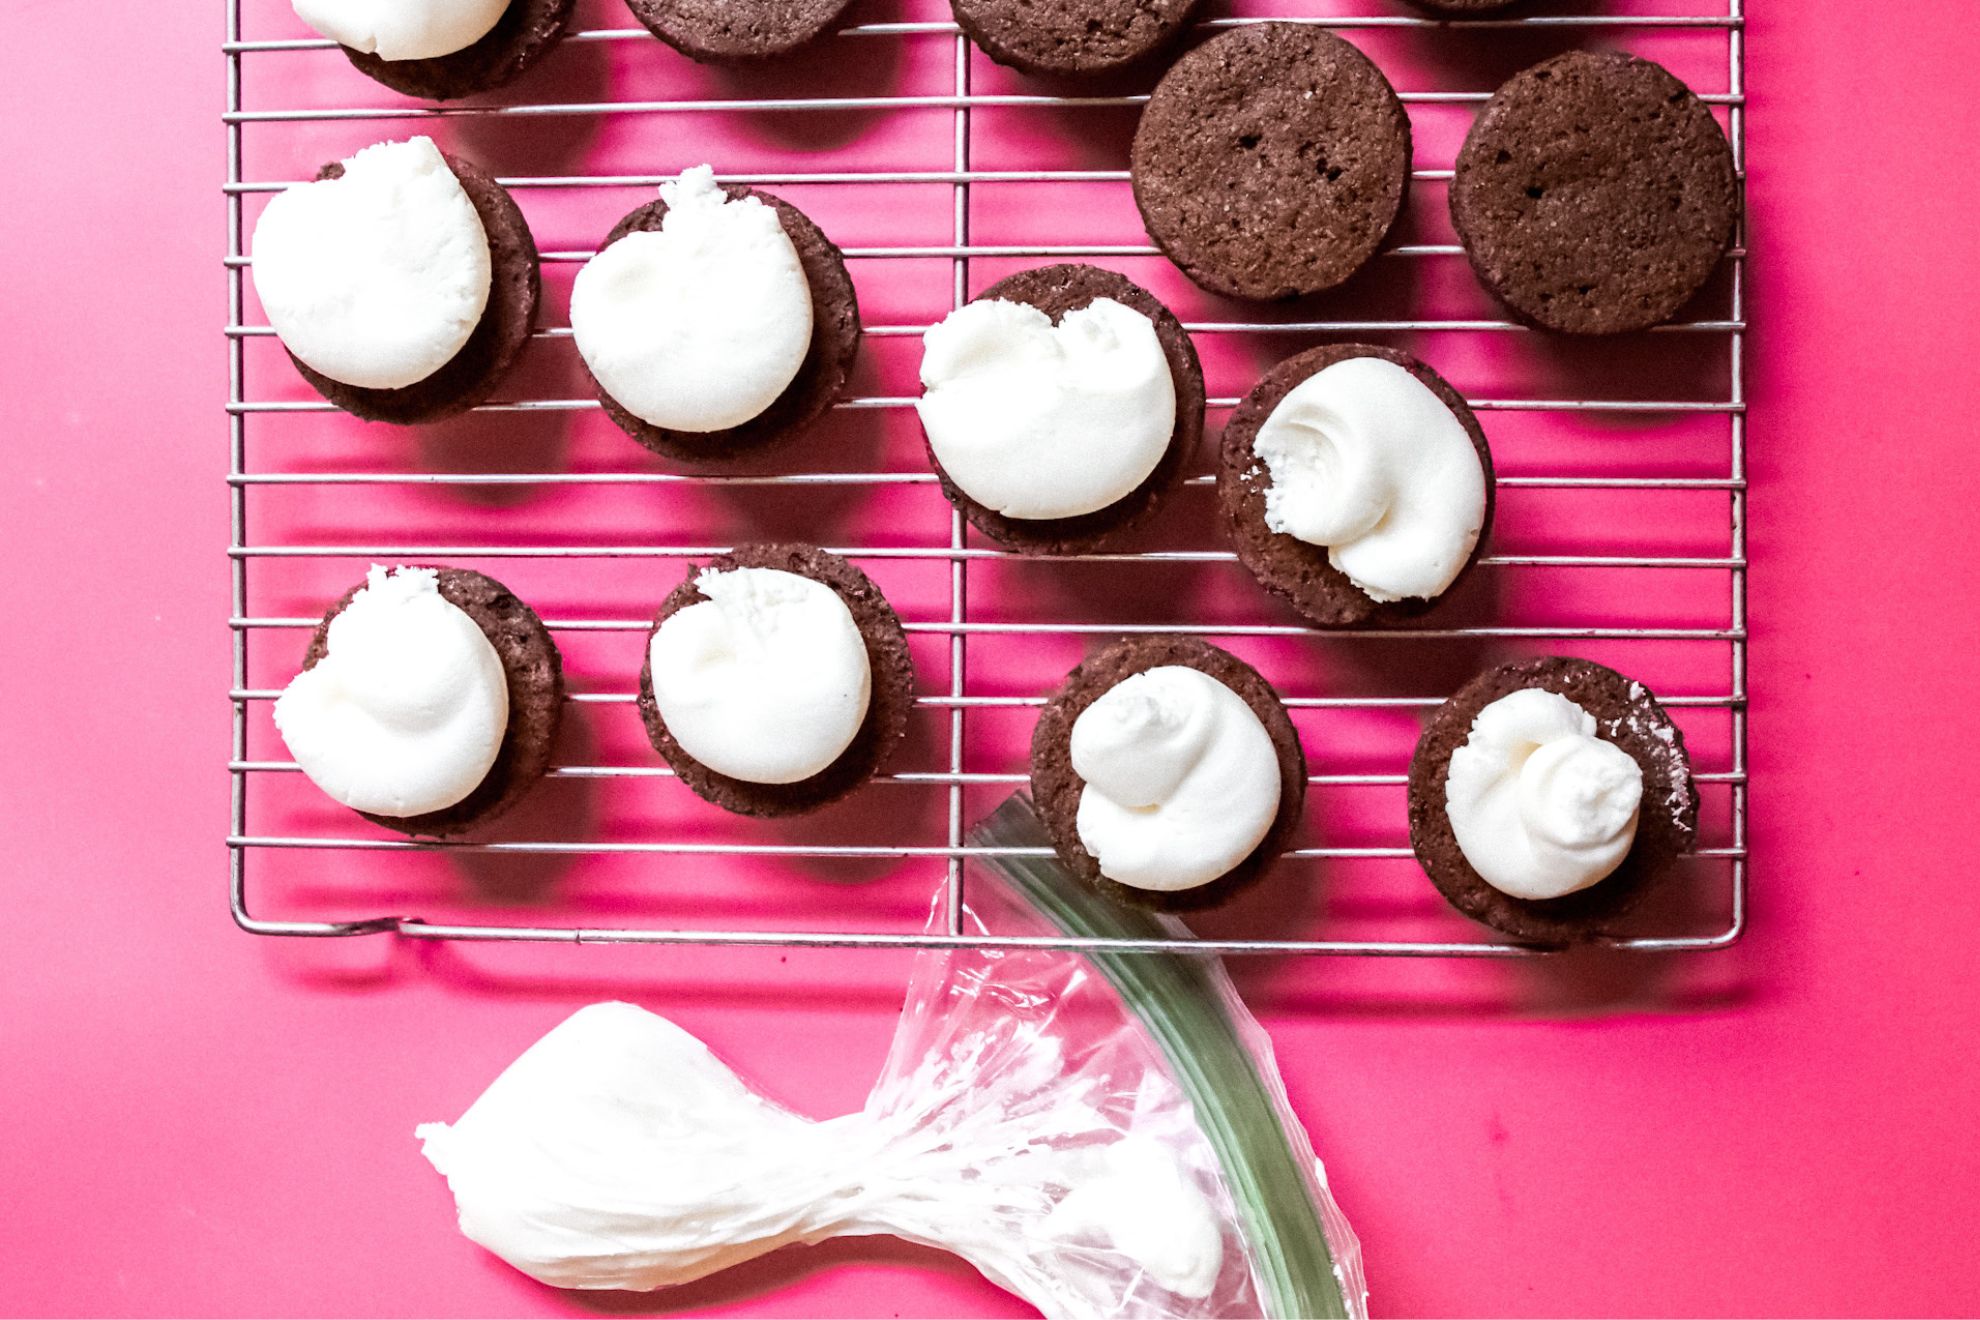
Assemble the Oreos
Transfer the filling to a plastic Ziploc baggie or a piping bag. Snip off a corner of the bag to create a small opening for piping.
Flip half of the cooled cookies over so that their flat side faces up. Pipe a generous amount of filling onto each of these cookies. You can be as generous with the filling as you like, or even go for a quadruple-stuffed effect.
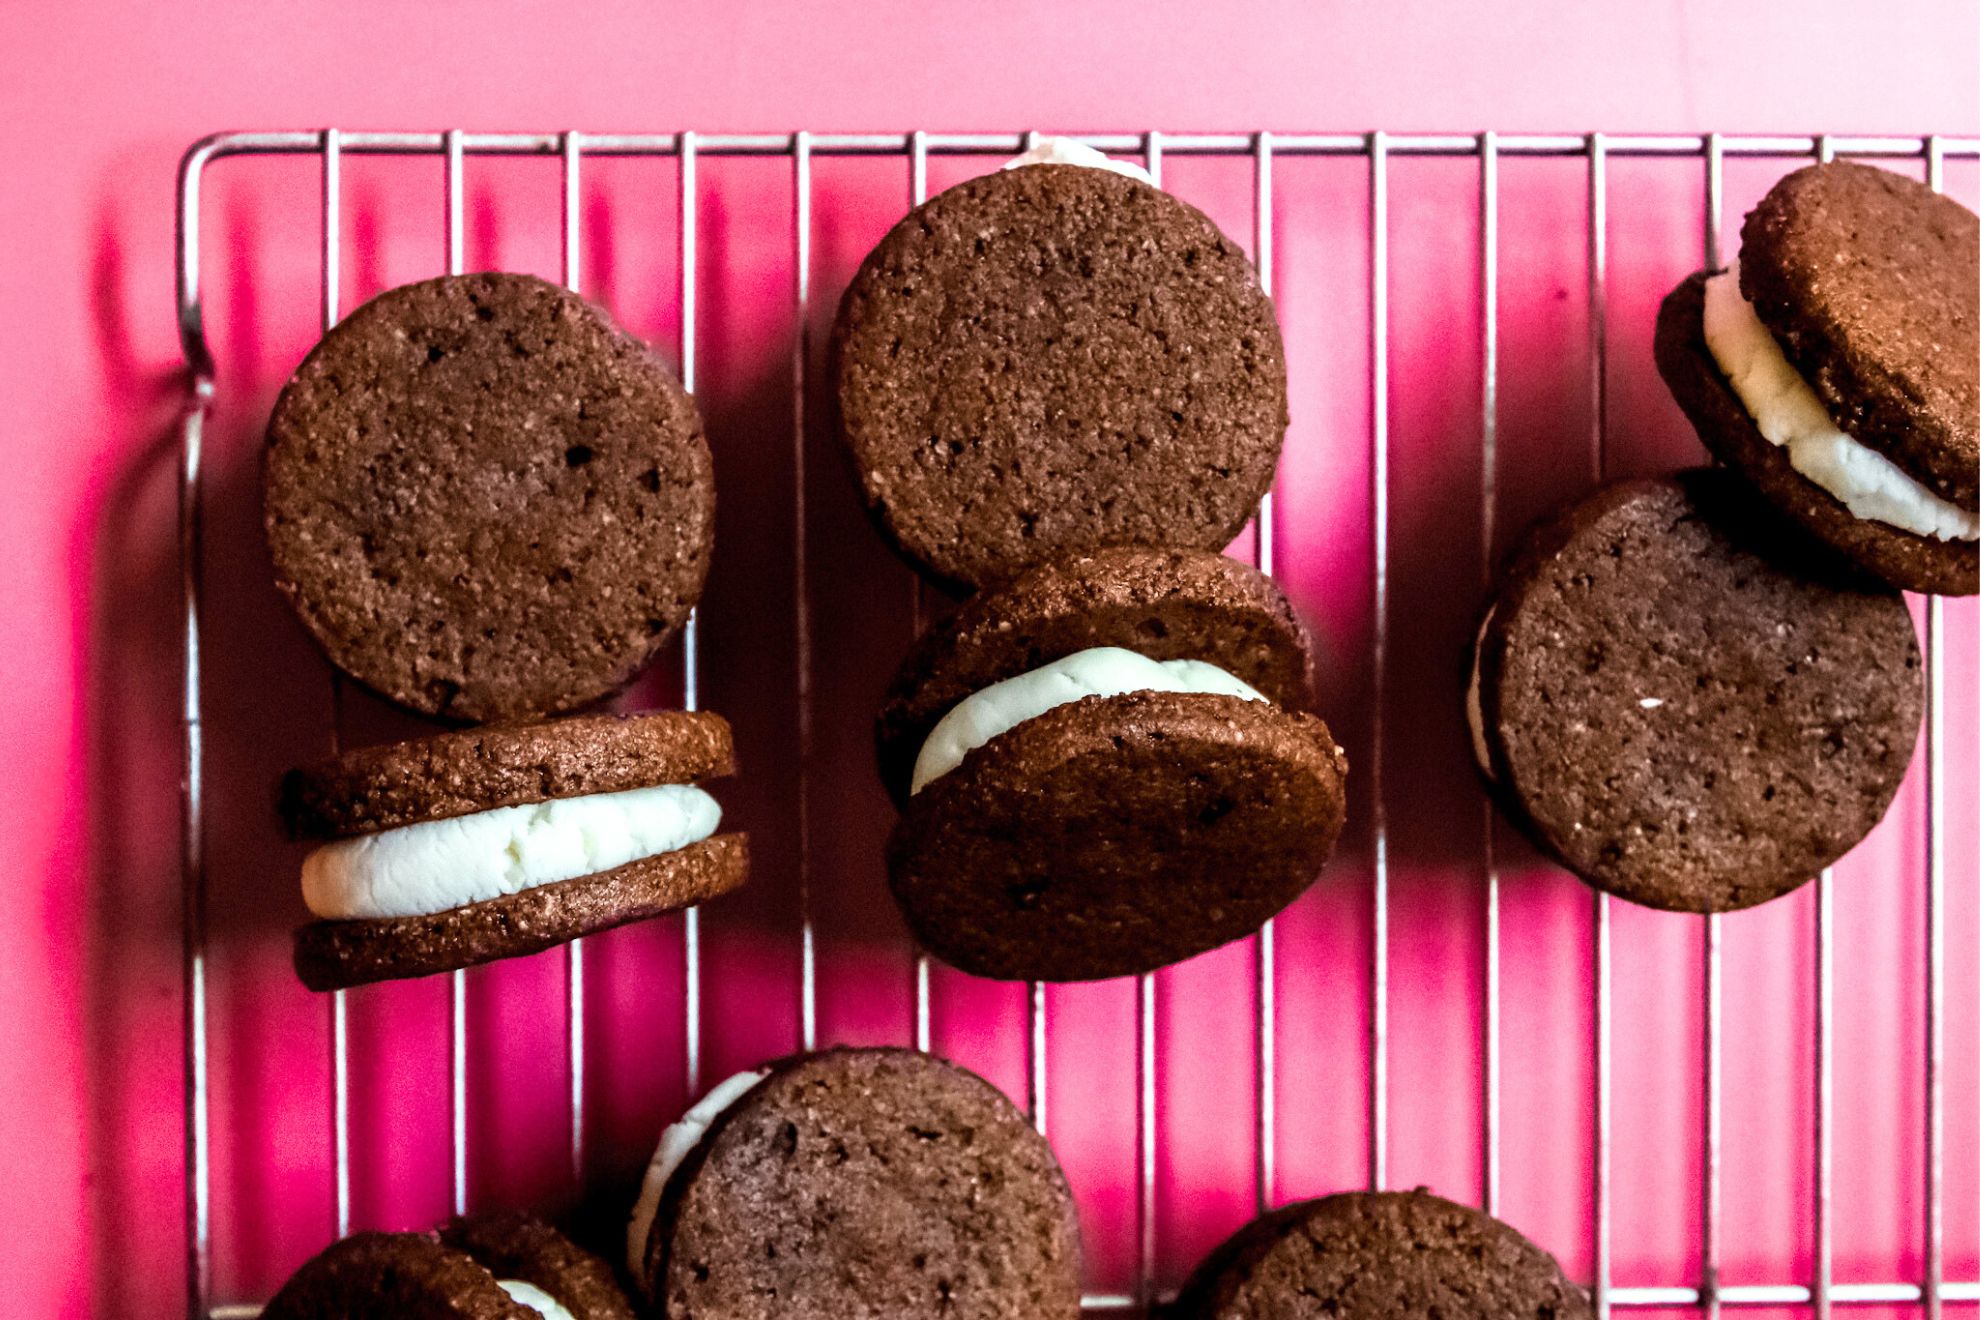
Take the remaining cookies and place them flat side down onto the filling, gently pressing them together to create sandwich cookies.
Once assembled, store the homemade Oreos at room temperature for up to 3 days or in the refrigerator for up to a week. Make sure to place them in an airtight container or wrap them tightly in plastic wrap to maintain freshness.

Tips for Success
Soften Butter Properly. Make sure the butter is softened to room temperature before using it in the recipe. Softened butter combines better with other ingredients, resulting in a smoother dough and filling. Need to soften your butter quickly? Try this Kitchen Hack: How to Soften Butter in 10 Minutes!
Chill the Dough. Chilling the dough before rolling and cutting out the cookies helps firm it up, making it easier to handle and cut shapes without the dough sticking to the rolling pin or cookie cutter. The chilled dough also helps the cookies maintain their shape and prevent spreading during baking. If you’re having trouble working with the cookies, pop it back in the freezer for it to firm up.
Cool Completely Before Filling. Allow the baked cookies to cool completely on a wire rack before filling them. This ensures that the cookies are firm and won’t crumble when the filling is added. Cooling also prevents the filling from melting and becoming too soft.
Pipe or Spread the Filling. Use a piping bag or a spoon to add the filling to the cookies. If using a piping bag, snip off a small corner for a controlled flow of filling. Alternatively, you can spread the filling with a small spatula or the back of a spoon. Be generous with the filling, but make sure it’s evenly distributed for a balanced taste.
Sift your ingredients. Sifting your ingredients makes sure there are no lumps and make sure they are evenly incorporated into your batter.
Variations on these Gluten Free Oreos
Mint Oreos
Add 1/2 teaspoon of peppermint extract to the filling mixture (and/or cookie dough) for a thin mint vibe. You can also add a drop or two of green food coloring to the filling to really hit the mint point home.
Peanut Butter Oreos
Incorporate 2 tablespoons of creamy peanut butter into the filling mixture. The combination of chocolate cookies and peanut butter filling is perfect for all the Reese’s lovers out there!
Espresso Oreos
Add 1 tablespoon of instant espresso powder to the cookie dough for a subtle coffee flavor. This pairs well with the chocolate and adds a hint of richness.
Nutella Oreos
Replace all or a portion of the butter in the filling with Nutella for a hazelnut-chocolate twist.
Raspberry Oreos
Mix in 1-2 tablespoons of raspberry jam or preserves into the filling mixture to create a fruity and tangy flavor.
Salted Caramel Oreos
Drizzle or pipe a small amount of homemade salted caramel sauce onto the filling before sandwiching the cookies together. The sweet and salty combination creates a delightful contrast.
 Recipe
Irresistible Mega Stuffed Gluten Free Oreos
Gluten-free Oreos are the perfect balance of rich chocolate cookies and creamy vanilla filling. Add in that extra filling you always want!
Ingredients
Chocolate Cookies
- 1 cup blanched almond flour (Kitchen Hack: How to Make Almond Flour)
- 1/4 cup cocoa powder (Cacao v. Cocoa Powder: What’s the Difference?)
- 1/4 cup coconut sugar
- 1/8 teaspoon salt
- 4 tablespoons salted butter, softened (How to Soften Butter in 10 Minutes)
- 1 egg
Vanilla Filling
- 1 cup powdered sugar
- 4 tablespoons salted butter, softened
Instructions
- Preheat oven to 350F.
- Beat in the butter, egg, and coconut sugar in a large bowl until combined.

- Add the almond flour, cocoa powder, and salt to the bowl and use a rubber spatula to fold it together and incorporate the dry ingredients until they form a chocolate ball of dough.
- Remove the dough and place it in between two pieces of parchment paper. Roll the dough out into a 1/4 inch thick sheet. Slide a baking sheet or cutting board underneath the bottom parchment and chill the rolled dough in the freezer for 10 minutes.
- Cut out circular cookies with a cookie cutter (or shot glass). If needed, dip the edges of the cookie cutter or glass into water to prevent it from sticking.
- Place the cookies on a baking sheet lined with parchment paper.
- Bake for 10-12 minutes.
- Allow the cookies to cool for a couple minutes on the baking sheet before transferring to a wire rack to cool completely.
- When you’re ready to make the oreos, use a handheld electric mixture to combine the powdered sugar and softened butter. Continue to mix until the butter lightened in color and the filling comes together. Transfer to a plastic ziploc baggie (or piping bag) and cut the corner off.
- Pipe the icing out onto half the cookies (feel free to be as generous with the filling as you like – hello quadrupled stuffed!!).
- Place the second cookie on top of the filling and give the cookies a little squeeze together.
- Store at room temperature for about 3 days or in the fridge for a week.

Nutrition Info:
- Serving Size: 1 cookie sandwich
- Calories: 170
- Sugar: 16.6g
- Sodium: 101mg
- Fat: 10.9g
- Saturated Fat: 6.1g
- Unsaturated Fat: 0g
- Trans Fat: 0g
- Carbohydrates: 18.6g
- Fiber: 1g
- Protein: 1.5g
- Cholesterol: 24mg
Leave a Comment & Rate this Recipe