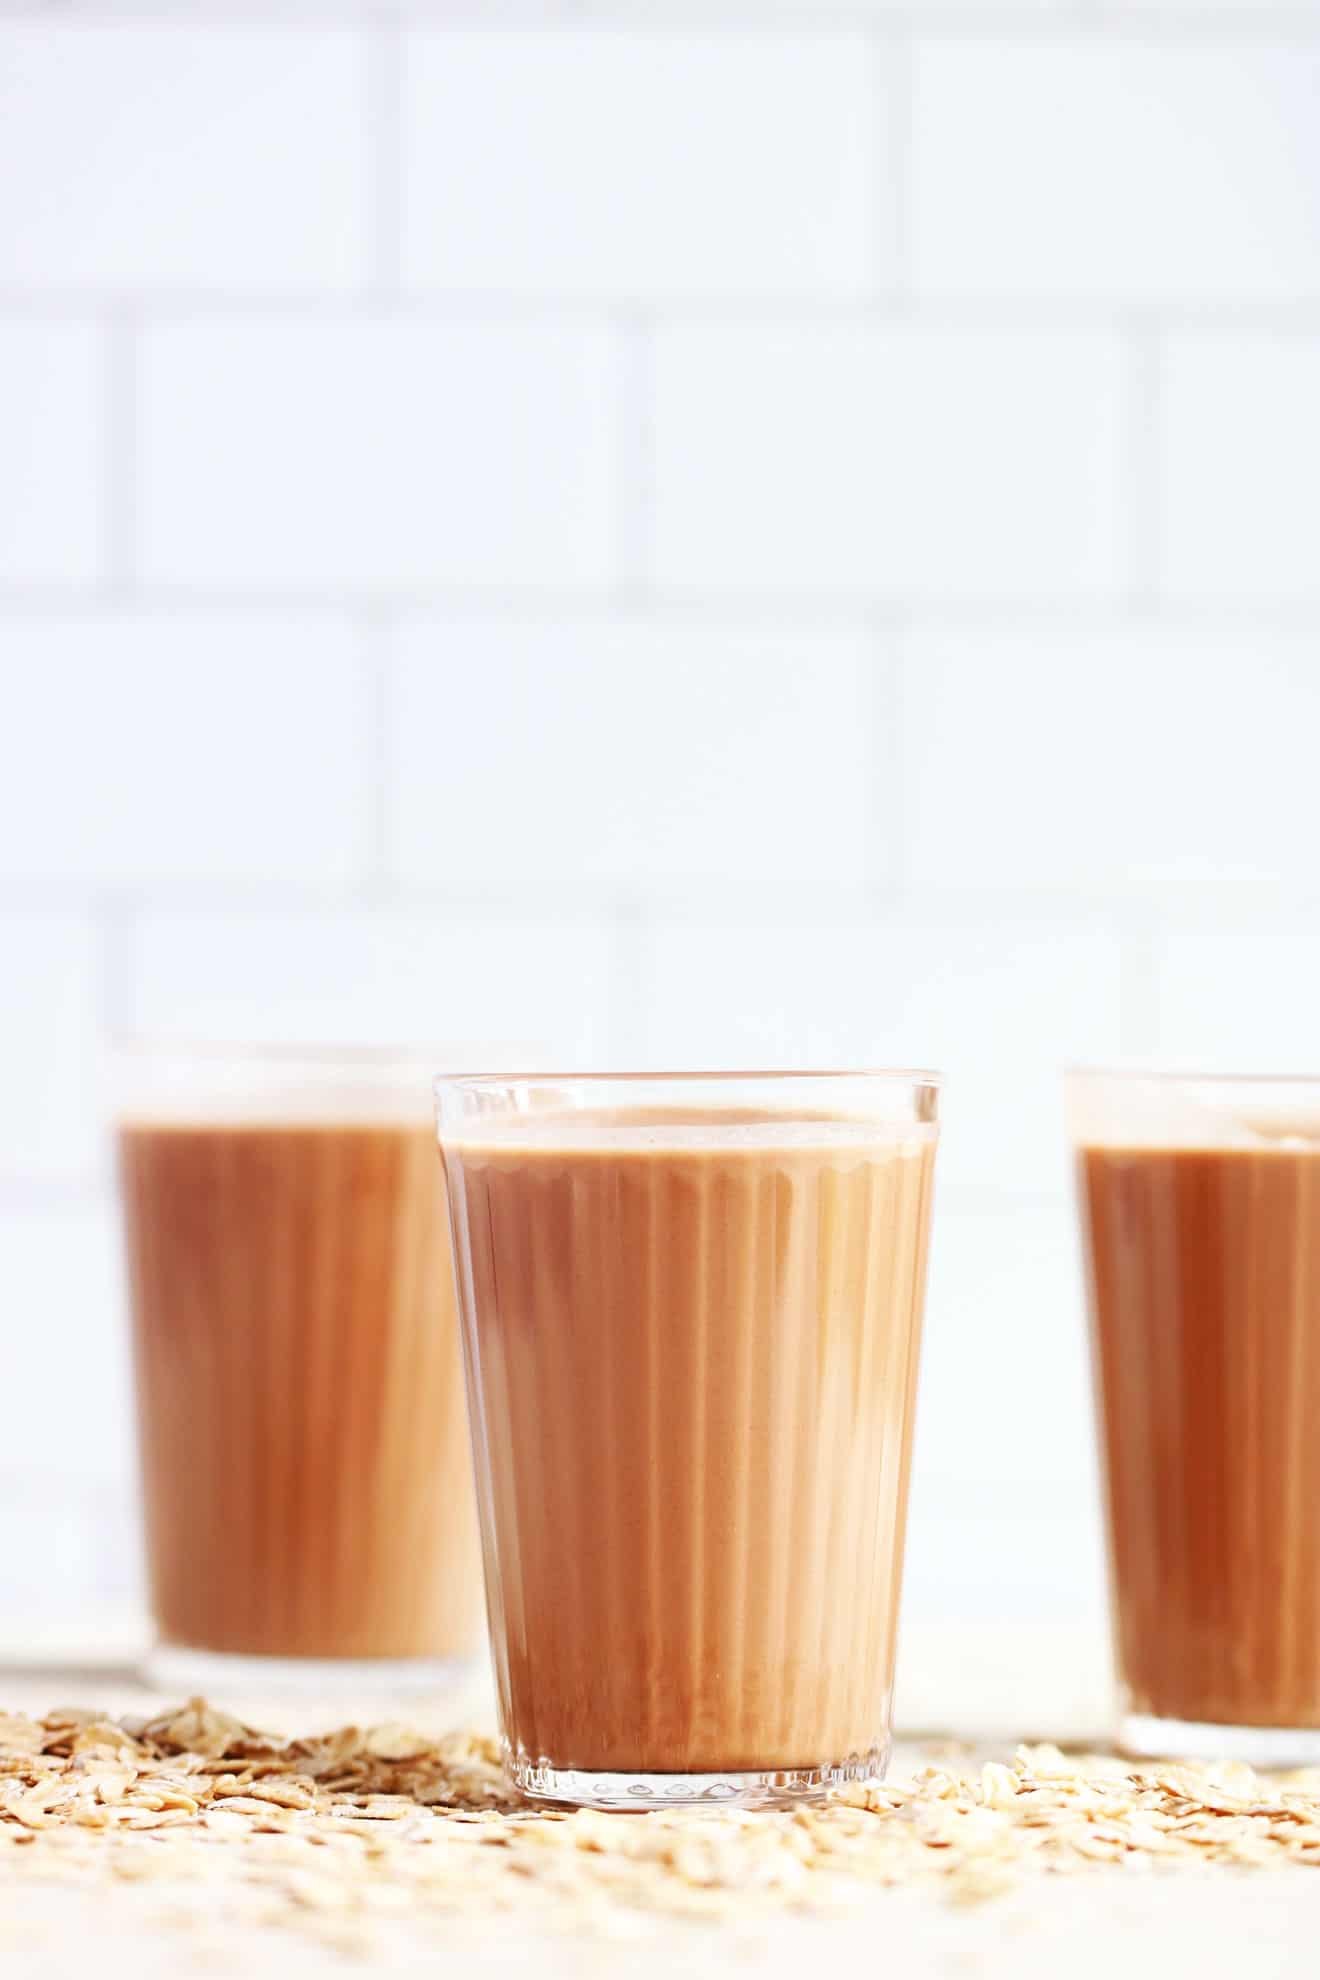
When I was in my college days and early 20’s, my favorite thing to cure a hangover was chocolate milk. I know, I know, it’s a weird choice.
I mean yes, I’d also hit up the diner and have bacon and eggs and hash browns and all the greasy breakfasty food I could get my hands on. But, I’d also order myself a tall glass of chocolate milk. It makes no sense.
Yet, it was comforting. And, exactly what I needed.
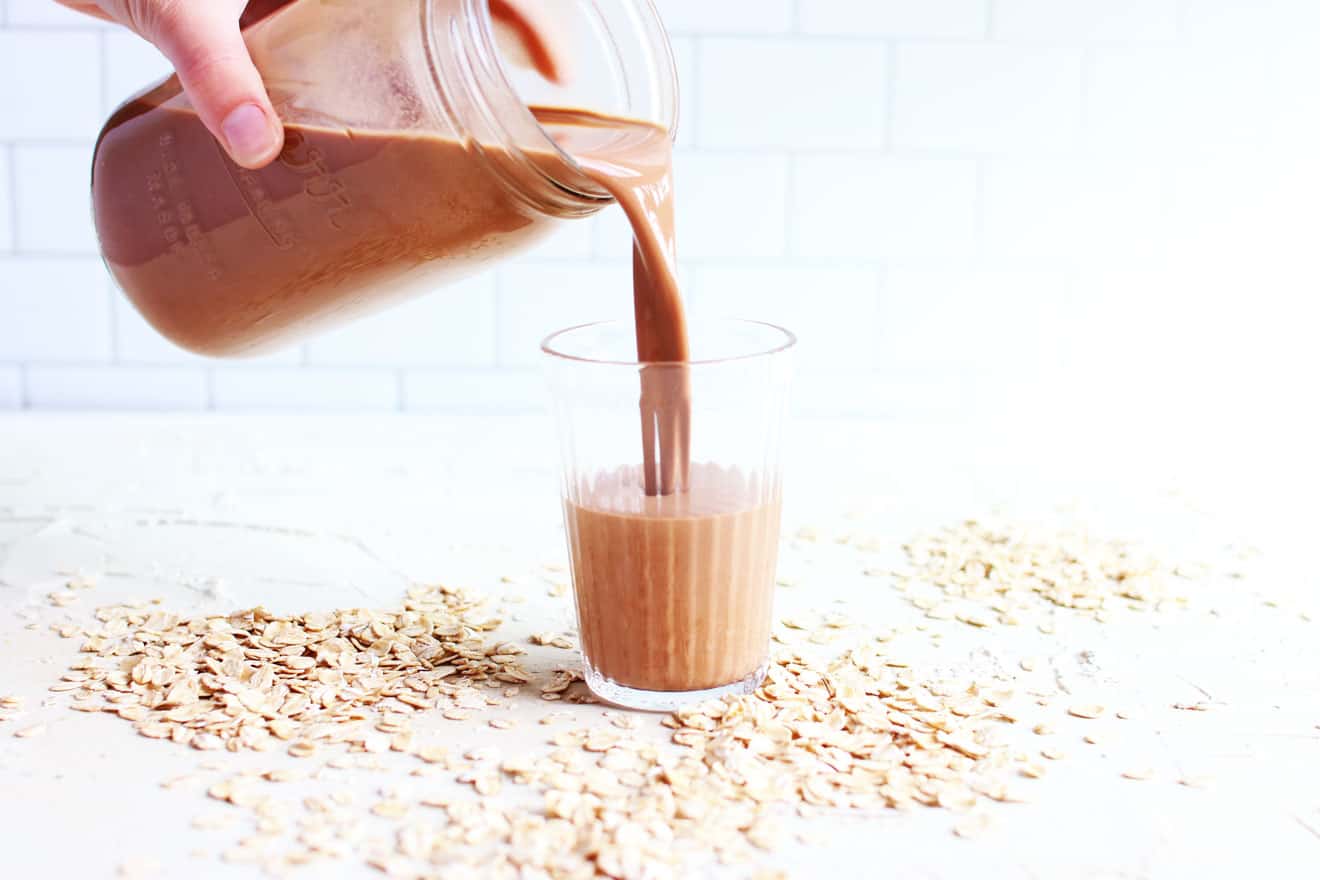
And, after I saw a mini documentary piece on how there’s a shortage of oat milk, I thought, “Well this is silly! Let’s make our own!” It’s relatively easy because you don’t have to soak anything or plan ahead. You literally just throw it all in your blender and go go go.
So, I’m giving you all a modern twist and merging my favorite hangover cure with a dairy free alternative. lol… that may have been the most unexpected sentence I’ve ever written. Whether you just want to switch up your almond milk habit or just want to see what all the hype is about, you’ll love this recipe!
Ingredients to make homemade oat milk:
- Water: the main ingredient (other than oats) is water. Use cold water for best results but room temperature works as well. Warm or hot water is more likely to result in slimy oat milk, so steer clear of those.
- Rolled Oats: Rolled oats are the best option for oat milk. Other oats like steel cut oats or quick oats make for a less creamier or slimy milk, so stick to rolled oats.
- Cocoa Powder: Because it’s chocolate oat milk! Check out my post Cacao v. Cocoa Powder: What’s the Difference?
- Agave nectar: I love using agave nectar, but honey, maple syrup, or a couple pitted dates work to sweeten it up too.
- Vanilla: use a splash to give it a cozy vanilla flavor.
- Salt: helps bring out the flavor and sweetness of the oat milk.
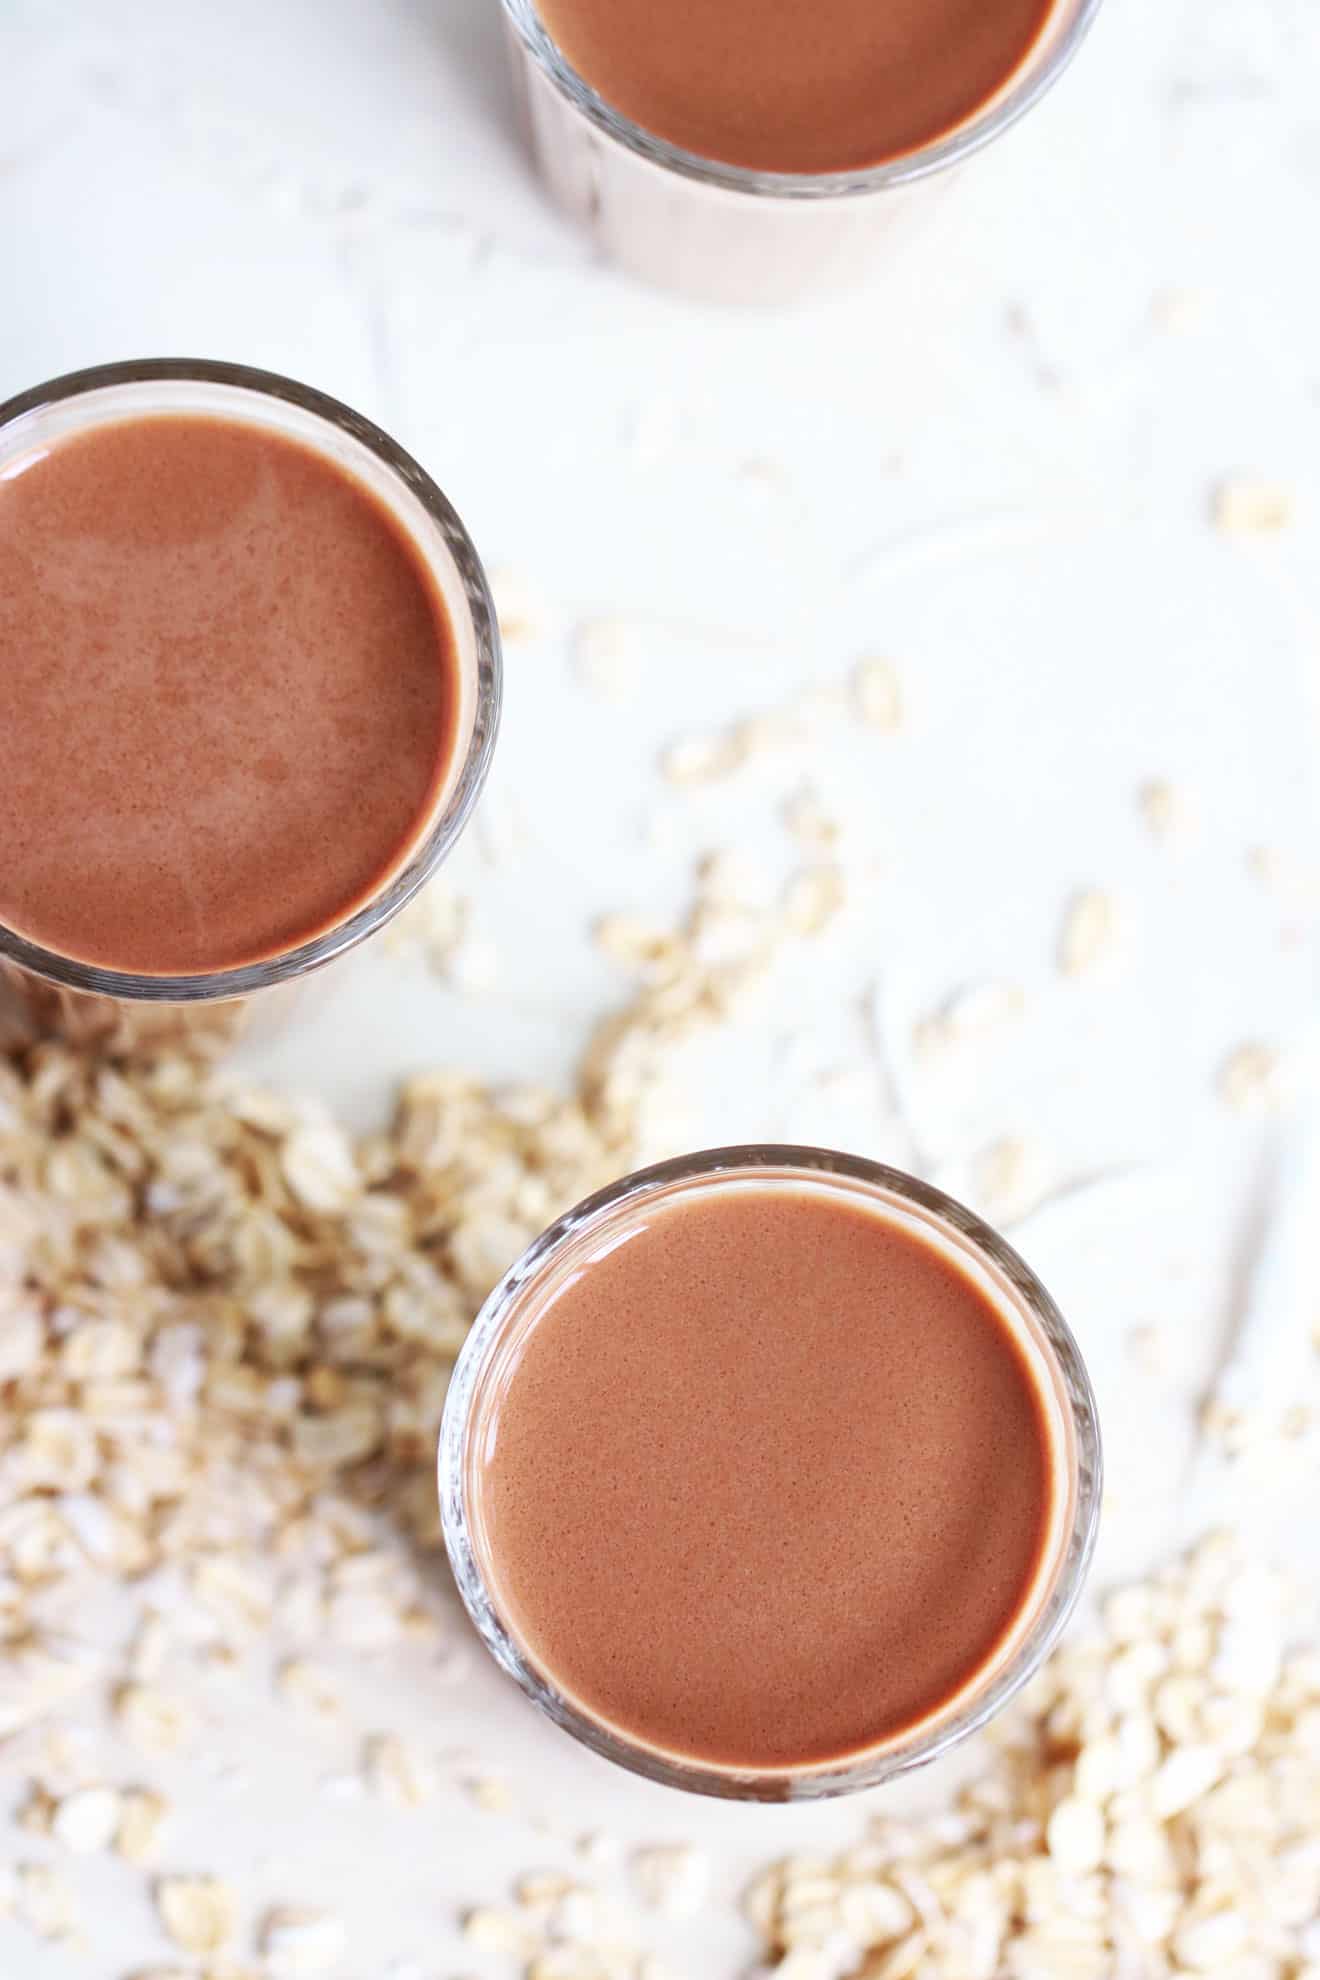
How to Make Chocolate Oat Milk
- Place the cold water, oats, cocoa powder, agave nectar, vanilla, and sea salt in a high powered blender.
- Blend on high for 30 seconds until completely blended and combined. See note below, it’s important you don’t blend for more than 30 seconds!
- Pour the contents of the blender through a nut milk bag, clean thin dish towel, or cheese cloth.
- Squeeze the liquid through the nut milk bag into a large bowl.
- Repeat this straining process a second time, if desired, to increase creaminess.
- Pour the strained liquid into a glass and enjoy.
- Keep chilled and enjoy!
Tips for non-slimy oat milk:
- Use cold water. Warm or hot water can result in a slimier oat milk, so steer clear. Take the time to use chilled or cold water so you get a better, smoother oat milk.
- Don’t soak your oats. Unlike nut milks where you would soak your nuts for hours or overnight, oat milk is less fussy! You can just throw the dry oats directly into your blender. Soaking them will cause your oat milk to get slimy, so for best results, keep them dry and un-soaked.
- Double strain your oat milk. It’s definitely an *optional* step but it creates a smoother oat milk if you take the time to double strain. Think of all that time you’re saving by not soaking the oats, and use some of that time to double strain. You won’t regret it.
- Blend for less than 60 seconds. With nut milks you may be inclined to just blend and blend to ensure you’re really breaking up the nut and incorporating it into the water. With oat milk, the more you blend, the slimier it gets. About 45 seconds is the sweet spot when it comes to blending up oat milk.
- Don’t squeeze too hard! With nut milks you want to squeeze every last drip of liquid through your nut milk bag. Oat milk? Not so much. Allow the liquid to strain and drip through your bag or strainer. Discard any pulp or excess liquid that doesn’t naturally drip through. Squeezing or pushing the liquid through can also push through some pulp which will make a thicker, slimier milk. Skip the hard squeeze and allow it to drip naturally.
- What about separation? If your oat milk separates in the fridge, this is totally normal! Just give it a quick shake before you pour a glass or use it in a recipe.
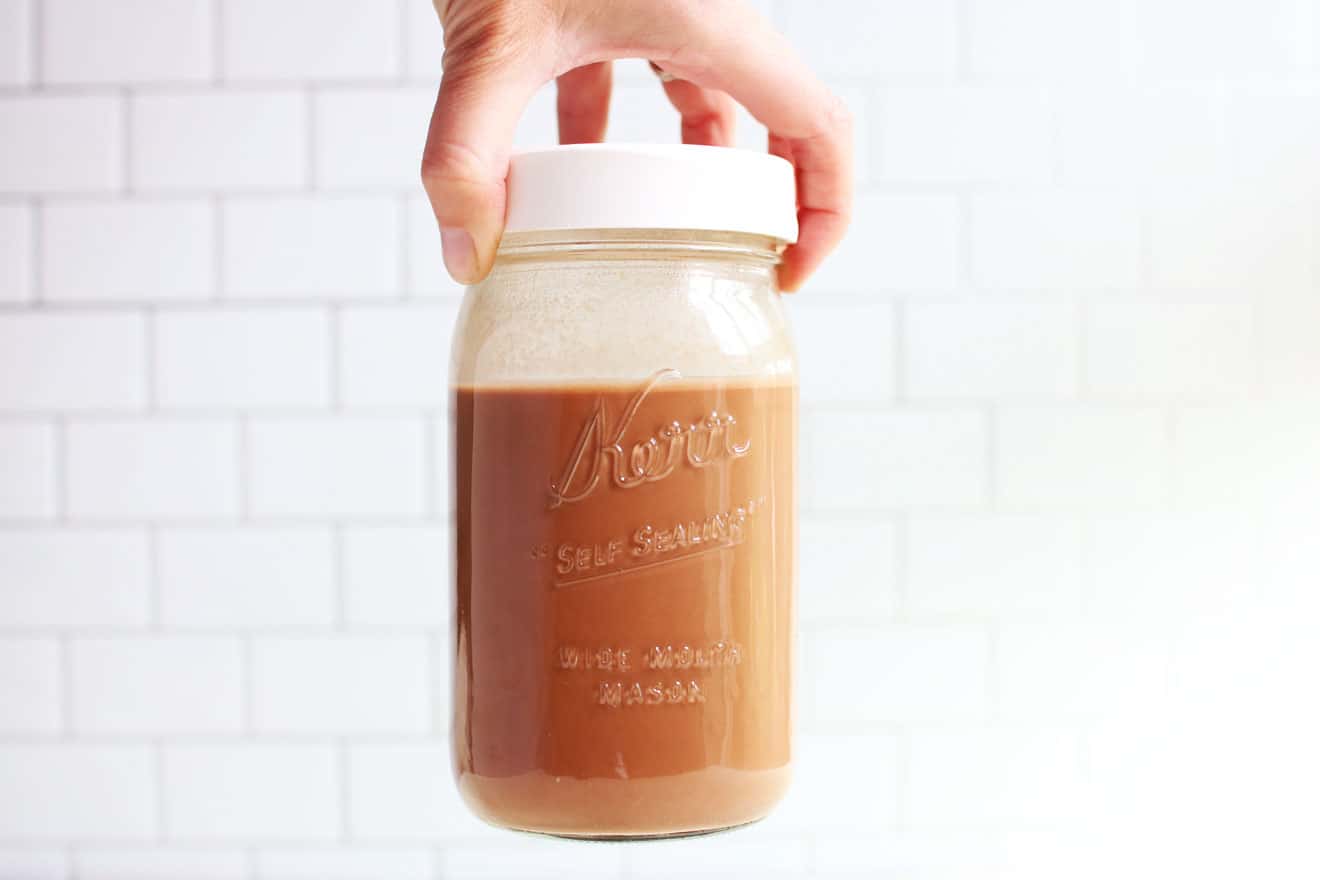
- How long does it last? Fresh oat milk lasts for about 5 days in the fridge. Try to store it in an airtight container like mason or Weck jars.
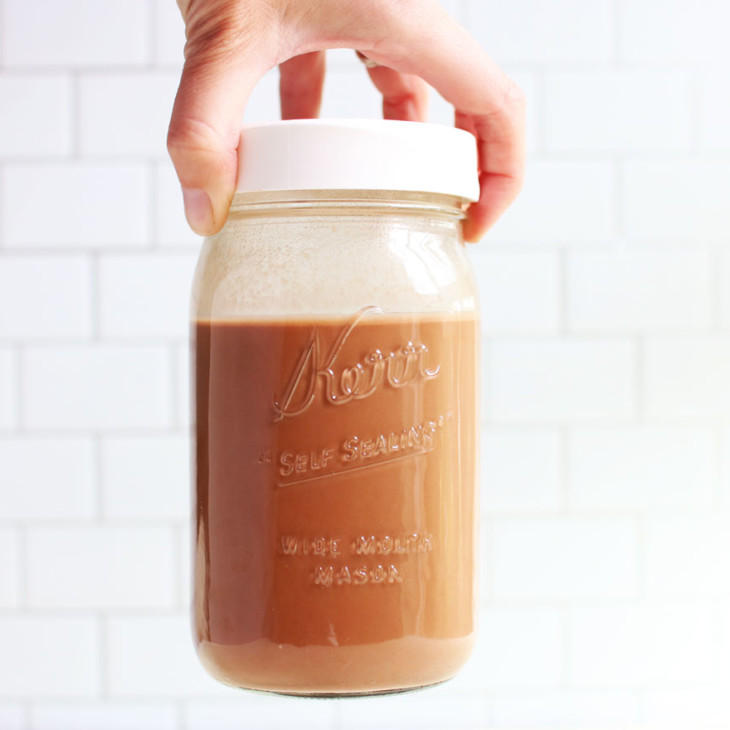 Recipe
Rich & Creamy Chocolate Oat Milk
Save time and money and learn how to make your own Chocolate Oat Milk! It’s a simple dairy free recipe that you can totally customize!
Ingredients
- 3 cups cold water (super important it’s cold to make sure it’s not slimy!)
- 1 cup old fashioned rolled oats
- 2 tablespoons unsweetened cocoa powder (Cacao v. Cocoa Powder: What’s the Difference?)
- 2 tablespoons agave nectar (honey, maple syrup, or 4–5 dates also work)
- 1 teaspoon vanilla extract
- 1/2 teaspoon sea salt
Instructions
- Place the cold water, oats, cocoa powder, agave nectar, vanilla, and sea salt in a high powered blender.
- Blend on high for 30 seconds until completely blended and combined. See note below, it’s important you don’t blend for more than 30 seconds!
- Pour the contents of the blender through a nut milk bag, clean thin dish towel, or cheese cloth.
- Squeeze the liquid through the nut milk bag into a large bowl.
- Repeat this straining process a second time, if desired, to increase creaminess.
- Pour the strained liquid into a glass and enjoy.
- Keep chilled and enjoy!
Tips
- If you blend for more than 30 seconds, people have noted the texture of the oat milk can get a bit “slimy.”
Enjoy!! xo
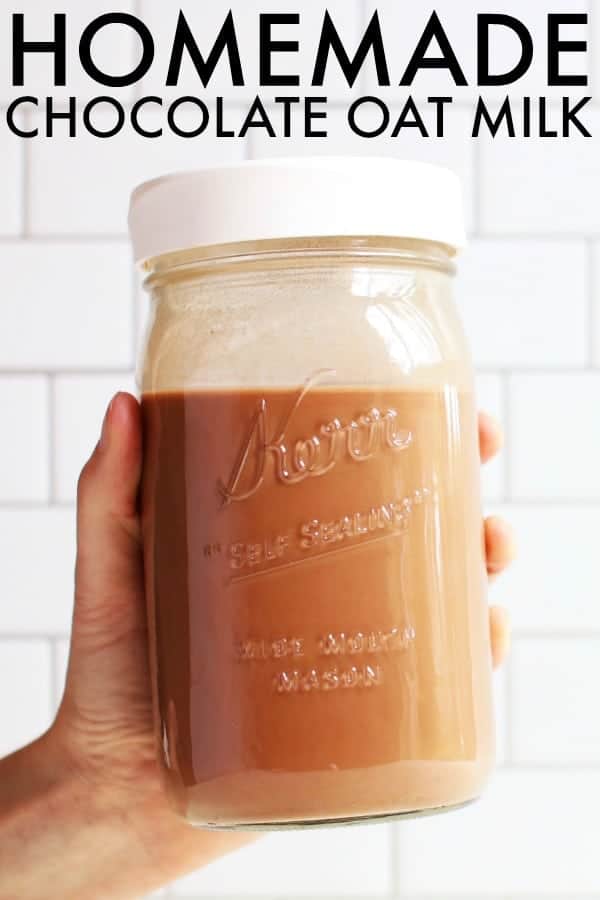


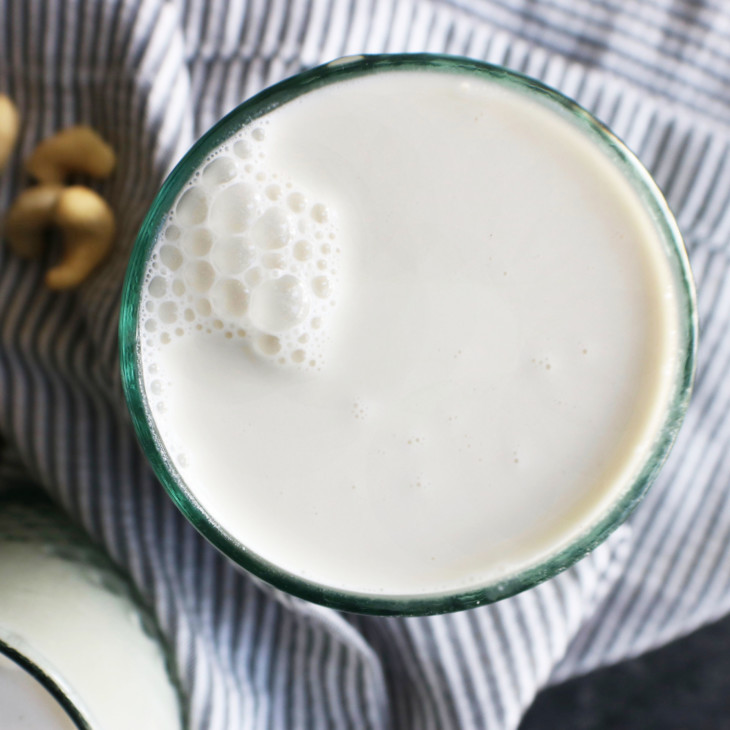
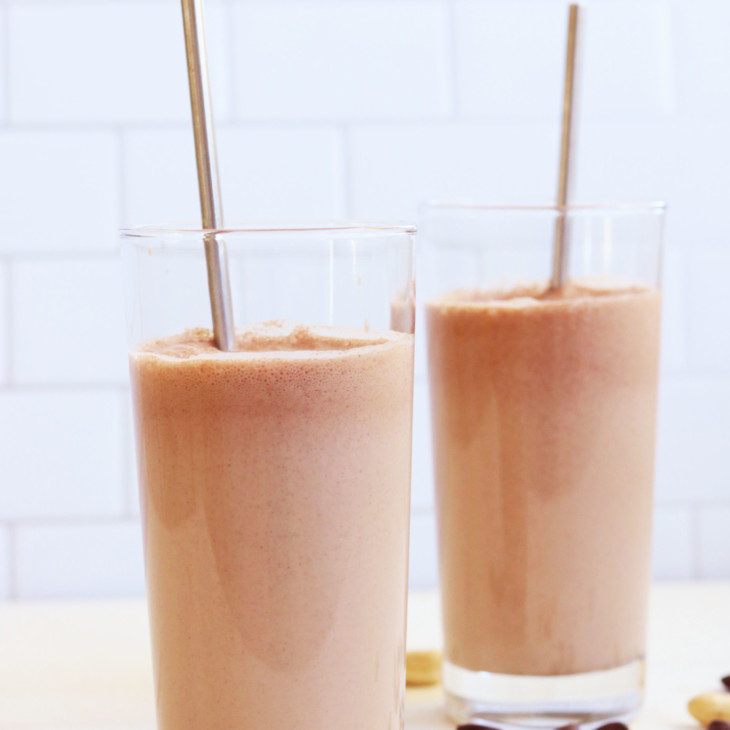
thats some beautiful fuckin milk
hahaha Sam, you made my day 🤣
This tastes amazing and I used cold water to blend for only 30 seconds. Also added a 1/4 tsp instant coffee powder. So good and thanks for sharing the recipe 🙂
Need to try it with some coffee powder!! That sounds amazing!! xo
Can you add more cocoa powder and sweetener for a stronger chocolate taste?
Absolutely!! Let me know how you make out!! xo