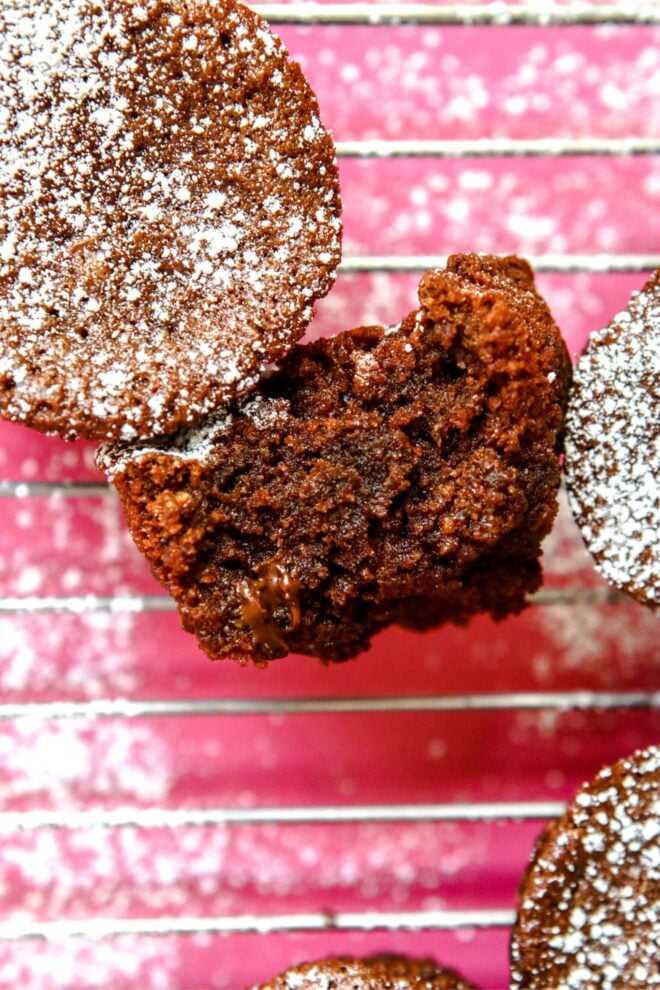
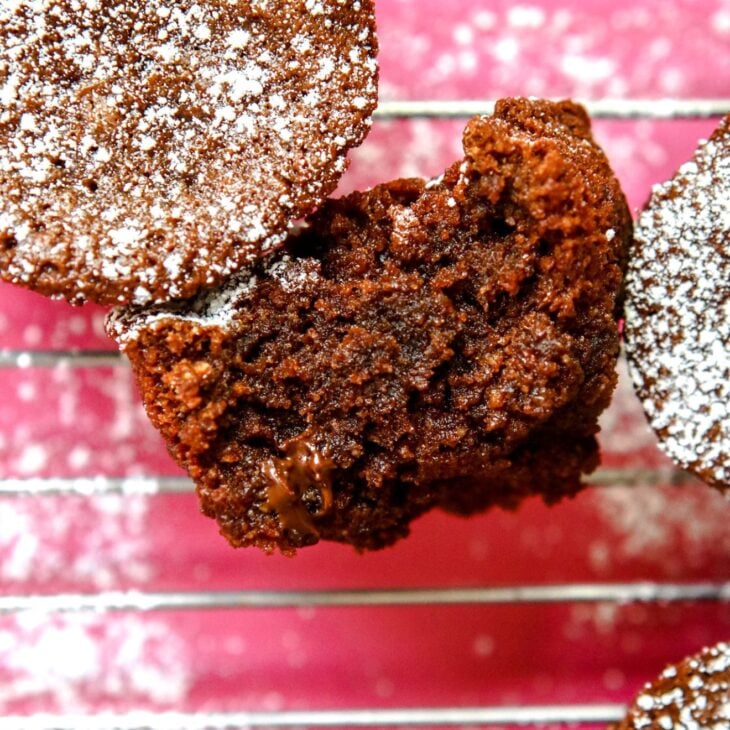
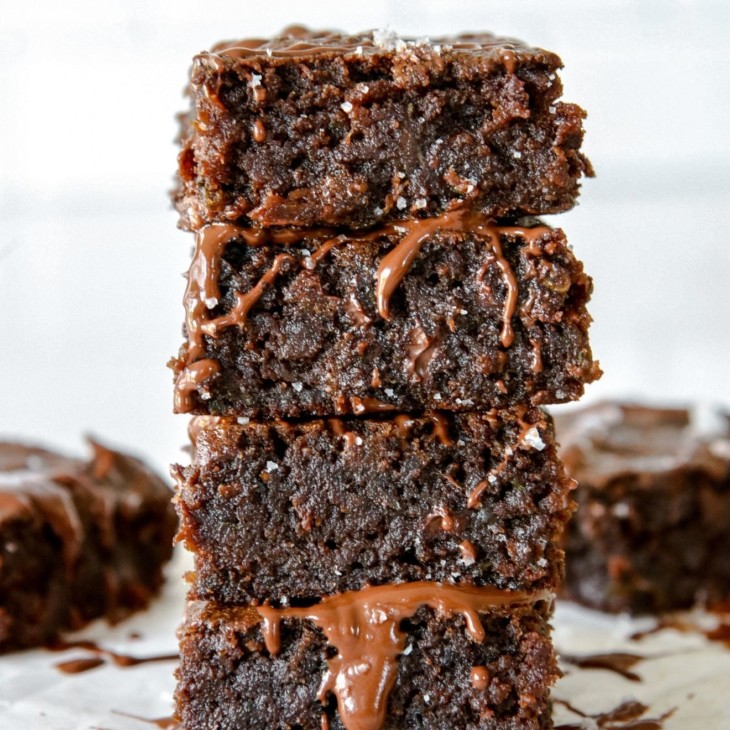
Introducing the ultimate dessert delight – muffin tin brownies! These delectable treats are the perfect combination of a crispy top and a fudgey center, making them an irresistible indulgence for any chocolate lover.
The best part? They’re incredibly easy to make in your muffin tin or cupcake pan, making them a convenient and portable option for on-the-go snacking or packing in your lunchbox.
Whether you’re satisfying your sweet tooth or surprising your kids with a special treat, these bite-sized muffin tin brownies are sure to be a hit.
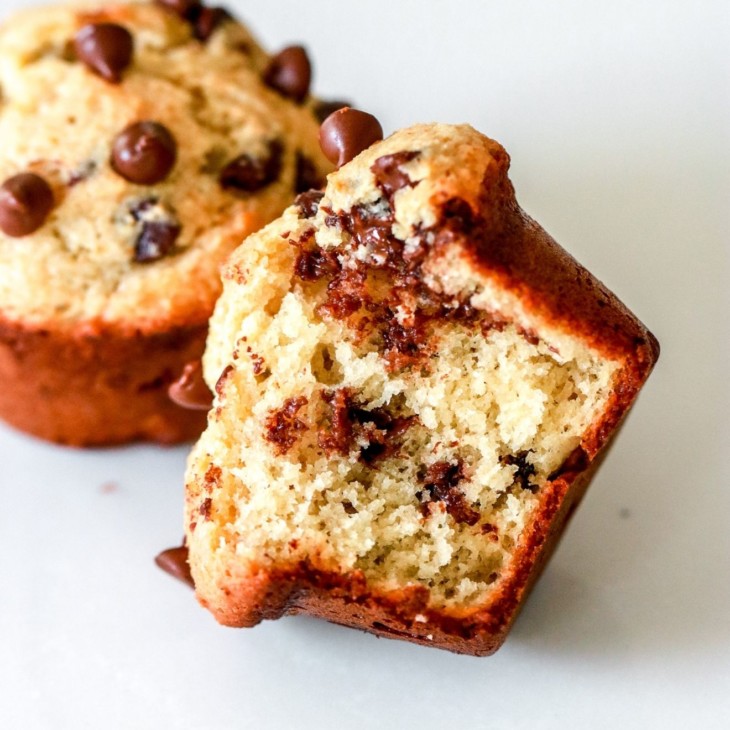
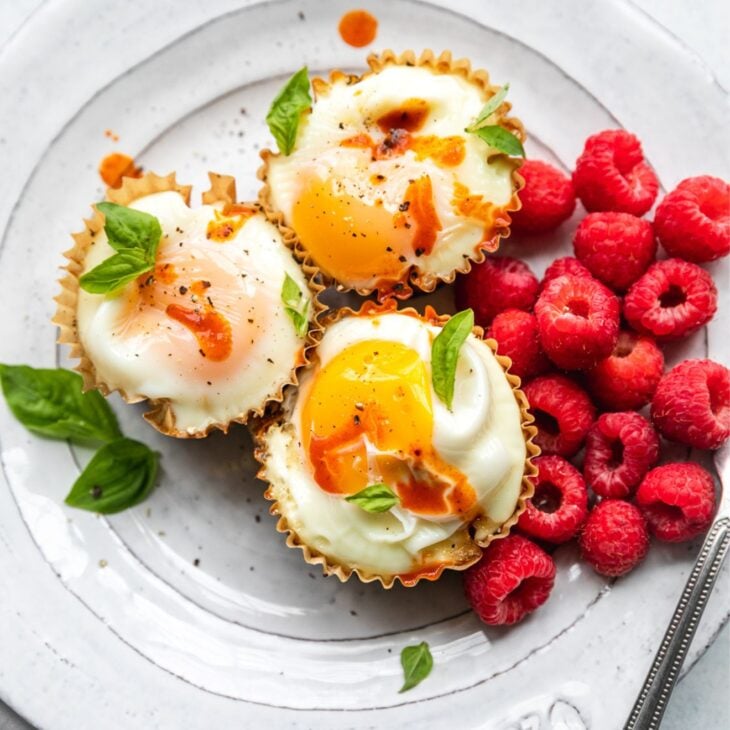
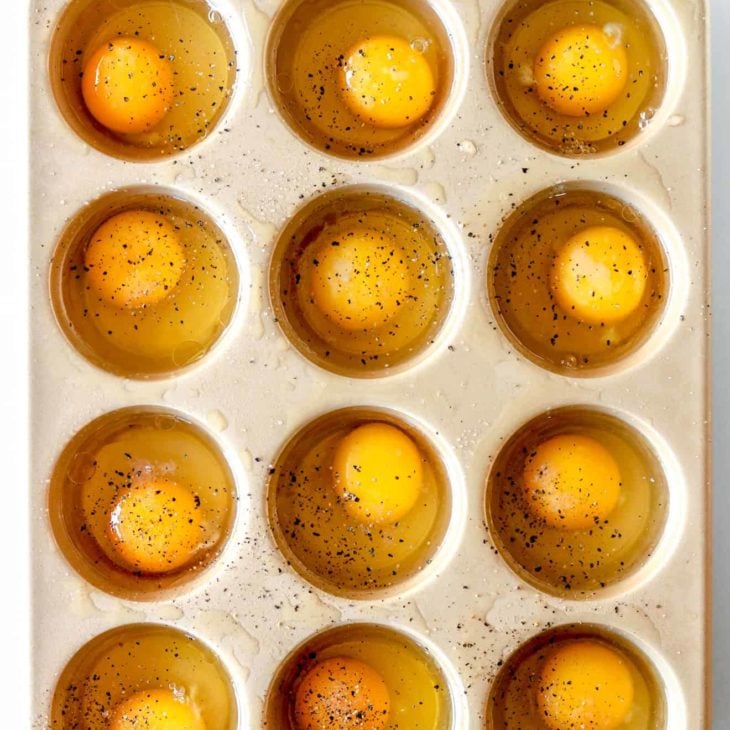
If you love muffin tin recipes you have to check out my Perfect Oven-Baked Eggs in a Muffin Tin, Mini Chocolate Chip Muffins, and these Egg + Hash Brown Breakfast Cups!
Why You’ll Love this Recipe
Bite-Sized Servings: Making brownie bites in a muffin tin allows for individual servings that are pre-portioned and perfectly sized. It’s convenient for those who want to enjoy a decadent treat without overindulging.
Presentation: Brownie bites made in a muffin tin are adorable! They are small, cute, and make for perfect finger food. They’re ideal for serving at parties, gatherings, or special occasions for quick grab and mingle bites!
Convenience: Baking brownie bites in a muffin tin can be a time-saving and convenient option. The muffin tin provides a quick and easy way to bake multiple brownie bites at once, which can be helpful when you need to serve a crowd or when you’re short on time. The individual servings also make them easy on-the-go treats.
Versatility: Brownie bites made in a muffin tin can be versatile in terms of flavors and add-ins. You can customize the recipe to suit your preferences by adding nuts, chocolate chips, caramel, or other delicious extras.
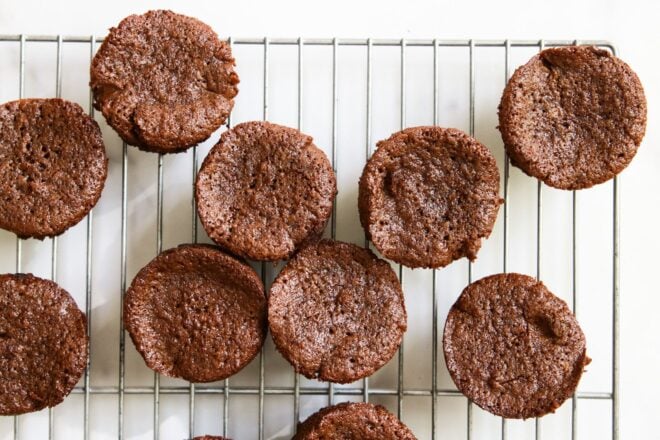
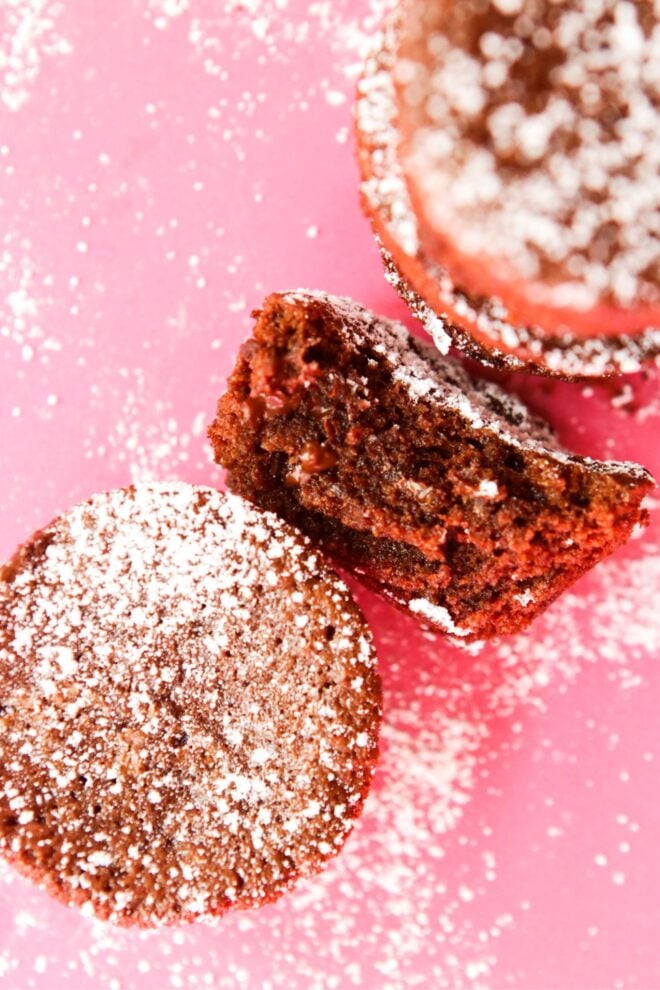
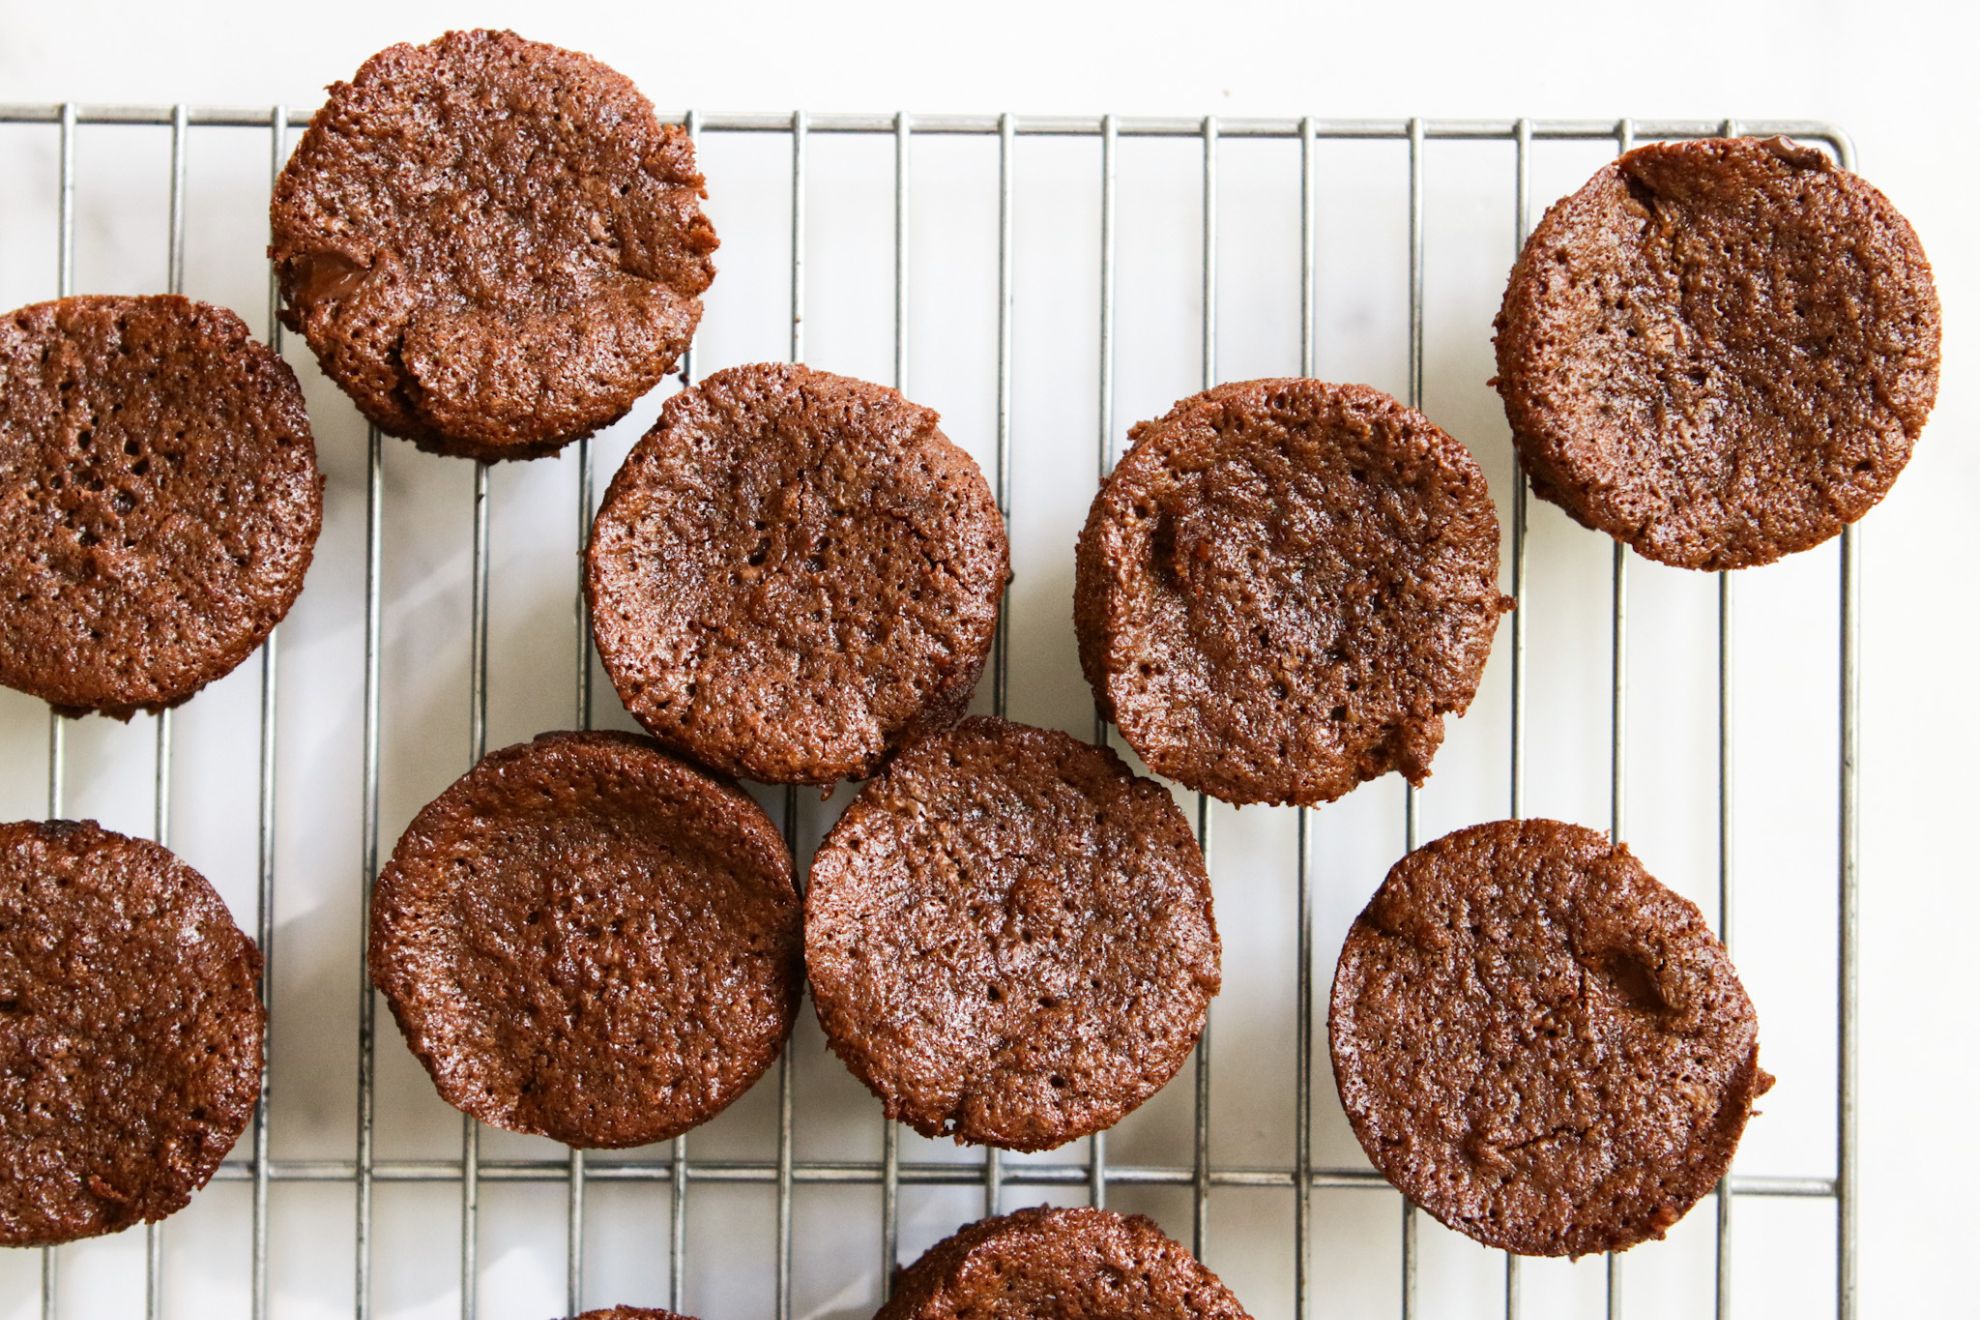
Texture: Baking brownie bites in a muffin tin creates a crispy top and edge on the and a soft, fudgey center.
Main Ingredients for Muffin Tin Brownies
Unsalted butter. Unsalted butter allows for better control over the salt content in the recipe, as the recipe may already call for salt as a separate ingredient. It also adds rich flavor and moisture to the brownie bites, helping to create a fudgey texture. If you prefer, you can use vegan butter or melted, refined coconut oil.
Coconut sugar. Coconut sugar is a natural sweetener made from the sap of coconut palm trees. It has a caramel-like flavor and can add depth and richness to the brownie bites.
Eggs. Eggs are a key ingredient in baking, as they provide structure, moisture, and leavening properties to the brownie bites. They help bind the ingredients together and contribute to the final texture and richness of the brownie bites.
Blanched almond flour. Blanched almond flour is made from finely ground blanched almonds with the skins removed. It is a gluten-free alternative to traditional flour and adds a moistness to the brownie bites.
Cocoa powder. Cocoa powder is a key ingredient in chocolate brownies, as it provides the intense chocolate flavor. It adds depth and richness to the brownie bites and contributes to their fudgy texture.
Semi-sweet chocolate chips. Semi-sweet chocolate chips are a classic choice for brownie bites, as they add pockets of melty chocolate throughout the brownies and bursts of sweet gooeyness. They also contribute to the overall richness and indulgence of the brownie bites.
How to Make Muffin Tin Brownies
Make the Brownie Batter
- Melt the unsalted butter in a microwave-safe bowl until it is fully melted. This can typically be done in short intervals, stirring in between to ensure even melting.
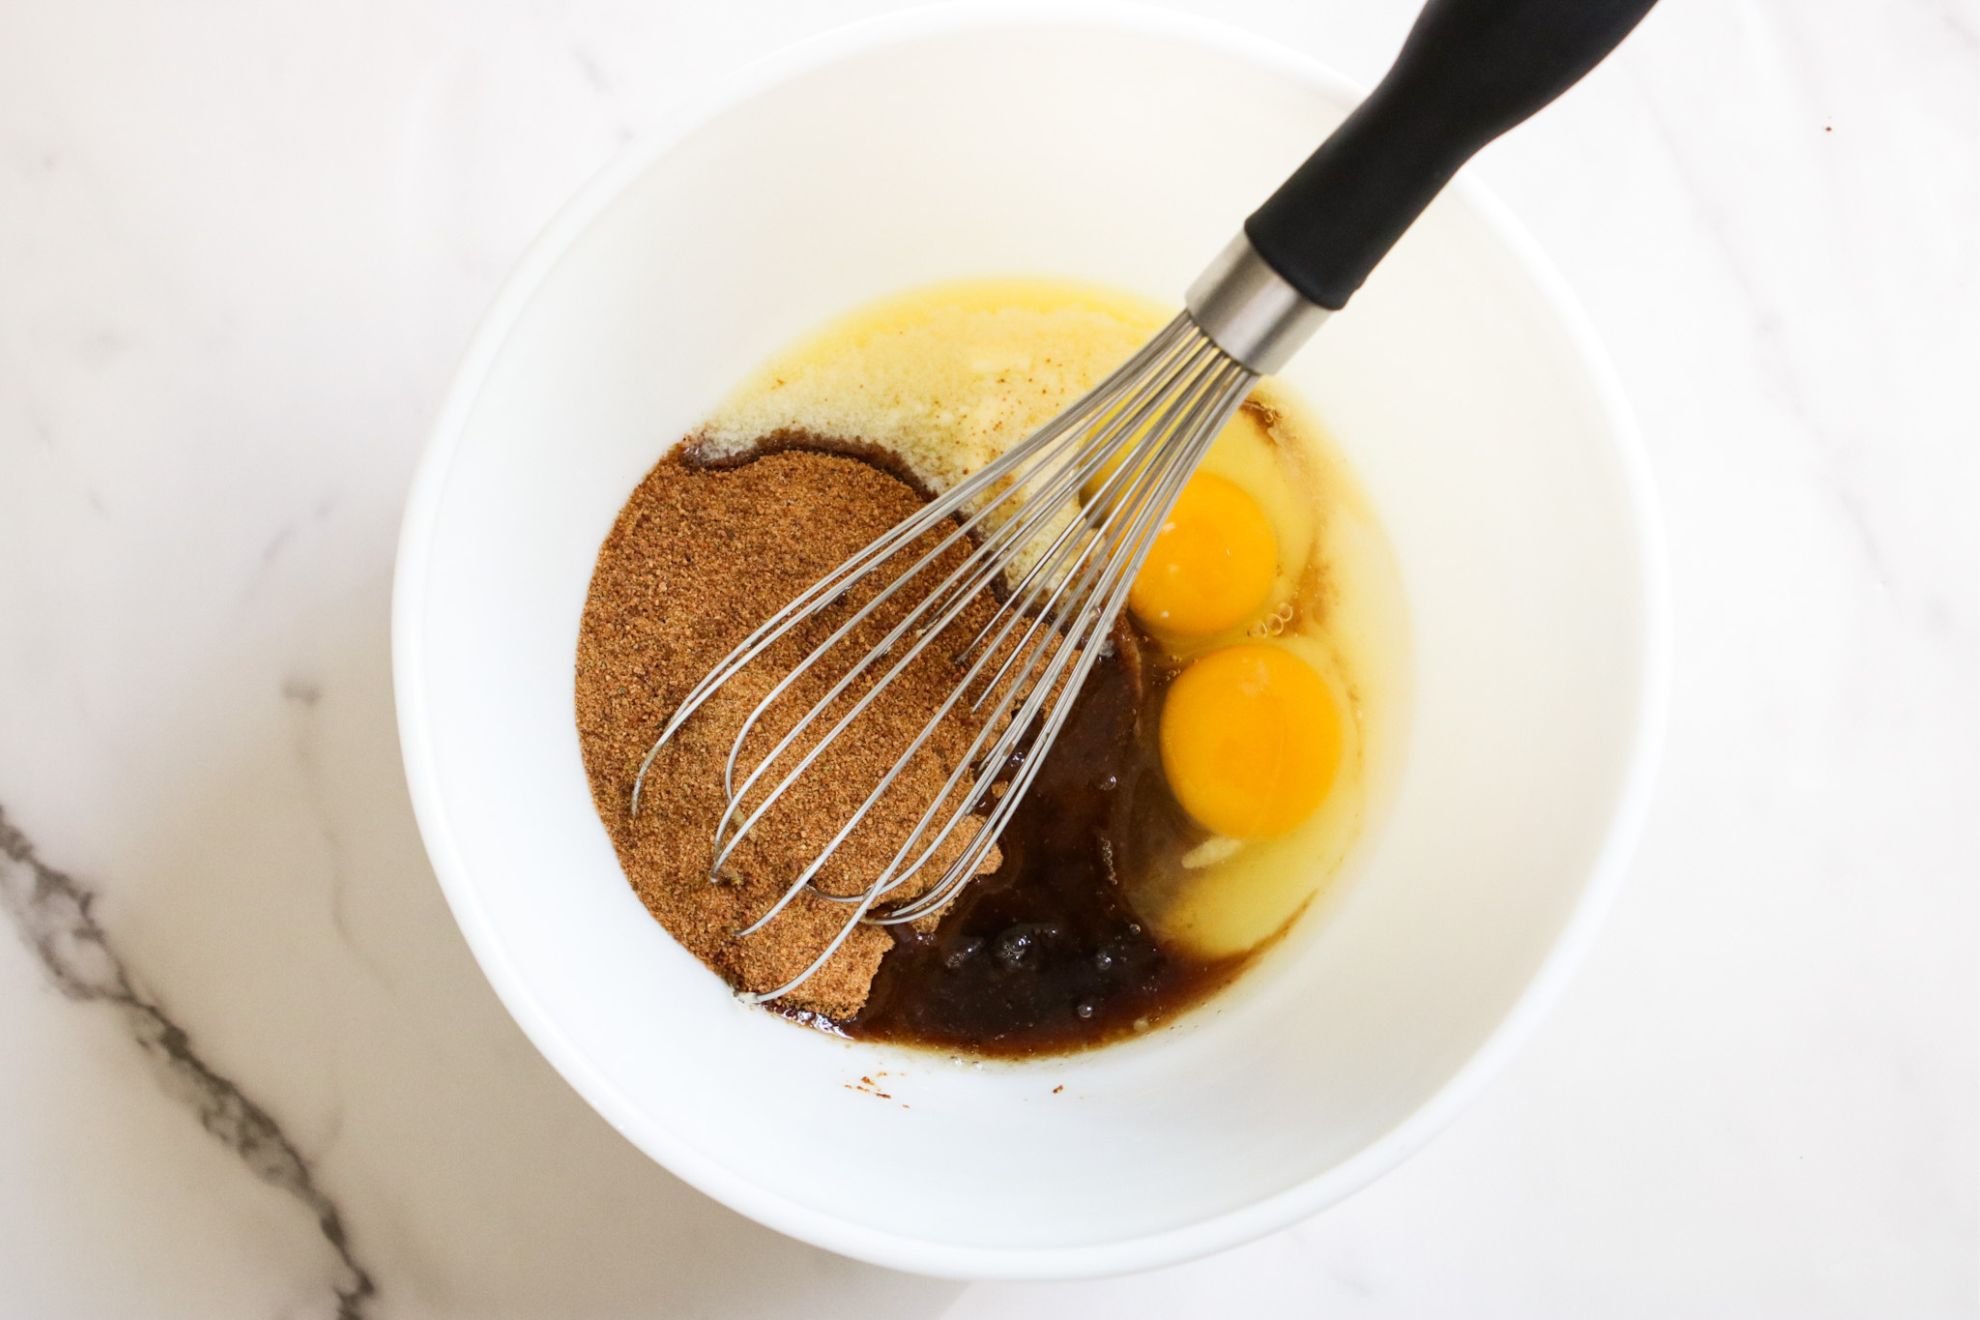
- Once the butter is melted, coconut sugar, eggs, and vanilla extract are added to the bowl.
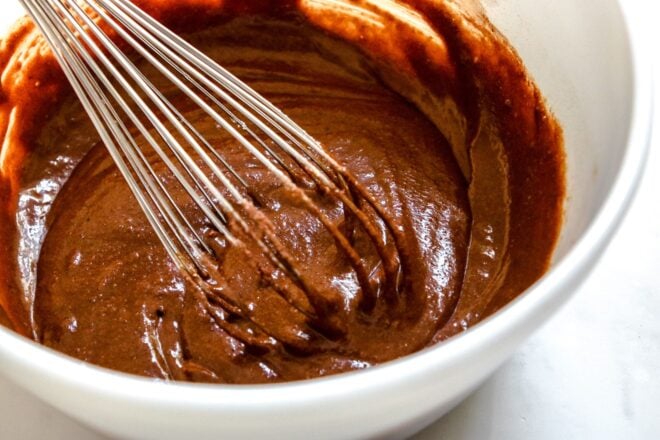
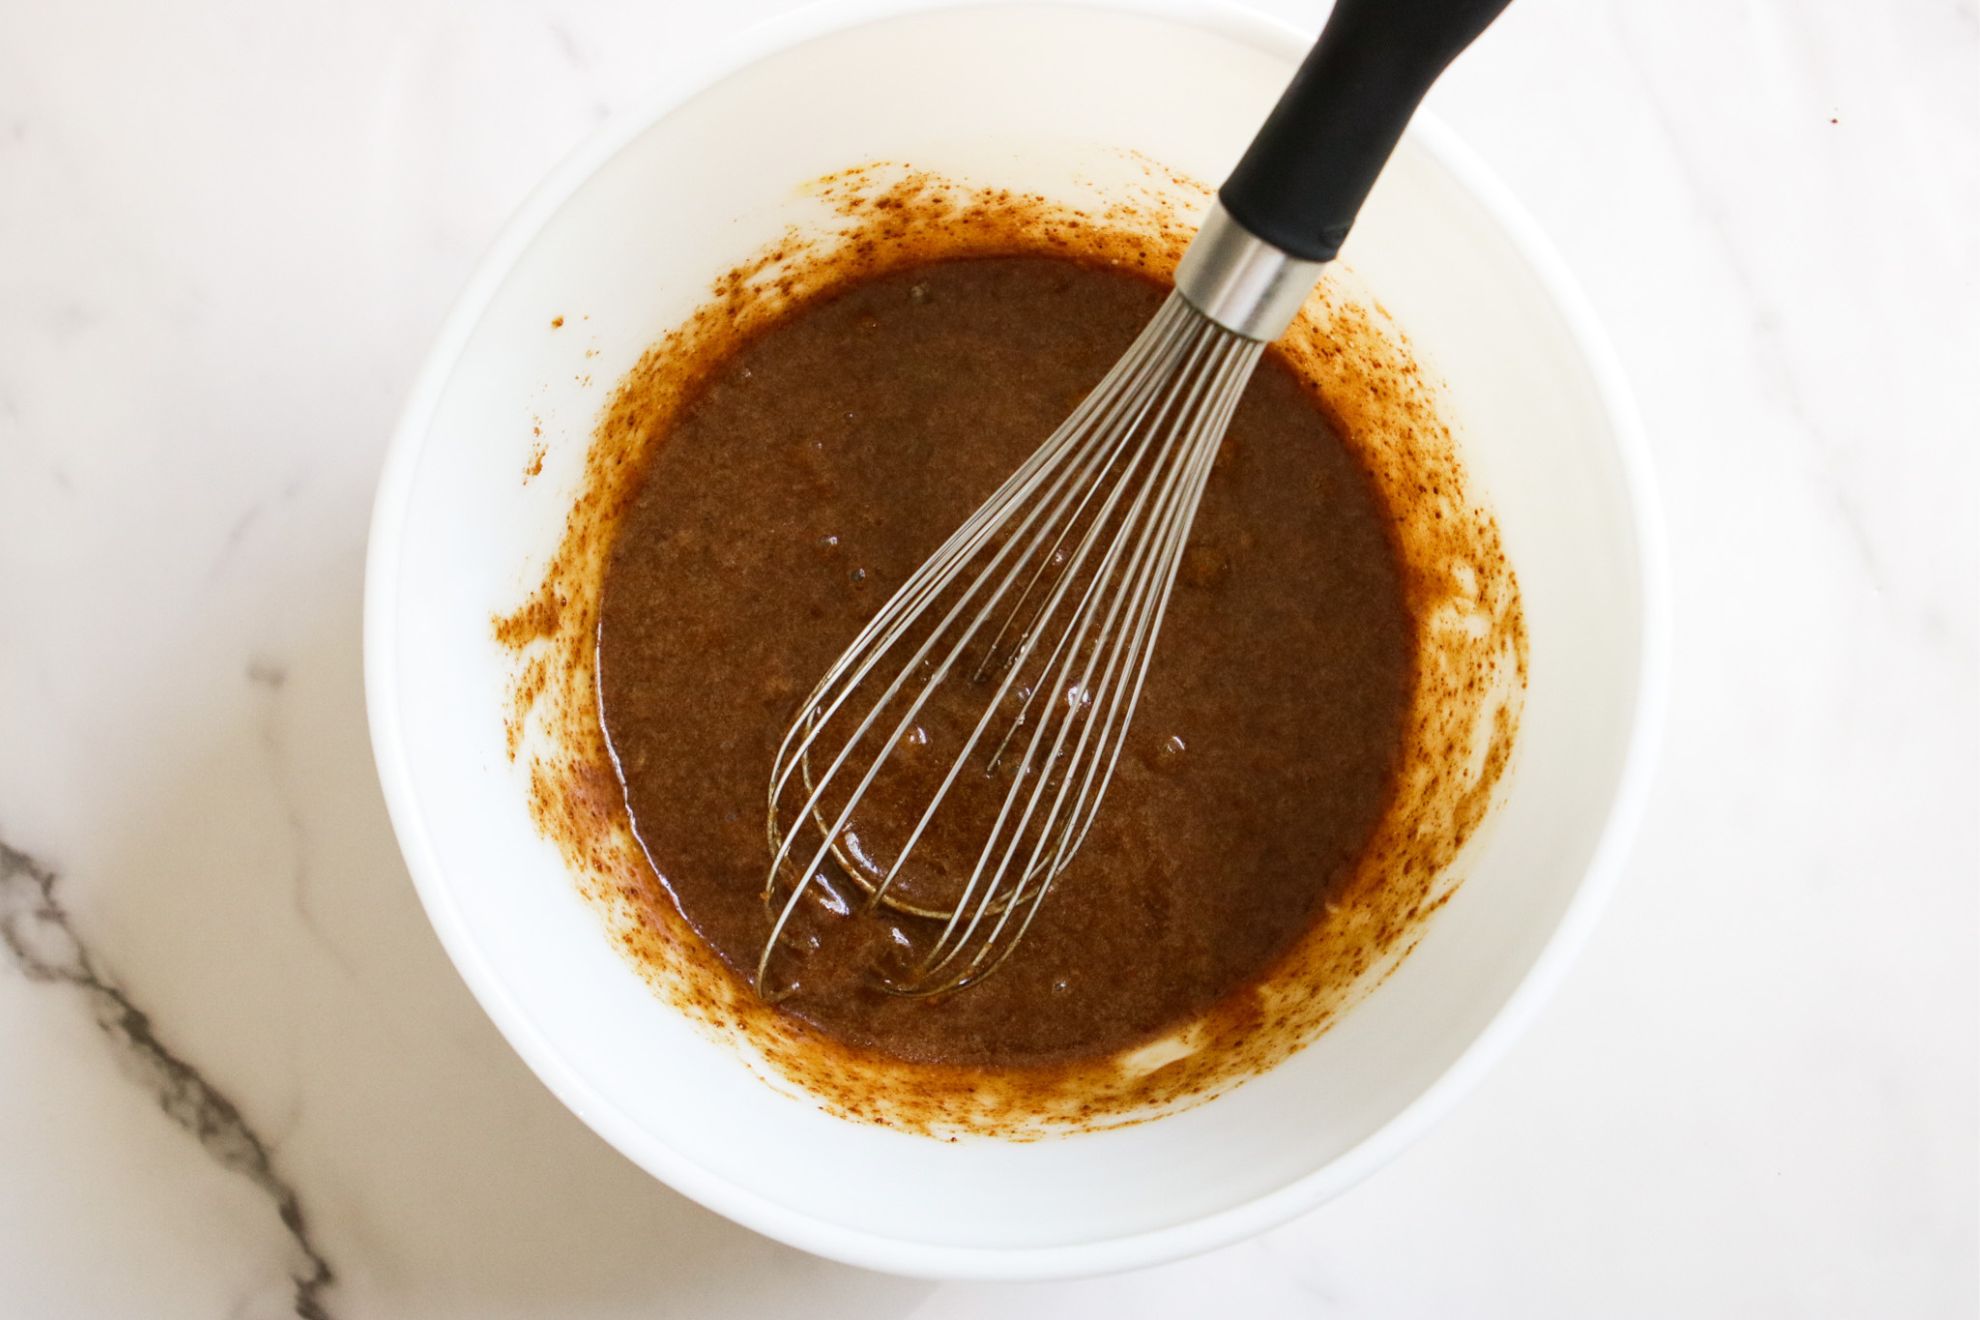
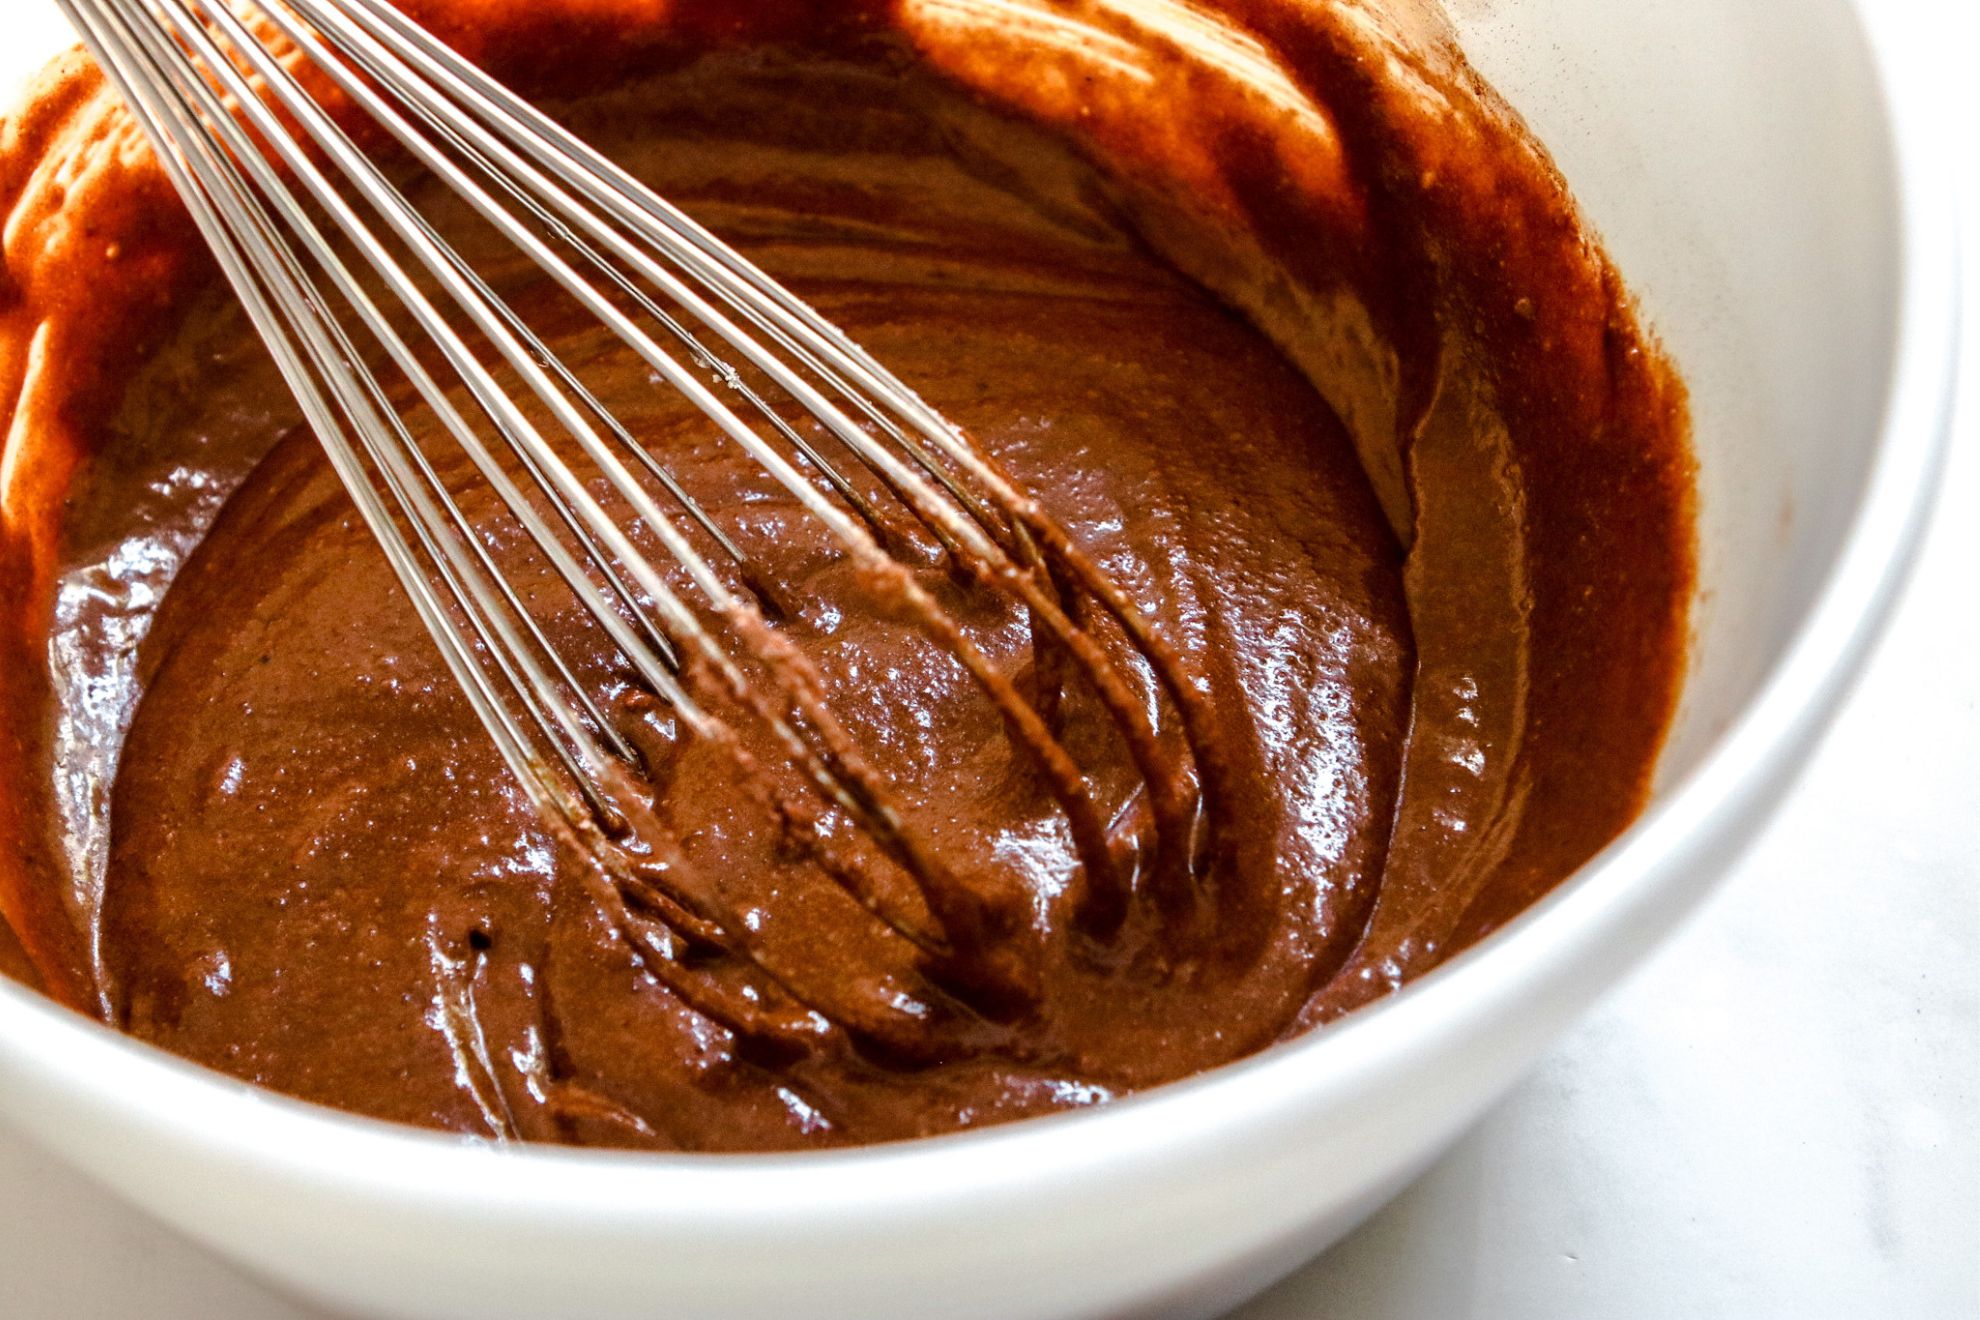
- Using a whisk, mix the ingredients together until they are well combined. This helps to evenly distribute the ingredients and create a smooth batter.
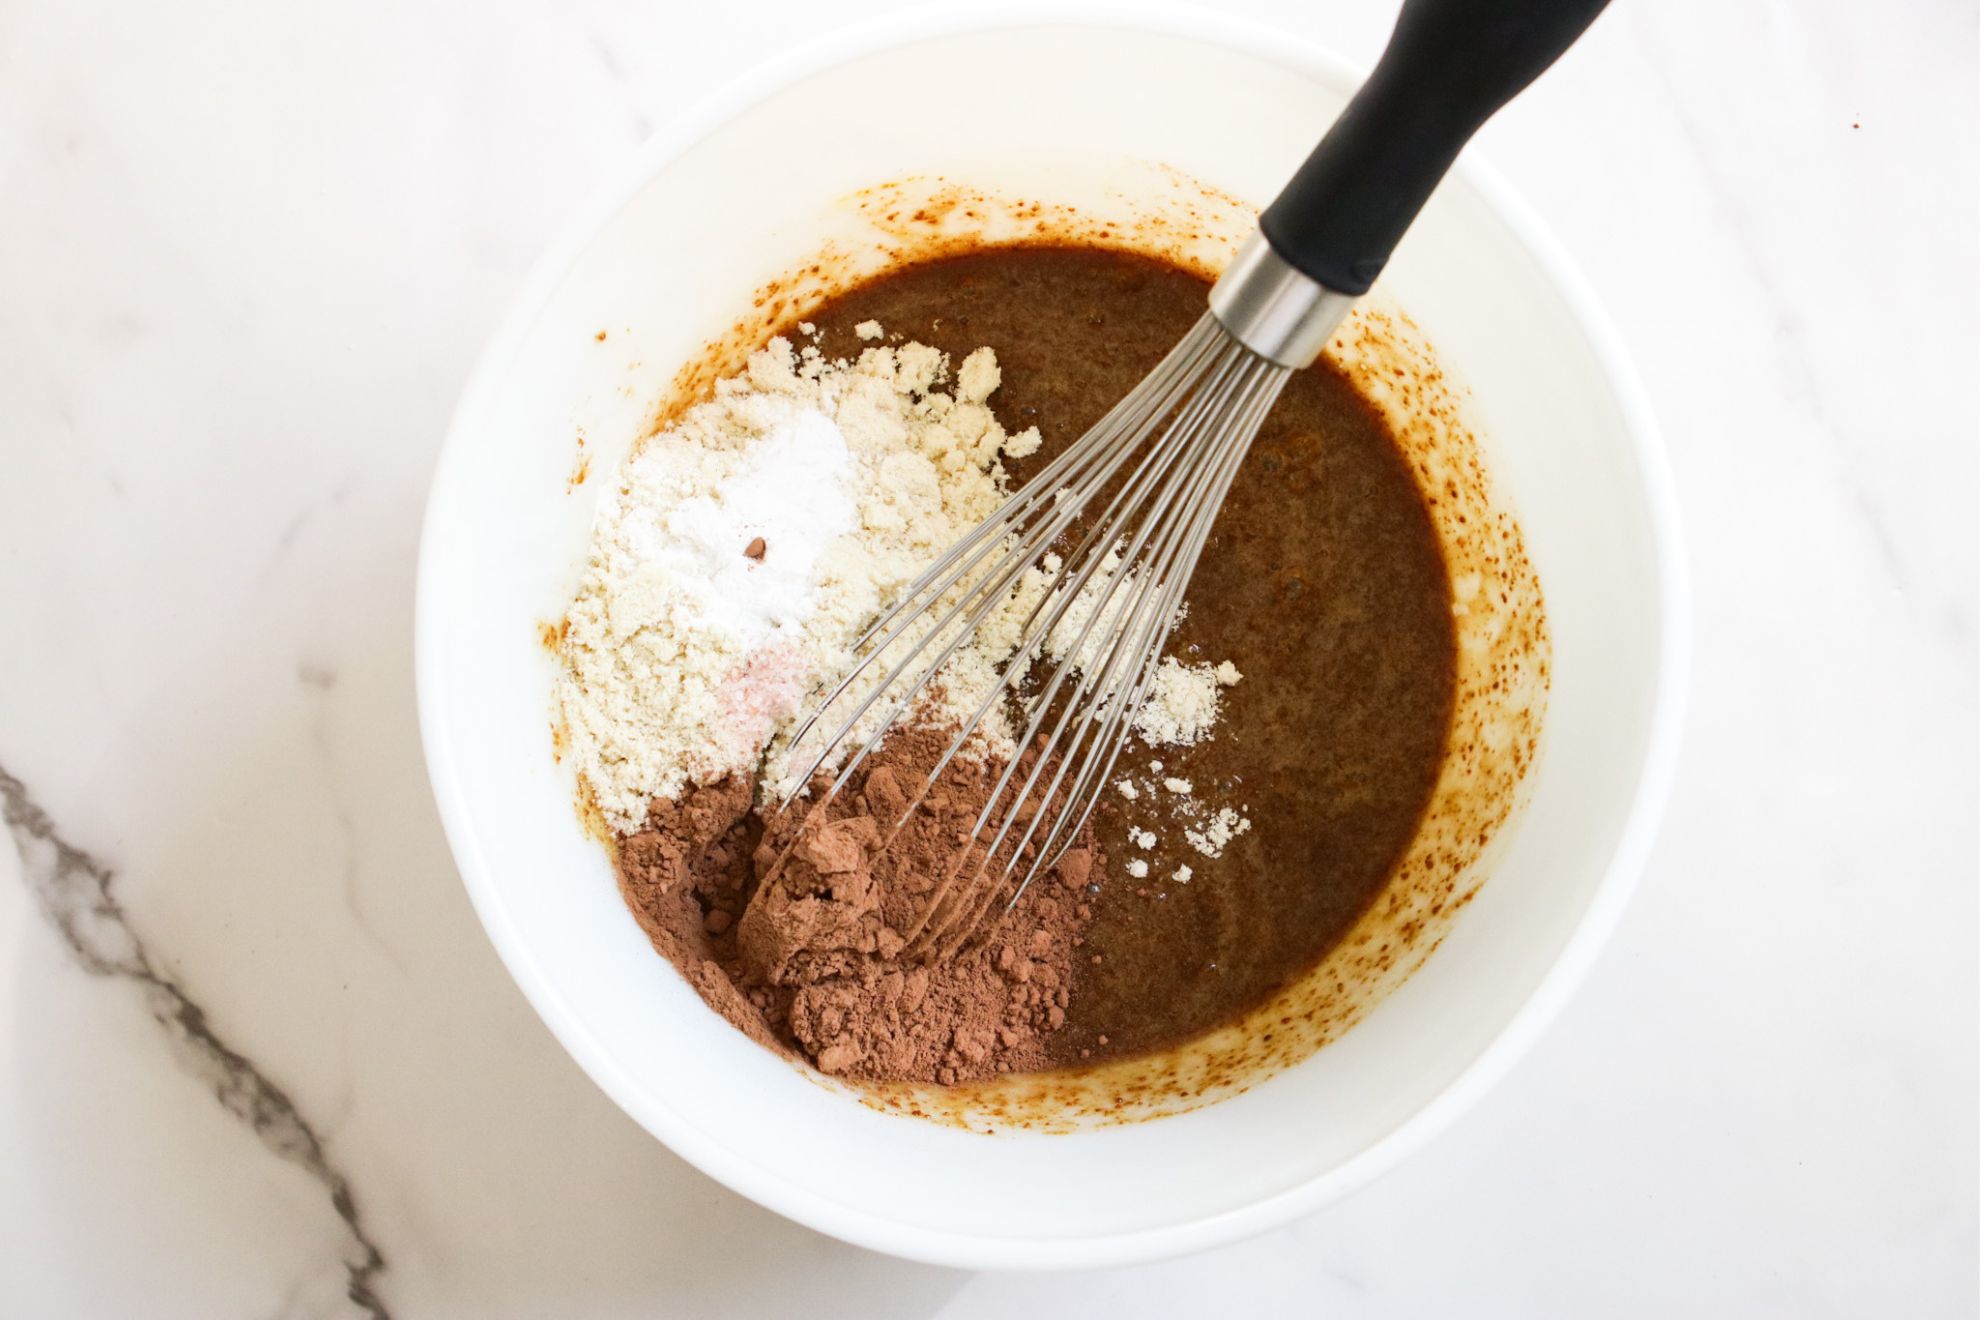
- Next, the blanched almond flour, cocoa powder, baking powder, and salt are added to the bowl.
- Whisk the dry ingredients into the wet ingredients until they are fully combined. This ensures that all the ingredients are evenly distributed and there are no lumps in the batter.
Divide into Muffin Tins
- Line a small muffin tin with cupcake liners or spray with cooking oil. This helps to prevent the brownie bites from sticking to the pan and makes for easy removal after baking.
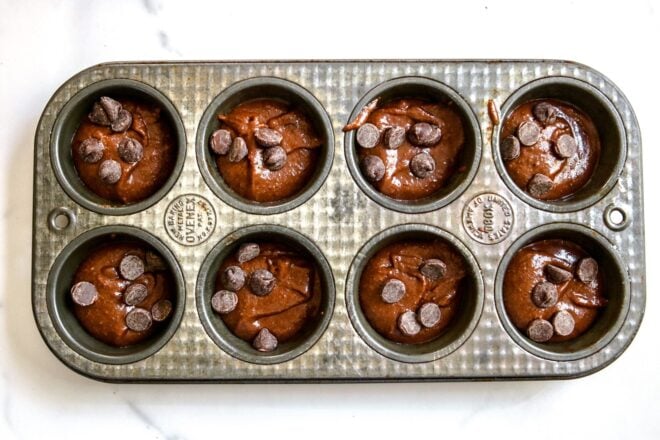
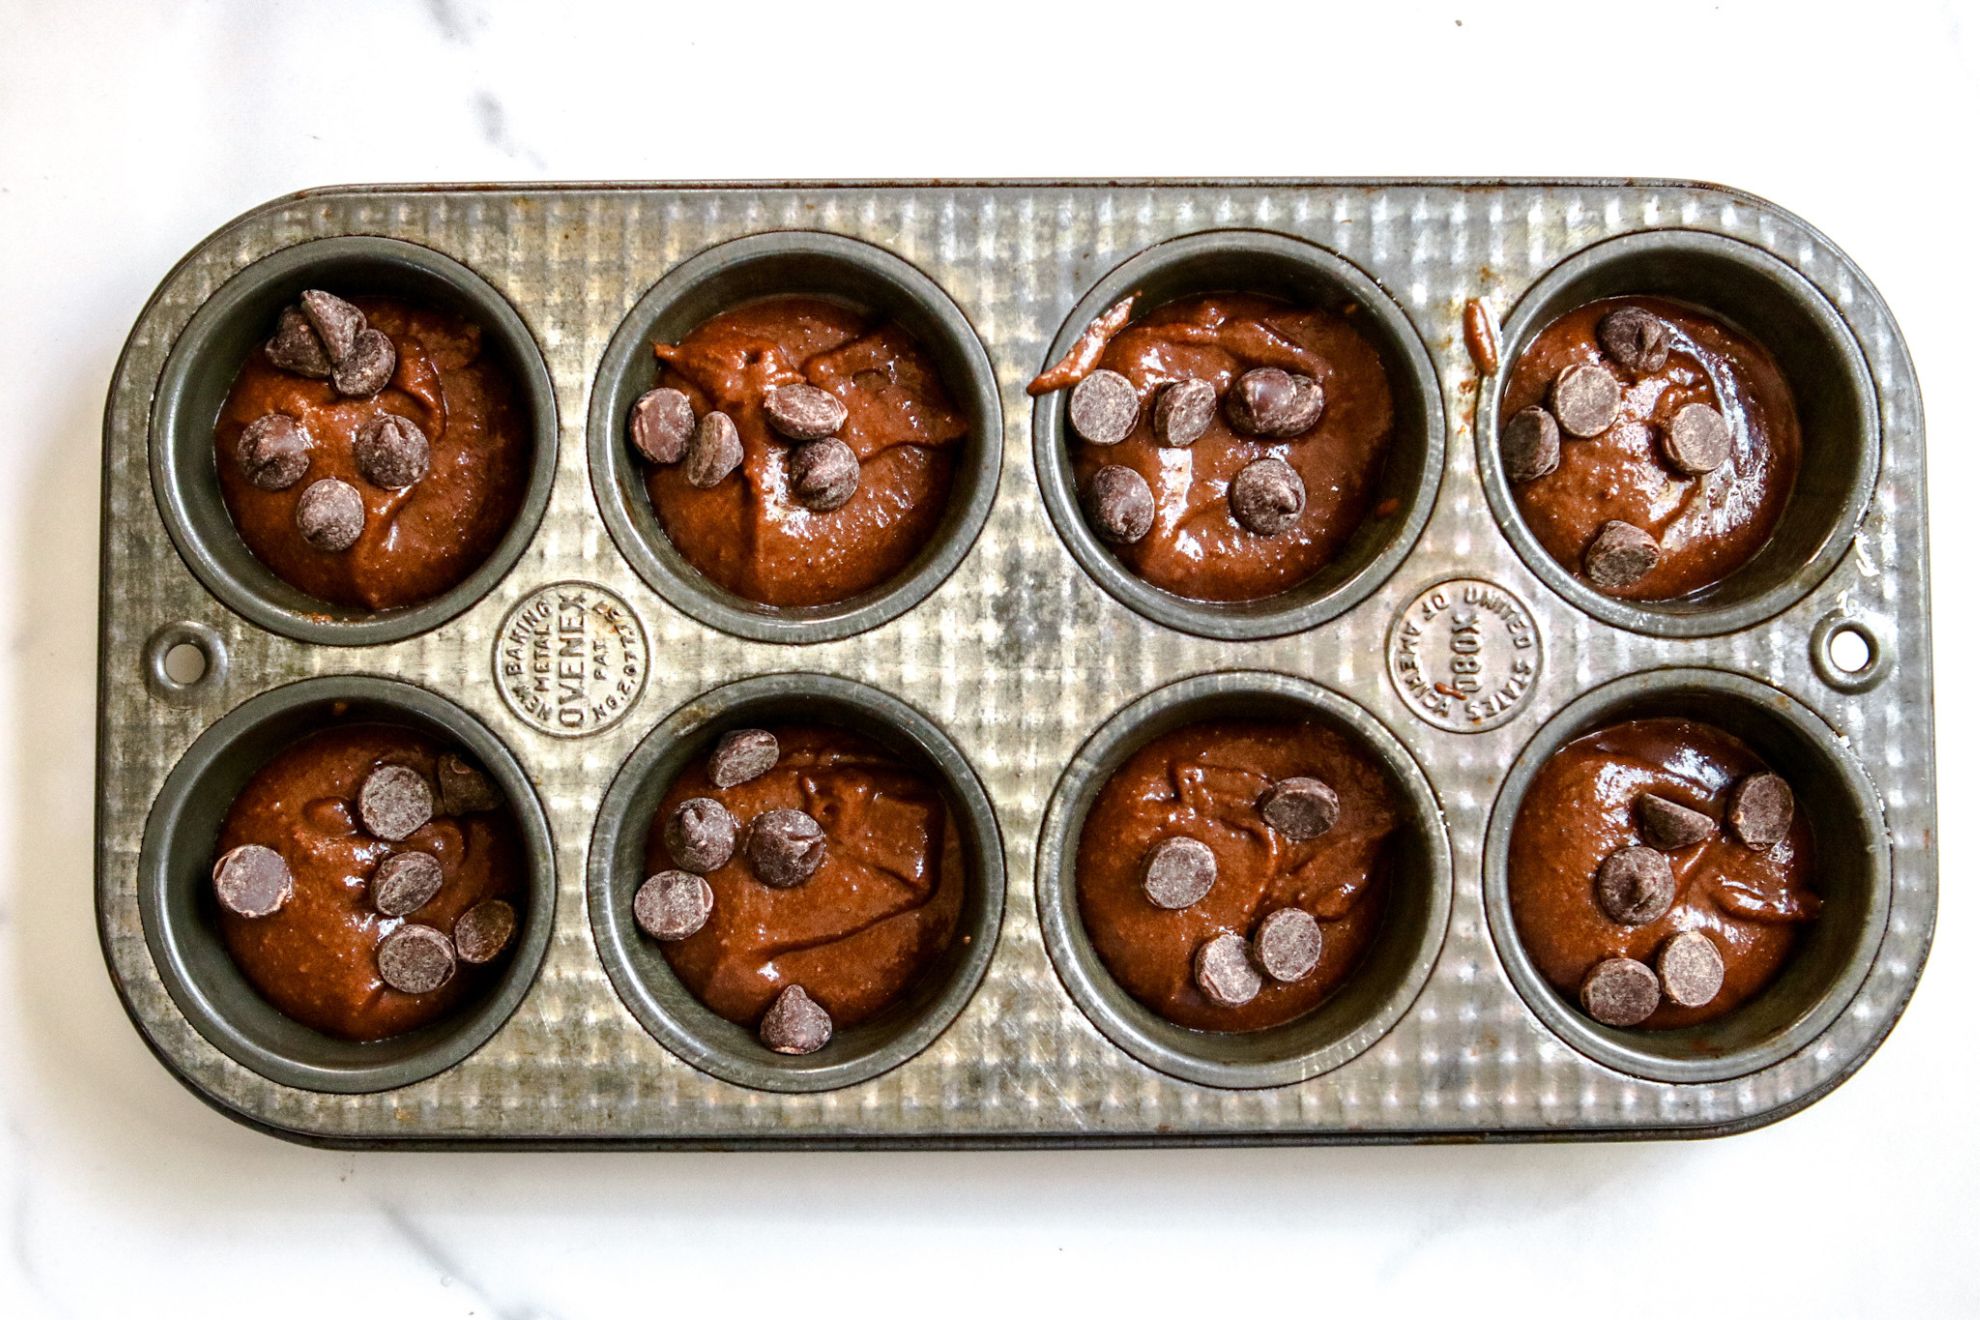
- Use a cookie scooper or a spoon to divide the brownie batter evenly into the cupcake liners in the muffin tin. This helps to ensure that each brownie bite is of similar size and bakes evenly.
- Sprinkle semi-sweet chocolate chips on top of the brownie batter in each muffin cavity. The chocolate chips will melt during baking, creating pockets of gooey chocolate in the brownie bites.
- Place the muffin tin in a preheated oven and bake for approximately 15 minutes, or until the brownie bites are set and a toothpick inserted in the center comes out with a few moist crumbs.
Cool & Enjoy your Muffin Tin Brownies!
- Once the brownie bites are done baking, remove them from the oven and allow them to cool in the muffin tin for about 10 minutes. This allows them to set and makes them easier to handle.
- After the brownie bites have cooled slightly, use a knife to gently slide it around the edges of each brownie bite to loosen them from the muffin tin. Carefully lift them out using the cupcake liners or a fork.
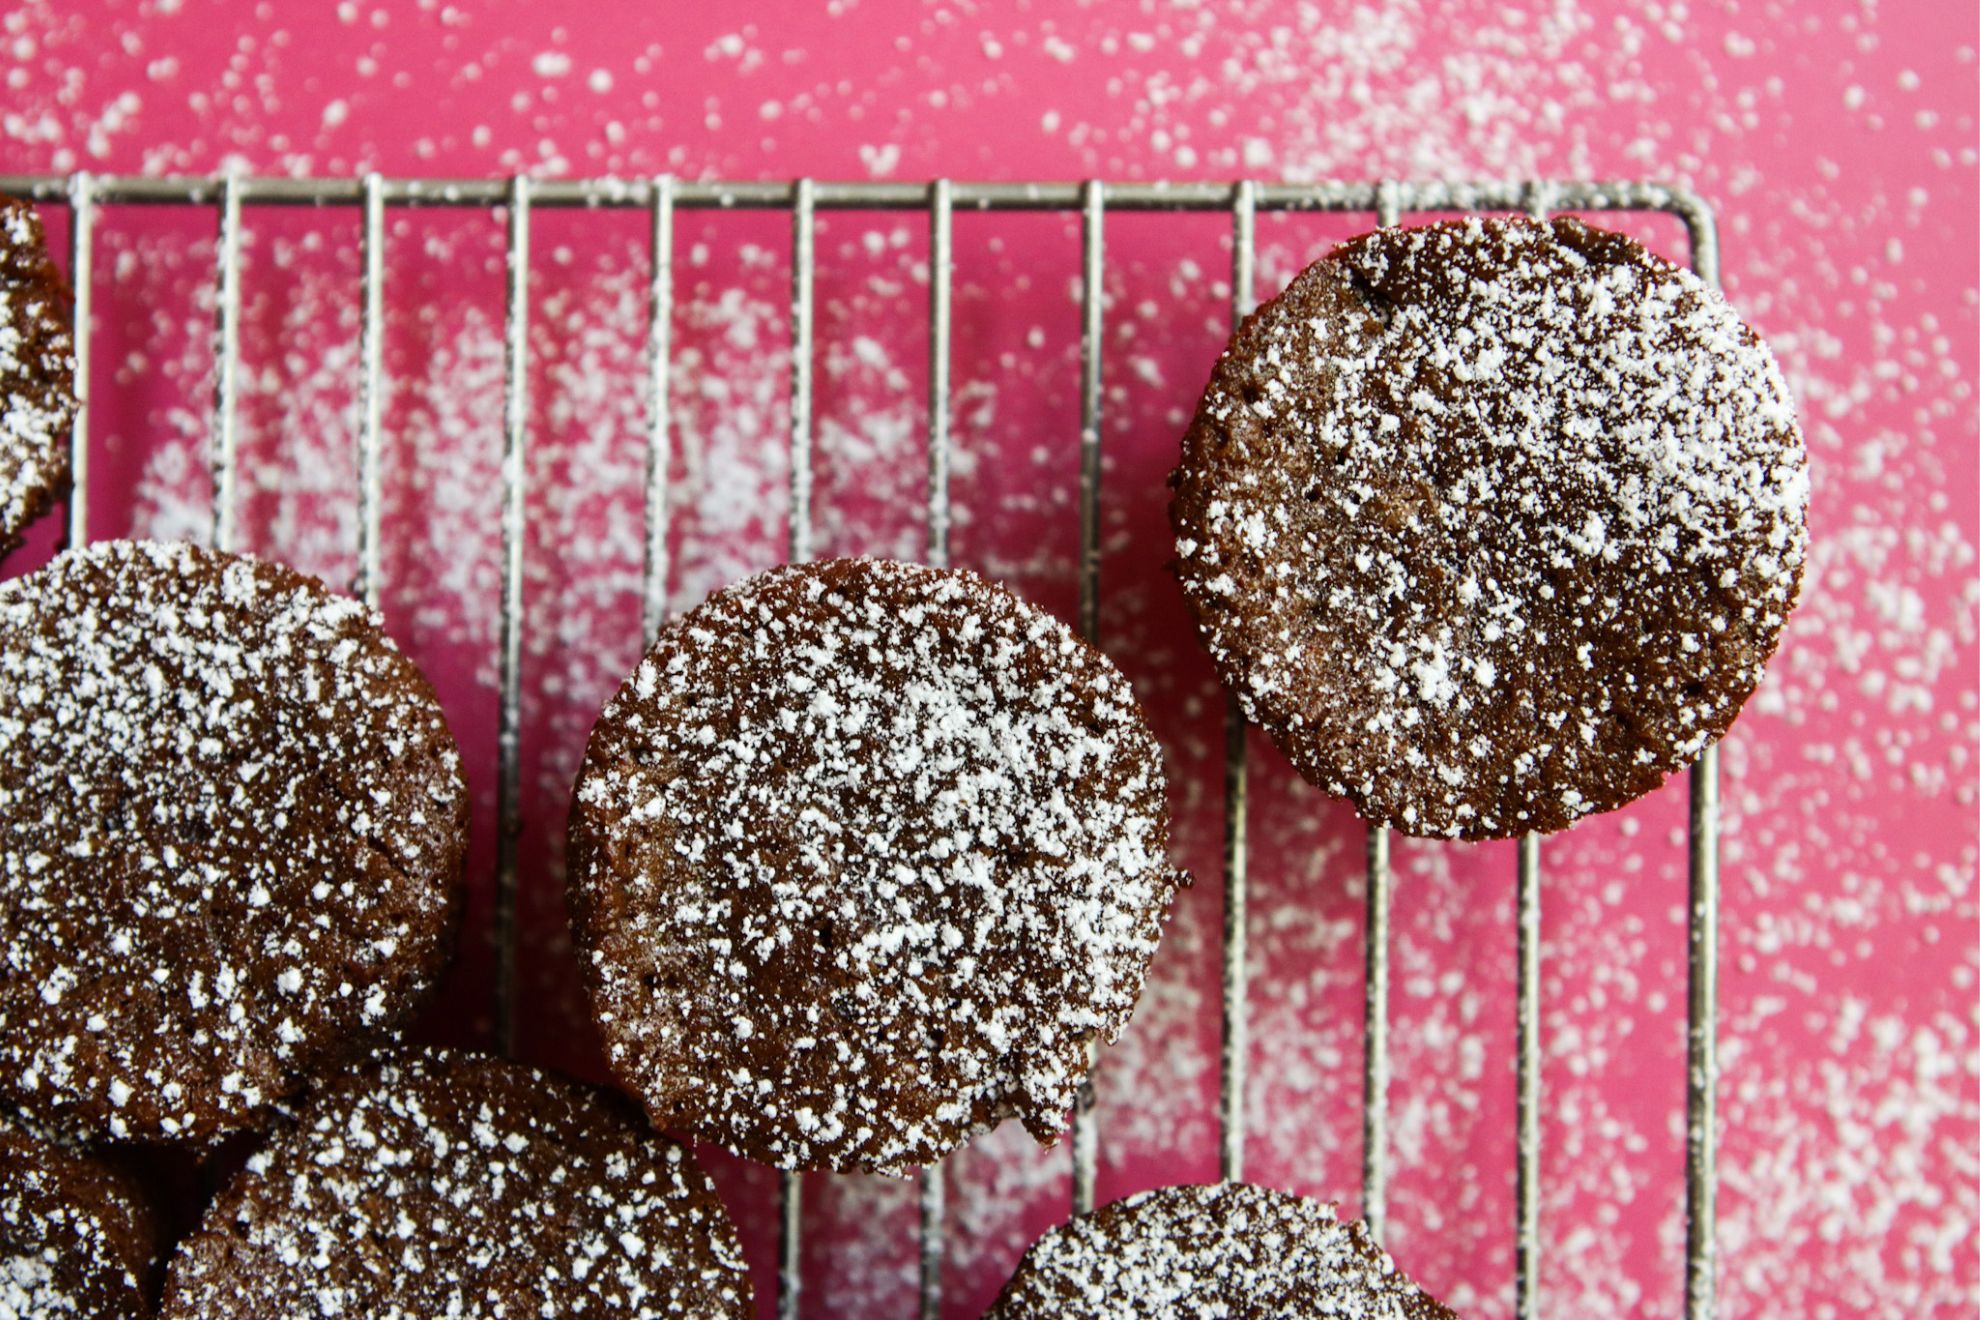
- Place the brownie bites on a cooling rack to cool completely. This allows them to cool evenly.
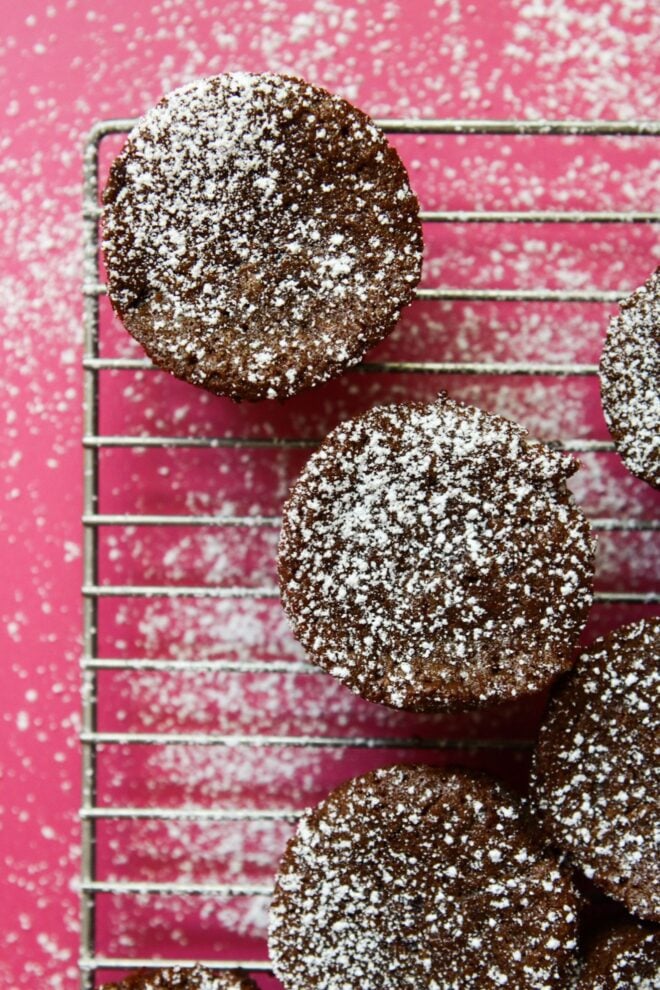
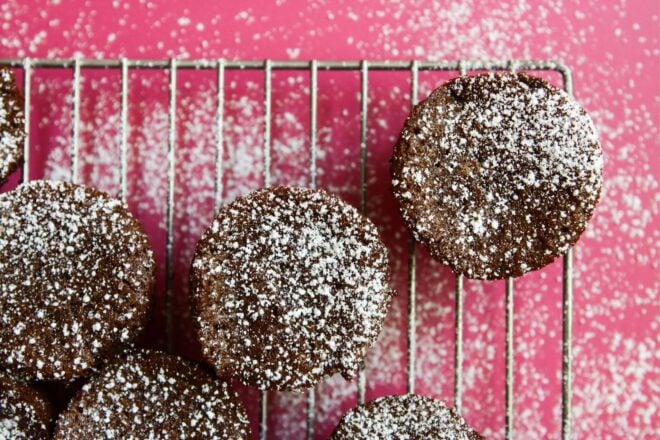
- Once the brownie bites are fully cooled, sift powdered sugar on top for a decorative touch and added sweetness.
Tips for Success
Use cupcake liners for easy removal. Using cupcake liners in the muffin tin makes it easier to remove the brownie bites from the pan without sticking. Choose high-quality cupcake liners that are grease-resistant to prevent the brownie bites from sticking to the liners.
Watch baking time carefully. Keep a close eye on the brownie bites while they are baking as the baking time may vary depending on your oven. Overbaking can result in dry brownie bites, so start checking for doneness around 13 – 15 minutes and remove them from the oven when a toothpick inserted in the center comes out with a few moist crumbs.
Allow for proper cooling. Let the brownie bites cool in the muffin tin for about 10 minutes before removing them. This allows them to set and makes them easier to handle. Transfer them to a cooling rack to cool completely before dusting with powdered sugar and enjoying.
Feel free to customize. While this recipe is delicious as is, feel free to customize it to your liking. You can add chopped nuts, dried fruits, or other mix-ins to the batter for additional texture and flavor. You can also experiment with different types of chocolate chips, such as dark or milk chocolate, depending on your preference.
Variations of these Muffin Tin Brownies
The great thing about making brownies in a muffin tin is you can really customize each one! No need to make the entire batch the same.
Here are a few ideas to inspire you to customize and experiment with the basic brownie bite recipe. Feel free to get creative and try different flavor combinations to make these muffin tin brownie bites truly unique and tailored to your taste preferences!
Nutty Brownie Bites.
Add chopped nuts such as walnuts, pecans, or almonds to the batter for an extra crunch and nutty flavor. Simply fold in a handful of chopped nuts into the brownie batter before scooping it into the muffin tin cavities.
Mint Chocolate Brownie Bites.
Add a teaspoon of peppermint extract or a few drops of food-grade peppermint oil to the brownie batter for a refreshing minty twist. You can also add some crushed peppermint candies or chocolate mint chips on top for extra flavor and decoration.
Peanut Butter Swirl Brownie Bites.
After scooping the brownie batter into the muffin tin cavities, drop small dollops of peanut butter on top of each brownie bite. You could also press in a mini peanut butter cup into the center.
Salted Caramel Brownie Bites.
Drizzle caramel sauce or dulce de leche on top of each brownie bite before baking, and sprinkle a pinch of sea salt on top for a sweet and salty contrast. The caramel will melt and create a luscious gooey center as the brownie bites bake.
Nutella Swirl Brownie Bites.
Drop small dollops of Nutella on top of each brownie bite, and use a toothpick or a skewer to swirl it into the batter before baking. The Nutella will create a rich and gooey chocolate-hazelnut swirl in the brownie bites.
How to Store these Muffin Tin Brownies
Allow the brownie bites to cool completely to room temperature after baking.
Once cooled, transfer the brownie bites to an airtight container or a resealable plastic bag.
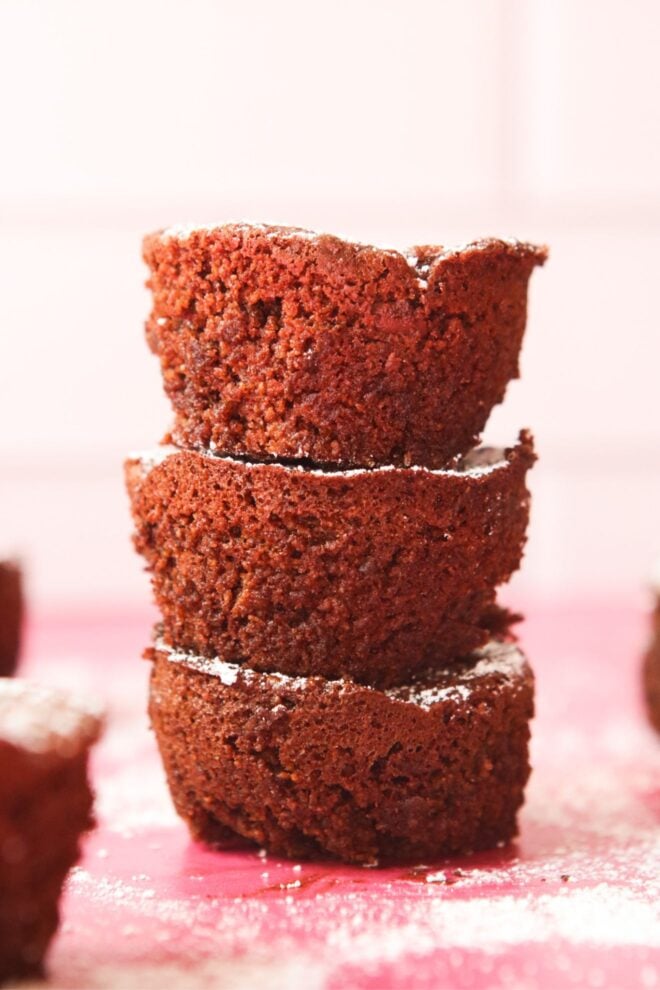
Place a piece of parchment paper or wax paper between the layers of brownie bites to prevent them from sticking together.
Seal the container or bag tightly to prevent air from entering and to keep the brownie bites fresh.
Store the brownie bites in a cool, dry place, such as a pantry or a cupboard, away from direct sunlight and moisture.
Brownie bites stored in an airtight container or bag can typically be stored for up to 3-4 days at room temperature, or up to 1 week in the refrigerator.
If you need to store the brownie bites for a longer period of time, you can also freeze them. Place the brownie bites in an airtight container or a freezer-safe bag, and store them in the freezer for up to 1-2 months. To thaw, transfer them to the refrigerator for a few hours or leave them at room temperature for a shorter period of time.
 Recipe
Bite Sized Chocolate Brownies in a Muffin Tin
Muffin tin brownies have a crisp top and a soft, fudgey middle. They are so simple to customize and are perfect for quick bites on the go!
Ingredients
- 1/4 cup unsalted butter, melted
- 1 cup coconut sugar
- 2 eggs
- 1 teaspoon vanilla extract
- 3/4 cup blanched almond flour (Kitchen Hack: How to Make Almond Flour)
- 3 tablespoons cocoa powder (Cacao v. Cocoa Powder: What’s the Difference?)
- 1/2 teaspoon baking powder
- 1/4 teaspoon salt
- 1/2 cup semi-sweet chocolate chips
Instructions
Nutrition Info:
- Serving Size: 1 brownie
- Calories: 126
- Sugar: 16.3g
- Sodium: 43mg
- Fat: 5.5g
- Saturated Fat: 3.1g
- Unsaturated Fat: 0g
- Trans Fat: 0g
- Carbohydrates: 18.2g
- Fiber: 0.5g
- Protein: 1.7g
- Cholesterol: 8mg
Leave a Comment & Rate this Recipe