
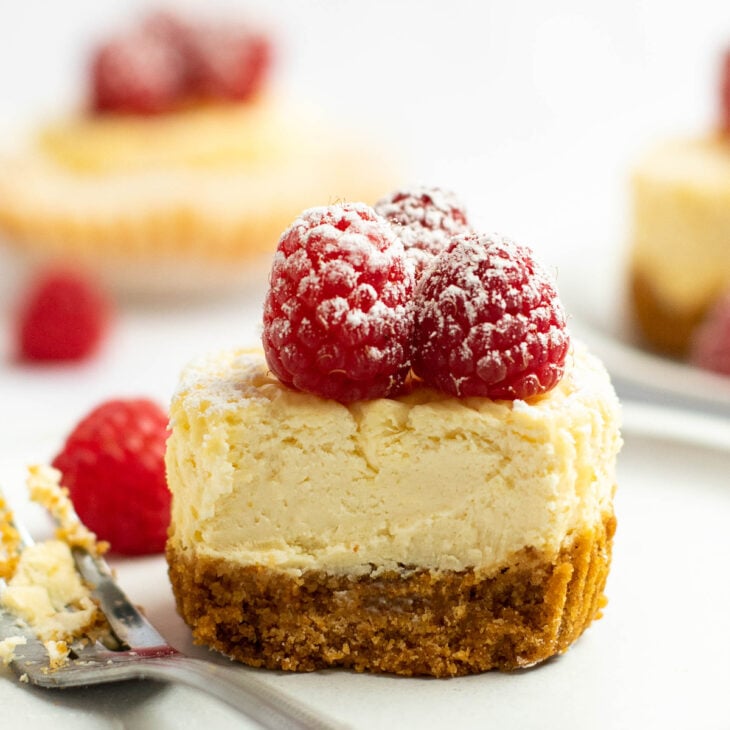
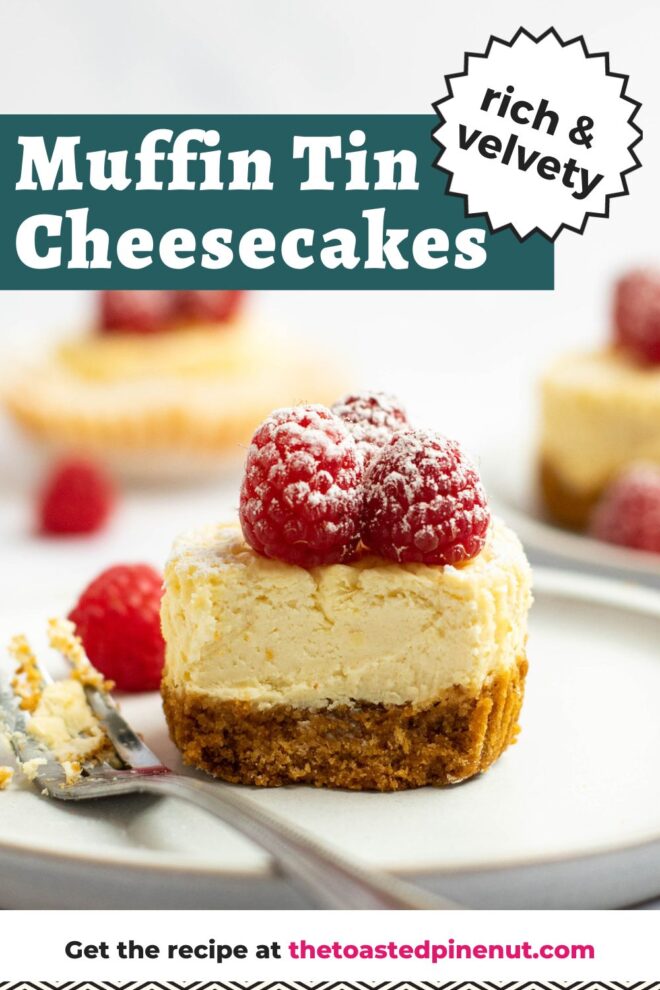
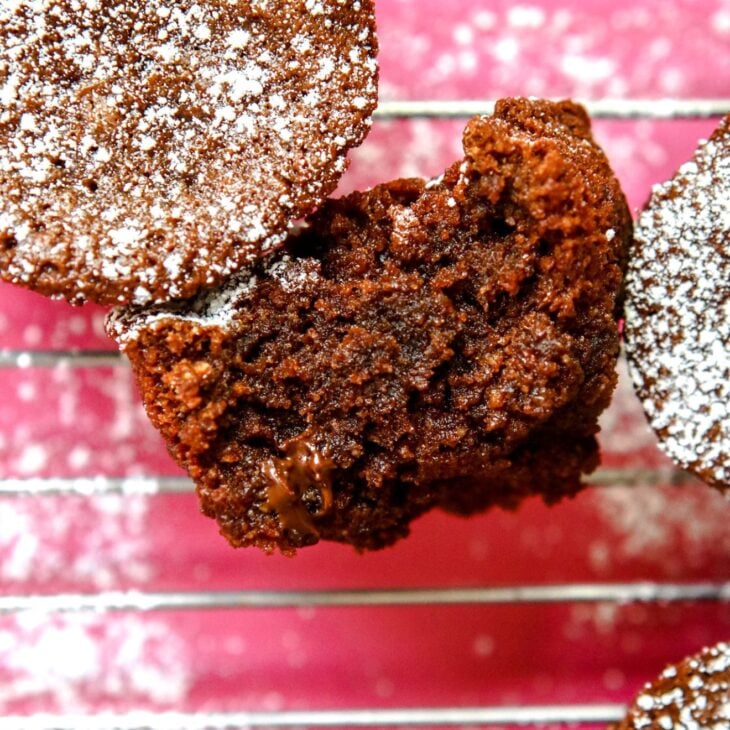
Muffin tin cheesecakes are such a delicious and decadent dessert that you are going to fall in love with! They are so simple to make and easy to customize with different toppings.
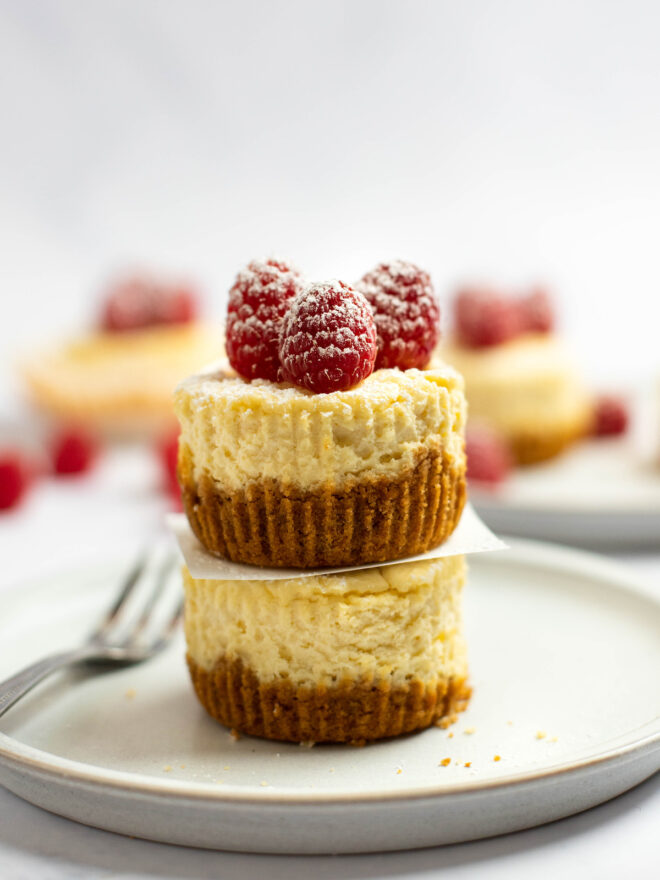
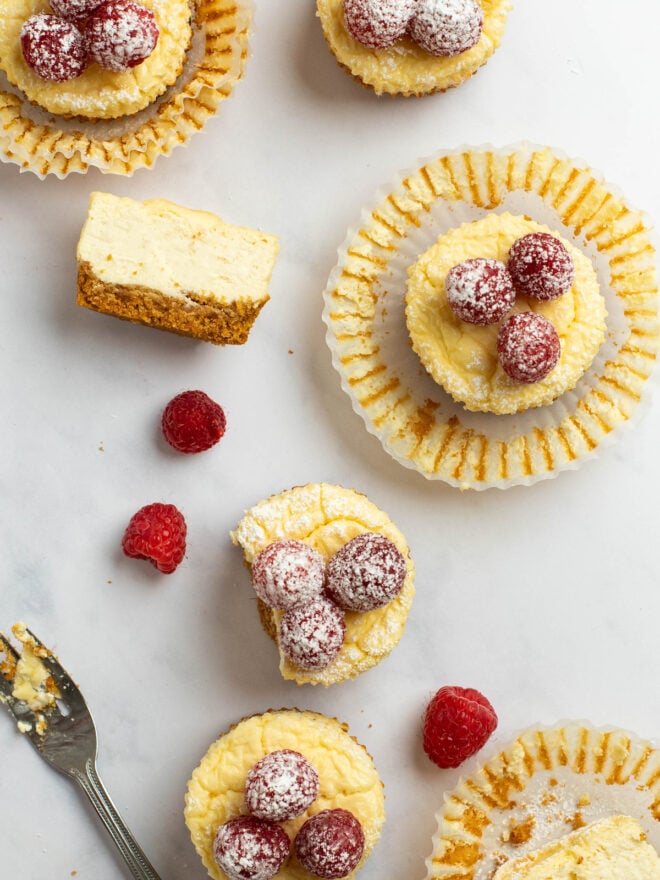
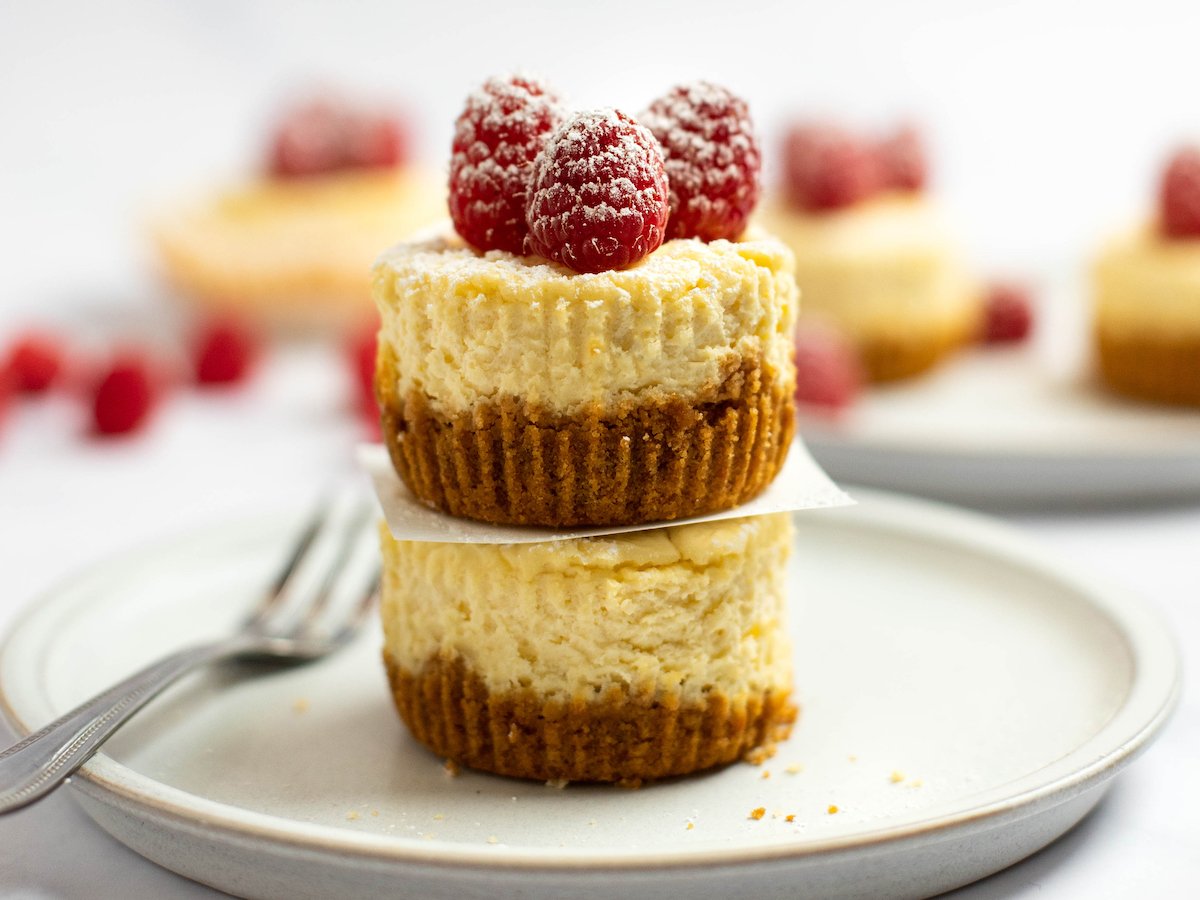
They start with a crumbly cookie crust, a velvety cream cheese middle, and topped with a juicy burst of fresh fruit.
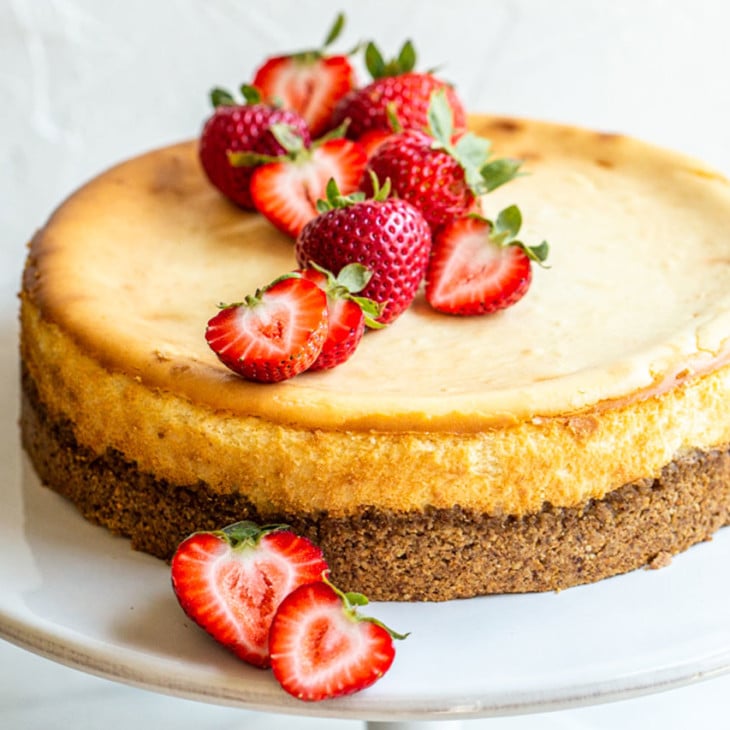
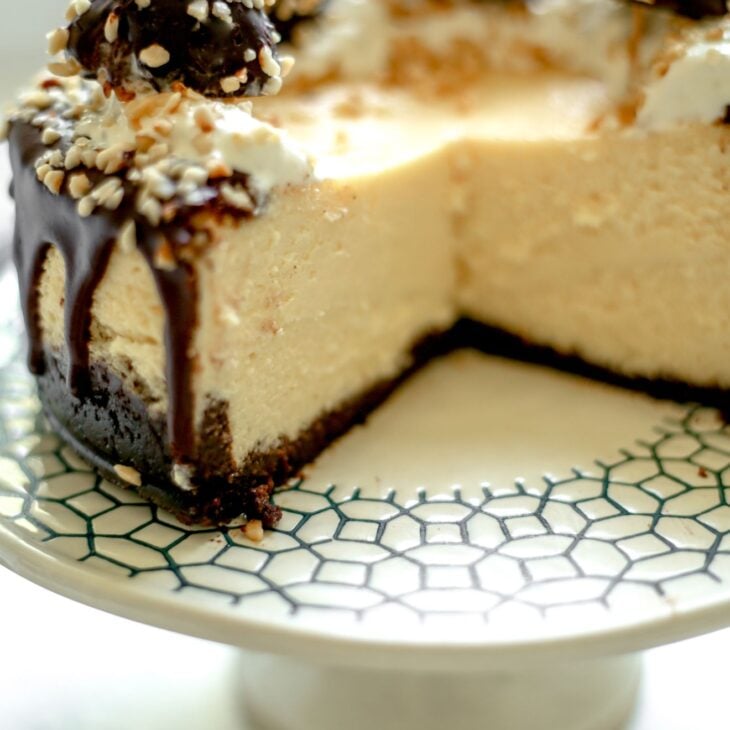
If you love cheesecakes you have to try this Rich & Velvety Ferrero Rocher Cheesecake, Rich & Creamy Caramel Pecan Cheesecake Minis, and this Gluten Free Cheesecake.
Why You’ll Love these Muffin Tin Cheesecakes
Perfect for parties! The individual size and shape of these cheesecakes make them easily plated and served without the need for slicing or serving.
So quick to bake! Since these individual cheesecakes are smaller in size compared to a traditional cheesecake, they require less baking time.
Texture combo! The combination of the creamy velvet cheesecake filling, the crunchy graham cracker crust, the juicy fresh berries, and the subtle sweetness of the powdered sugar creates a delightful contrast of textures and flavors. Each bite offers a harmonious balance of creamy, crunchy, sweet, and tangy elements, making them oh so delicious!
Customize them! Individual cheesecakes provide the opportunity for individual customization. Offer a cheesecake bar and allow each person to choose their preferred combination of fresh berries and the amount of powdered sugar to sprinkle on top. Add some chocolate syrup, caramel, chopped nuts and more so your guests and go crazy!
Ingredients for Muffin Tin Cheesecakes
Graham crackers.
Graham cracker crumbs are often used as the base for cheesecake crusts. They provide a delicious, crunchy texture and a slightly sweet flavor that complements the creamy filling. The crumbs help hold the crust together and add a nice contrast to the smoothness of the cheesecake. Grab your favorite gluten free graham crackers.
Melted butter.
The melted butter is mixed with the graham cracker crumbs to create the crust. It acts as a binding agent, helping the crust hold its shape. The butter also adds richness and flavor to the crust.
Coconut sugar.
Coconut sugar is a natural sweetener derived from coconut palm sap.
Cream Cheese.
Room temperature cream cheese is easier to blend and ensures a smooth and creamy texture in the cheesecake filling. It also incorporates more easily with other ingredients, resulting in a homogeneous mixture. Cream cheese is the star ingredient of cheesecake, providing the rich and tangy flavor that we associate with this dessert.
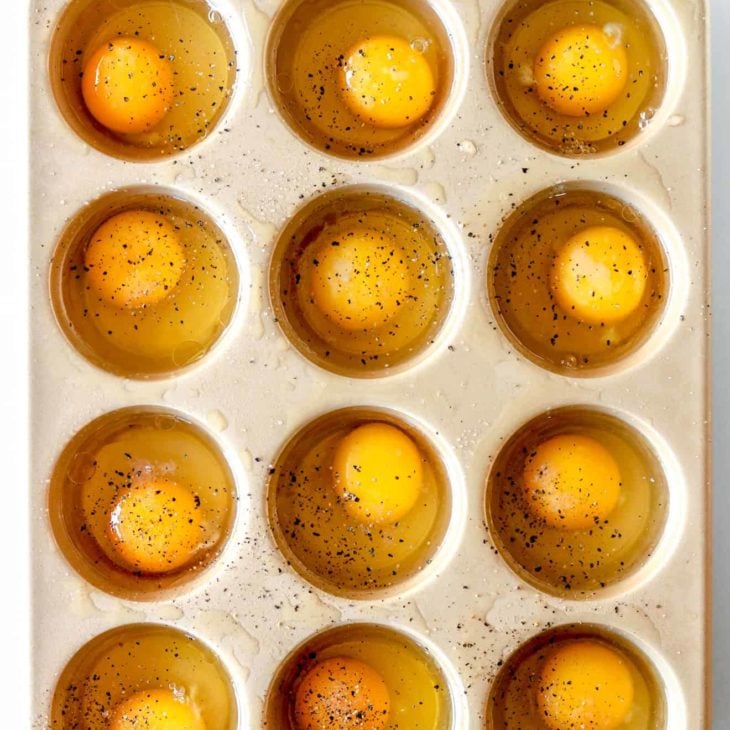
Eggs.
Eggs play a crucial role in cheesecake recipes. They act as a binding agent and contribute to the structure and stability of the cheesecake. Room temperature eggs blend more easily with the other ingredients and help create a smooth, silky texture.
Vanilla Extract.
Vanilla is added to enhance the flavor of the cheesecake. It adds a warm, sweet aroma and a subtle hint of vanilla to the dessert, complementing the creamy and tangy flavors of the cream cheese.
Maple syrup.
Maple syrup is a natural sweetener that adds a distinct and rich flavor to the cheesecake. It provides a touch of sweetness and pairs well with the creaminess of the cheesecake. Feel free to sub in honey or agave nectar if you prefer!
Powdered sugar.
Powdered sugar, also known as confectioners’ sugar, will dust the top of the cheesecake before serving. It adds a decorative touch and a hint of sweetness.
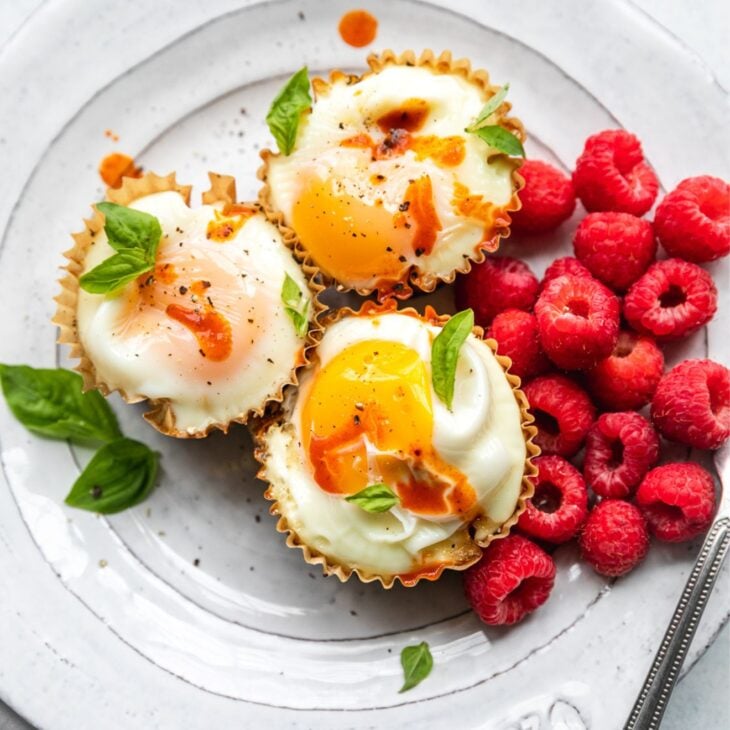
Fresh berries.
Fresh berries, like raspberries, are a popular topping for cheesecakes. They add a burst of freshness, vibrant color, and a tart-sweet flavor that contrasts with the richness of the cheesecake.
How to Make Muffin Tin Cheesecakes
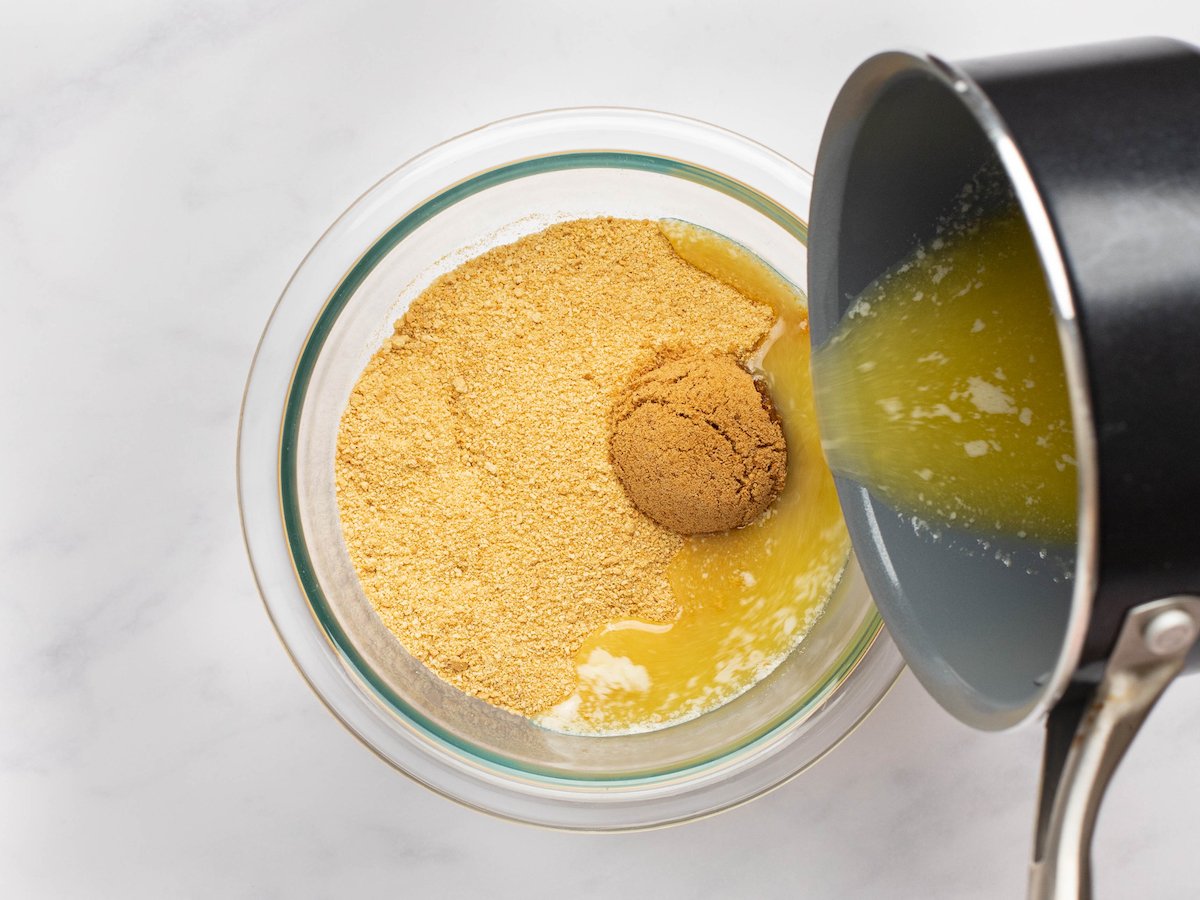
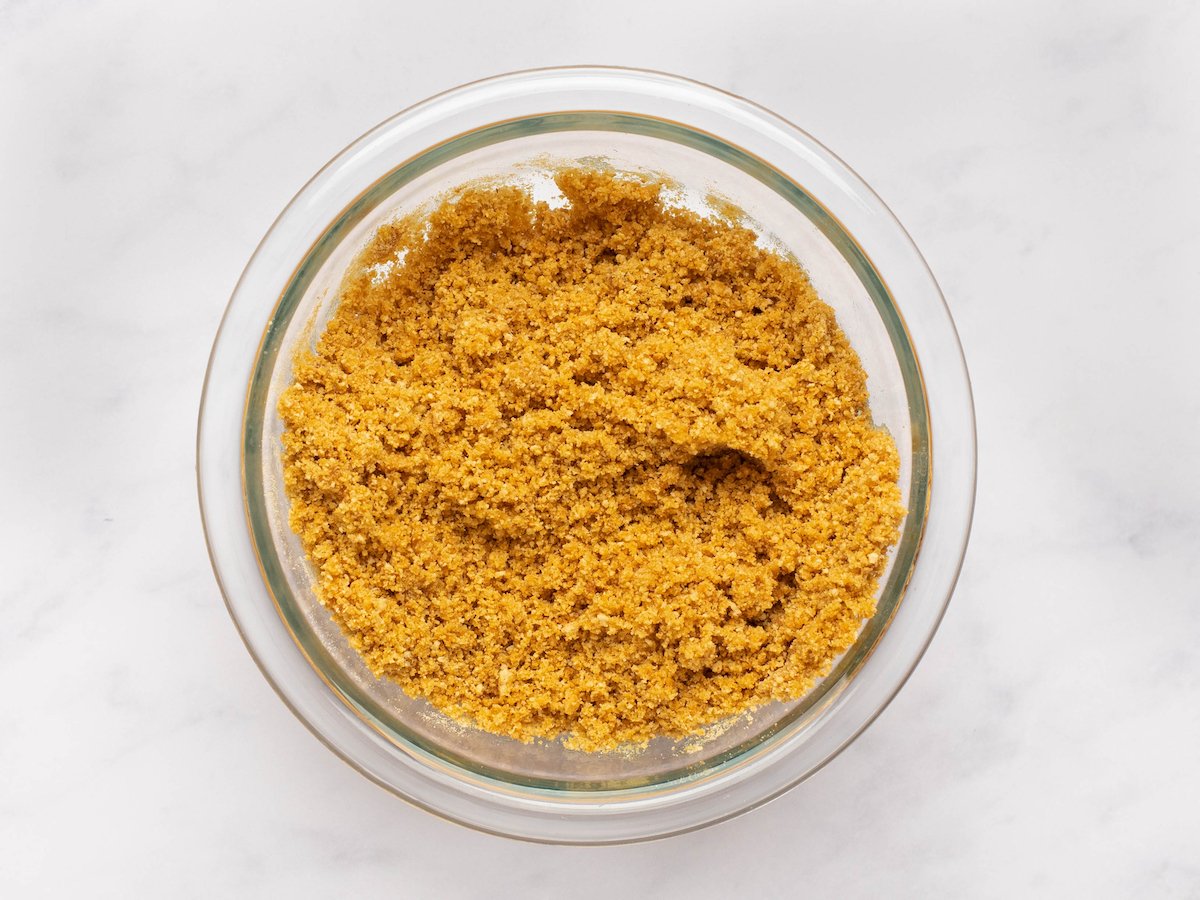
Make the crust.
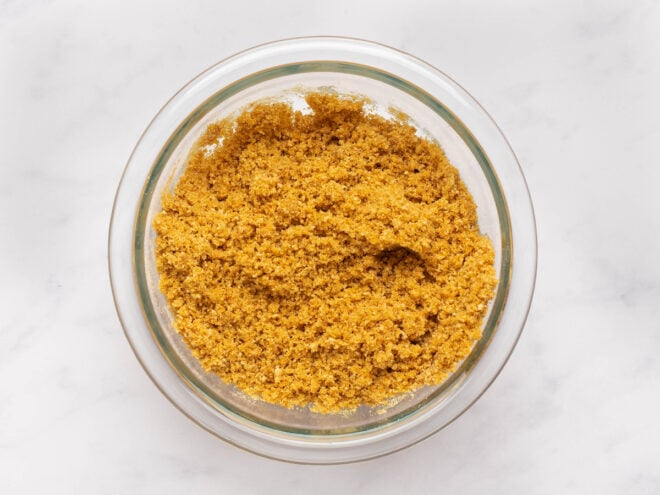
Add the graham cracker crumbs and coconut sugar to a medium bowl along with the melted butter and stir until the mixture looks like wet sand.
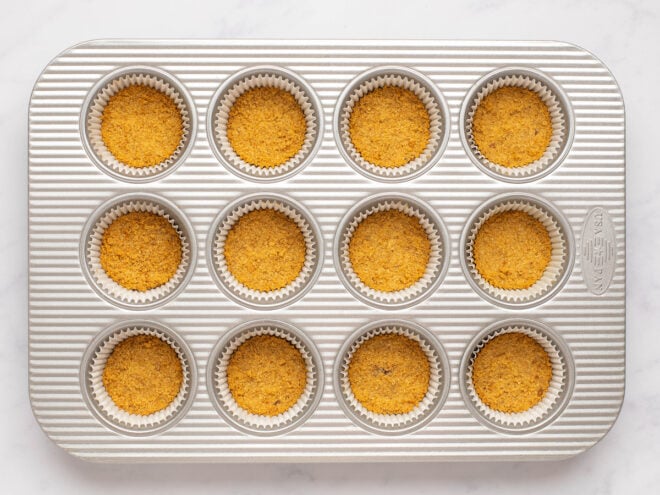
Divide the crust mixture among the 12 muffin cups and press down into a solid layer. Bake the crust for 6 minutes while preparing the filling!
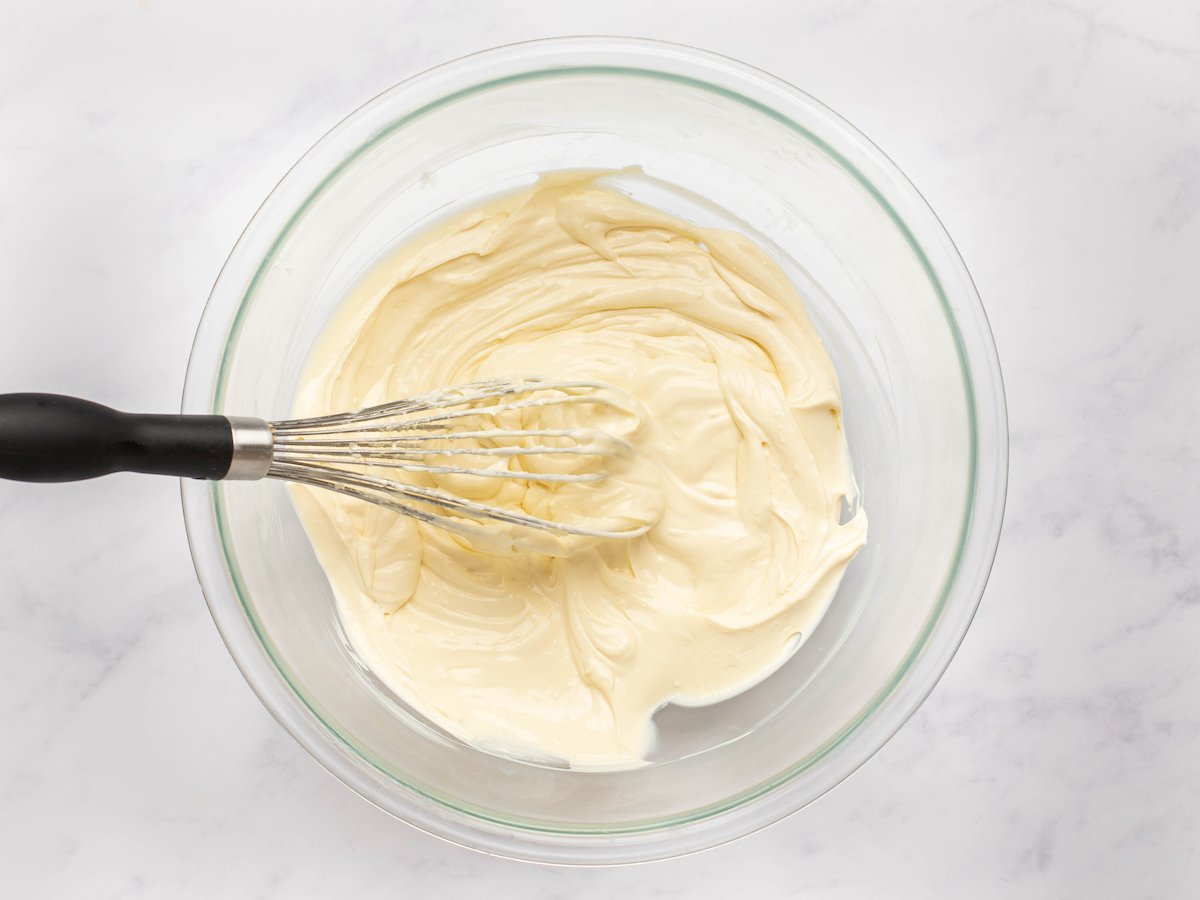
Make the cheesecake.
To make the cheesecake filling, simply add all of the ingredients to a medium sized bowl and whisk until it is all combined and there are no lumps!
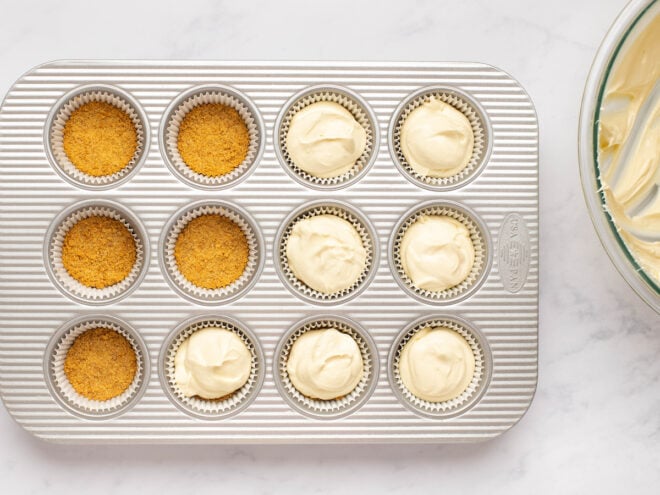
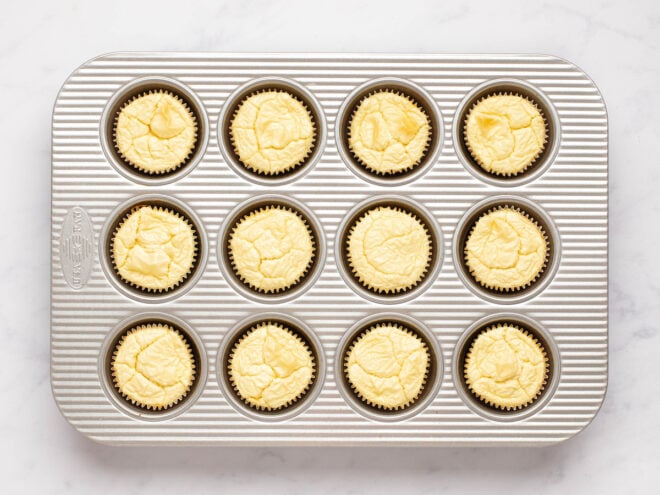
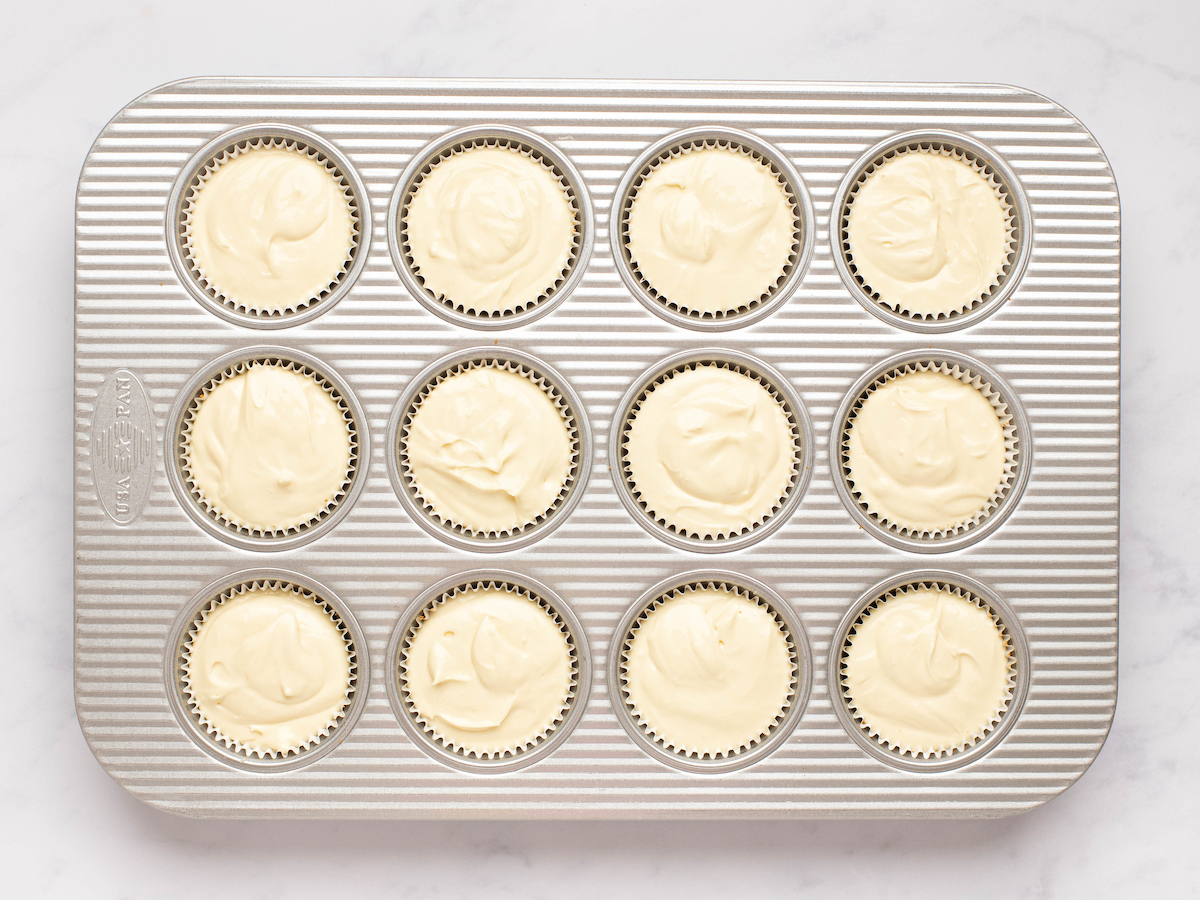
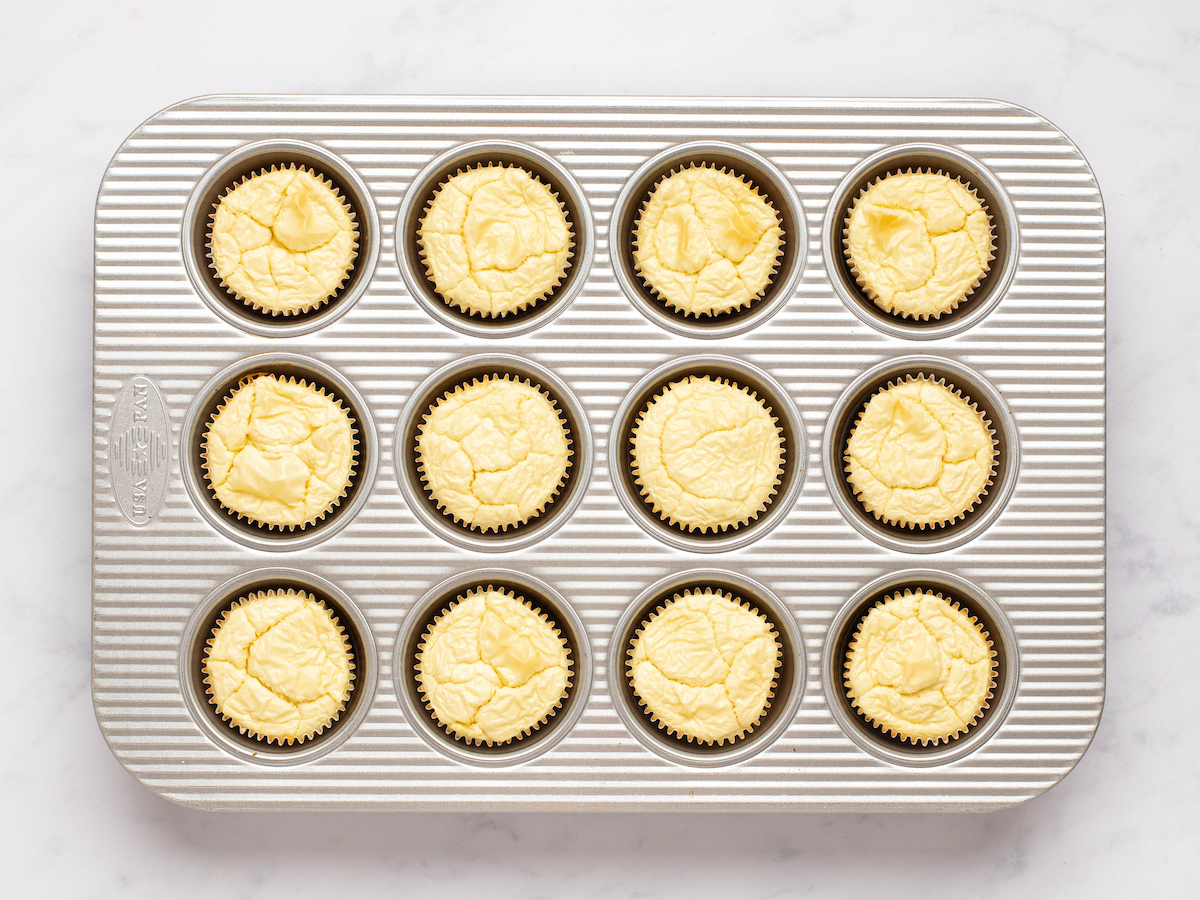
Once the crust is baked, add the filling on top of the crust – simply divide the cheesecake mixture between all 12. The cups will be FULL. Tap the muffin tin on the counter to settle the mixture and remove air bubbles before placing it back into the oven. Bake for 20-25 minutes or until the cheesecake appears almost fully set. There will be a little bit of a jiggle in the very center, but that will firm as it cools!
Chill.
Once baked, remove the cheesecakes from the oven and place on a cooling rack for 1 hour before placing the cheesecakes in the fridge to cool fully. They should chill for a minimum of 2 hours, but overnight is fine too!
Decorate & Enjoy!
To serve, top each cheesecake with fresh berries and sift powdered sugar on top.
Tips for Success
Prepare the muffin tin. Line each cup of the muffin tin with paper liners or lightly grease them to ensure easy removal of the cheesecakes after baking. This helps prevent sticking and ensures the cheesecakes retain their shape.
Prepare the crust properly. Press the graham cracker crust mixture firmly and evenly into the bottom of each muffin cup. Use the back of a spoon or the back of a dry measuring cup to compact and even the crust layer. This will help the crust hold together and provide a solid base for the cheesecake filling.
Allow the cream cheese and eggs to reach room temperature. Room temperature cream cheese and eggs blend together more smoothly, resulting in a creamy and well-incorporated filling. Take the cream cheese and eggs out of the refrigerator in advance and let them sit at room temperature for about 30 minutes before using.
Beat the cream cheese until smooth. Use an electric mixer or a stand mixer to beat the cream cheese until it is smooth and free of lumps. This step is crucial for achieving a silky and creamy texture in the cheesecakes.
Avoid overbaking. Keep a close eye on the cheesecakes while they are baking. Overbaking can result in a dry and crumbly texture. The cheesecakes should be set around the edges but still slightly jiggly in the center. They will continue to set as they cool.
Add toppings just before serving. Top the individual cheesecakes with fresh berries and powdered sugar just before serving to keep the berries fresh and vibrant.
Muffin Tin Cheesecake Variations
Fruit Swirl.
Create a fruit swirl by adding a spoonful of fruit preserves or puree (such as raspberry, strawberry, or blueberry) to the cheesecake batter before baking. Swirl it gently with a toothpick or skewer to create a marbled effect.
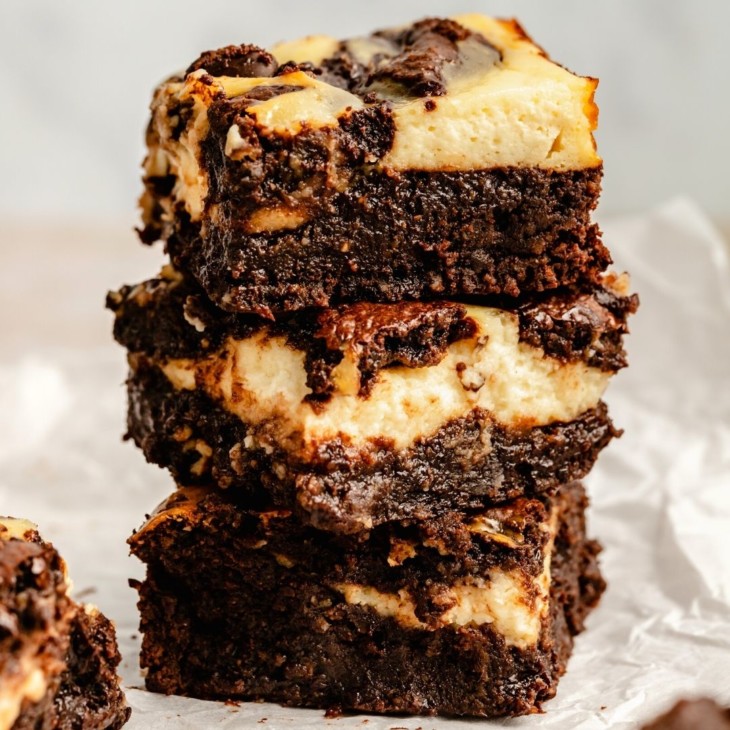
Chocolate.
Incorporate chocolate into the cheesecake by adding cocoa powder or melted chocolate to the batter. You can also add chocolate chips or chunks for added richness and texture.
Citrus Zest.
Add a burst of citrus flavor by incorporating lemon, lime, or orange zest into the cheesecake batter. The zest provides a bright and refreshing note that complements the creaminess of the cheesecake.
Nutty Crunch.
Mix crushed nuts (such as almonds, pecans, or walnuts) into the graham cracker crust for added texture and flavor. You can also sprinkle chopped nuts on top of the cheesecakes before baking or as a garnish.
Caramel Drizzle
After the cheesecakes have cooled, drizzle caramel sauce over the top for a sweet and indulgent twist. You can also sprinkle a pinch of sea salt on the caramel for a delightful contrast.
Cookie Crumble.
Instead of a graham cracker crust, use crushed cookies like Oreos or chocolate sandwich cookies for a different flavor and texture. Press the cookie crumbs into the bottom of each muffin cup before adding the cheesecake batter.
Mini Cheesecake Bar.
Instead of topping each individual cheesecake, you can create a mini cheesecake bar by providing a variety of toppings for people to choose from. Offer options like fresh fruits, chocolate sauce, whipped cream, crushed cookies, or chopped nuts.
How to Store Leftovers
After baking, let the cheesecakes cool completely at room temperature. This step is essential to avoid condensation buildup when they are stored.
Once cooled, transfer the cheesecakes to an airtight container. Place them in the refrigerator to chill. Individual cheesecakes can be stored directly in the muffin tin if it has a secure lid or cover.
If you need to stack the cheesecakes in layers, place a layer of parchment paper or wax paper between each layer to prevent sticking.
Muffin tin cheesecakes can typically be stored in the refrigerator for up to 3 to 5 days. Beyond that, the texture and flavor may start to deteriorate.
It’s best to add fresh toppings, such as berries or powdered sugar, just before serving. If you have already added toppings, cover the container or muffin tin with plastic wrap or foil to protect them during storage.
Freezing: If you want to store the cheesecakes for a longer period, they can be frozen. Wrap each cheesecake individually in plastic wrap, place them in a freezer-safe container or freezer bag, and seal tightly. They can be frozen for up to 2-3 months. Thaw frozen cheesecakes in the refrigerator overnight before serving. Make sure to do a quality check before serving.
 Recipe
Bite-Size Cheesecakes in a Muffin Tin
Muffin tin cheesecakes are the perfect make-ahead treat for a crowd! They have a crumbly graham cracker base and a velvety cheesecake middle.
Ingredients
Crust Ingredients
- 1 1/3 cup graham cracker crumbs
- 5 tbsp melted unsalted butter
- 1 tbsp coconut sugar
Filling Ingredients
- 2 1/2 cups room temperature cream cheese
- 2 room temperature eggs
- 1 tsp vanilla
- 1/3 cup maple syrup, honey or agave nectar
- Pinch salt
Topping Ingredients
- powdered sugar
- fresh berries (I used raspberries)
Instructions
- Preheat the oven to 350F and line a muffin tin with paper or silicone muffin liners.
- Add the graham cracker crumbs and coconut sugar to a medium bowl along with the melted butter.

- Stir until the mixture looks like wet sand.
- Divide the crust mixture among the 12 muffin cups and press down into a solid layer. Bake the crust for 6 minutes while preparing the filling!
- To make the cheesecake filling, simply add all of the ingredients to a medium sized bowl and whisk until it is all combined and there are no lumps!
- Once the crust is baked, add the filling on top of the crust – simply divide the cheesecake mixture between all 12.
- The cups will be FULL. Tap the muffin tin on the counter to settle the mixture and remove air bubbles before placing it back into the oven.
- Bake for 20-25 minutes or until the cheesecake appears almost fully set. There will be a little bit of a jiggle in the very center, but that will firm as it cools!
- Once baked, remove the cheesecakes from the oven and place on a cooling rack for 1 hour before placing the cheesecakes in the fridge to cool fully. They should chill for a minimum of 2 hours, but overnight is fine too!
- To serve, top each cheesecake with fresh berries and sift powdered sugar on top.


Tips
Food photography by Dalya Rubin.
Nutrition Info:
- Serving Size: 1 cheesecake
- Calories: 243
- Sugar: 3.8g
- Sodium: 194mg
- Fat: 22.1g
- Saturated Fat: 13.9g
- Unsaturated Fat: 0g
- Trans Fat: 0g
- Carbohydrates: 7.4g
- Fiber: 0.1g
- Protein: 4.6g
- Cholesterol: 66mg
Leave a Comment & Rate this Recipe