 Recipe
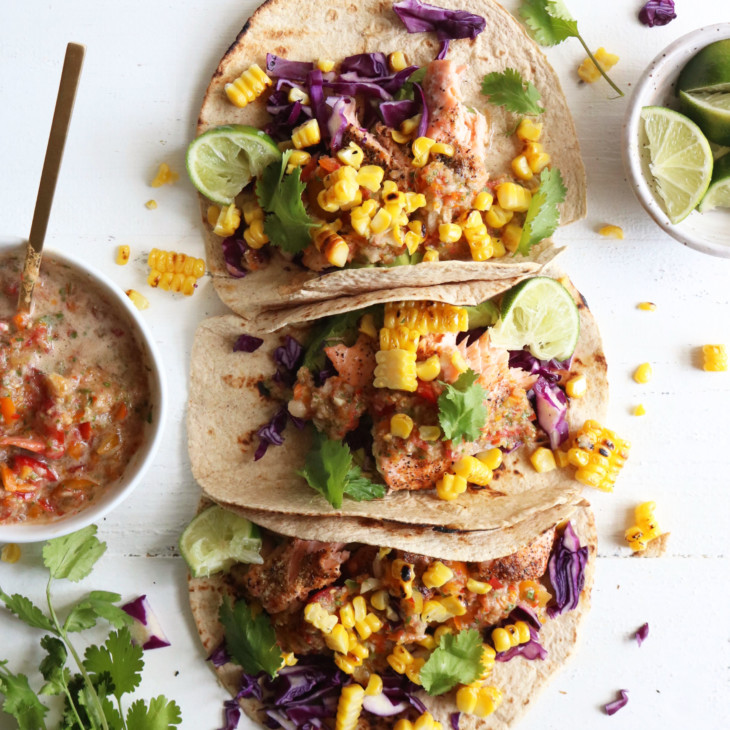
Salmon Tacos + Homemade Salsa
These 20 minute Salmon Tacos + Homemade Salsa recipe will be your new summer favorite. It’s tasty enough to be a special occasion dinner, and easy enough to be a weeknight meal!
Prep: 10 minsCook: 13 minsTotal: 23 mins
Servings: 4
Ingredients
- TACOS:
- 1 lb. salmon
- 2 tablespoons avocado oil
- ½ teaspoon cumin
- ¼ teaspoon garlic powder
- ¼ teaspoon chili powder
- ¼ teaspoon ground pepper
- ½ teaspoon sea salt
- 4 – 6 tortillas (I use gluten free tortillas made with almond flour)
- 2 ears corn (brushed with avocado oil and sea salt)
- 1 avocado, sliced
- ½ purple cabbage, chopped
- SALSA:
- 2 containers of 10 oz. Village Farms True Rebel Mix tomatoes
- ½ sweet onion
- 2 garlic cloves
- ½ jalapeno, de-seeded
- 1 lime, juiced
- ¼ teaspoon sea salt
- ¼ teaspoon cumin
- Handful cilantro
Instructions
- Preheat oven to 350F.
- Place the salmon on a lined baking sheet.
- Drizzle with avocado oil and sprinkle each filet with the cumin, garlic powder, chili powder, ground pepper, and sea salt.
- Bake in the oven for 12 – 15 minutes until the salmon is no longer translucent and is opage.
- Use a fork to break the salmon up in large chunks.
- While the salmon is cooking, brush your corn with avocado oil and sprinkle with sea salt.
- Turn the grill on high until heated.
- Place the corn on the grill and turn it frequently until it’s charred, it took me about 5 minutes.
- You can also put your tortillas on the grill to heat them up and toast them a bit. But, they do brown quickly, so be vigilant!
- Make the salsa: combine all the salsa ingredients in the food processor.
- Process for about 5 seconds.
- Use a rubber spatula to scrape down the sides and process again until combined but still a little chunky.
- Assemble the tacos: In each tortilla, place the avocado, cabbage, salmon, salsa, and corn cut from the cobb.
- Squeeze some lime juice and top with some additional cilantro leaves and enjoy!!
Find it online: https://thetoastedpinenut.com/salmon-tacos-homemade-salsa/